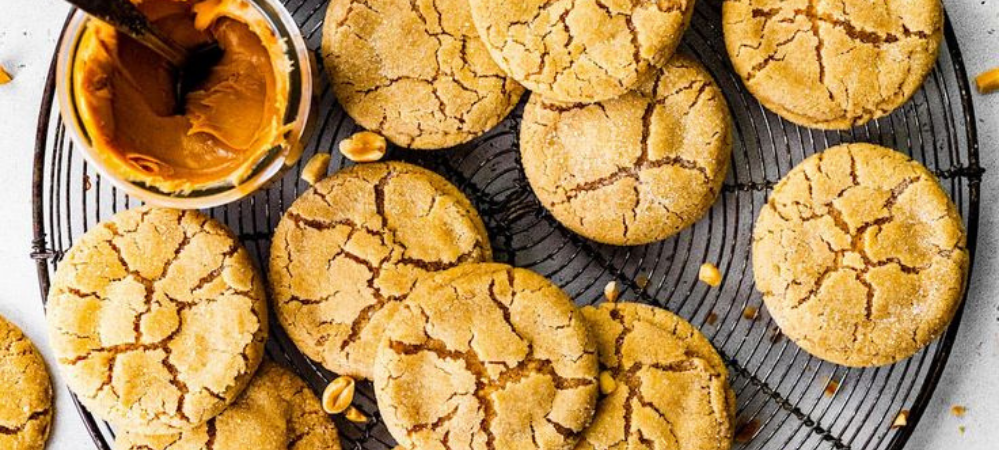
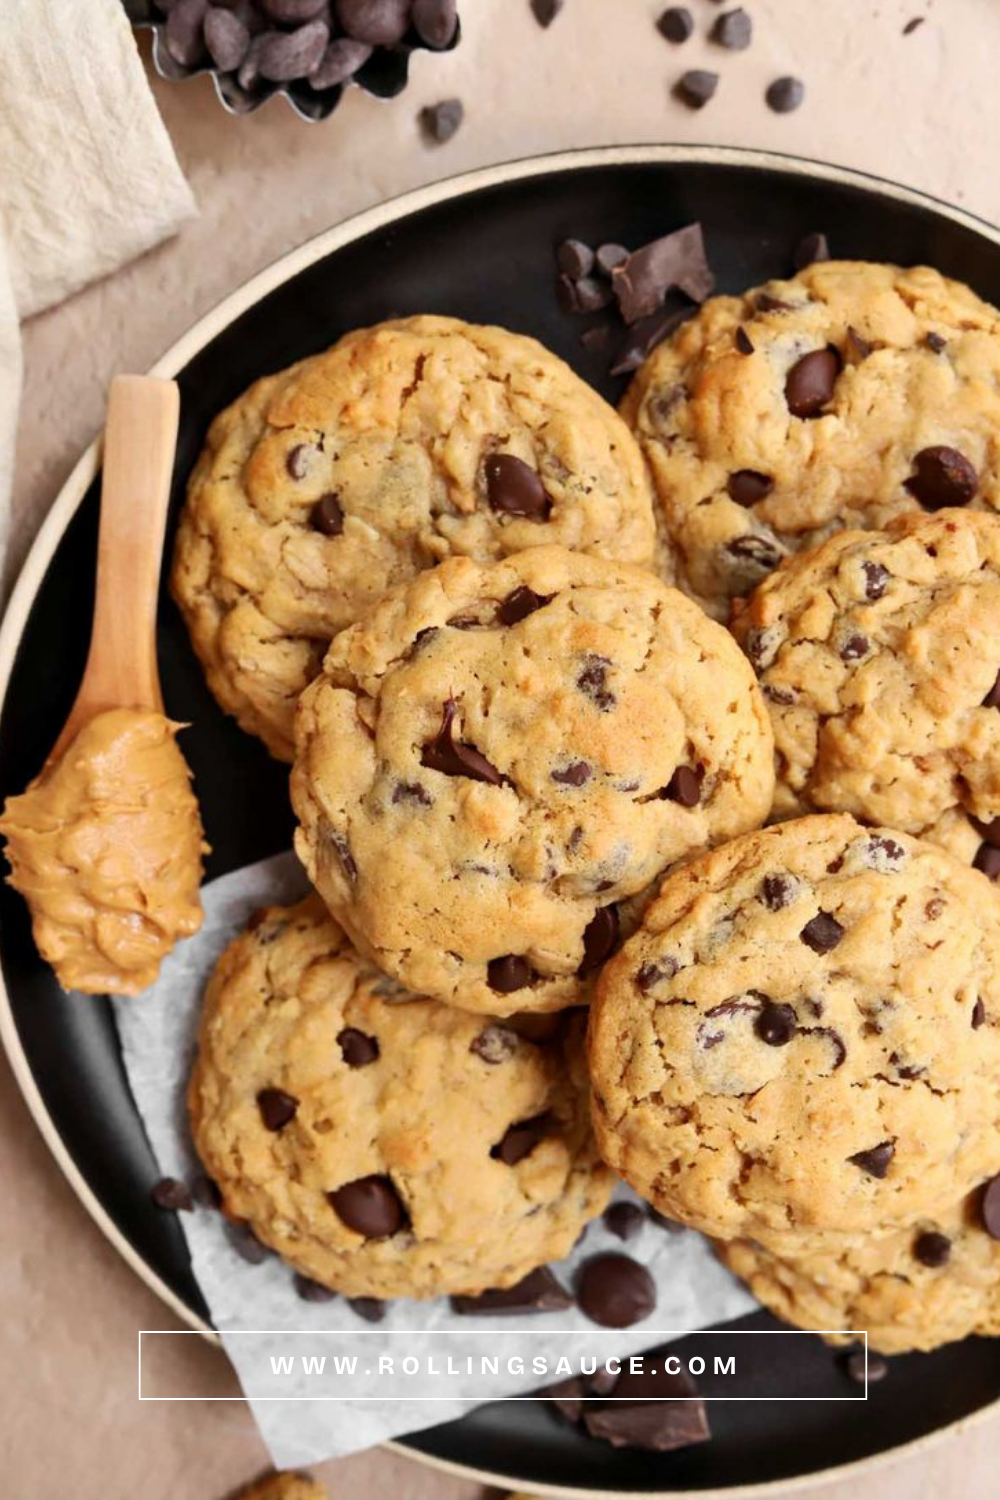
There’s a specific kind of peanut butter cookie that bakeries seem to have figured out and home kitchens often don’t: thick, a little puffy, soft enough to leave a thumbprint in the center, with crisp edges and a deep, almost caramelized peanut butter flavor. The cookies most of us grew up with — the ones with the criss-cross fork pattern — are good, but they’re usually flatter and drier. This recipe is the bakery version. It still uses simple pantry ingredients and comes together in well under 30 minutes, but a few small adjustments to ratios and timing are what take it from “fine” to “the cookie everyone asks about.”
What’s interesting is that none of the changes that get you there are dramatic. There’s no special equipment, no unusual ingredient, and no long chilling time. It’s mostly about ratios — more brown sugar than you might expect, butter alongside the peanut butter rather than instead of it — and about resisting the urge to bake these the way you would a more standard cookie. Once you understand why each of those choices matters, it’s easy to apply the same logic to other cookie recipes too.
What Makes These Taste Like Bakery Cookies
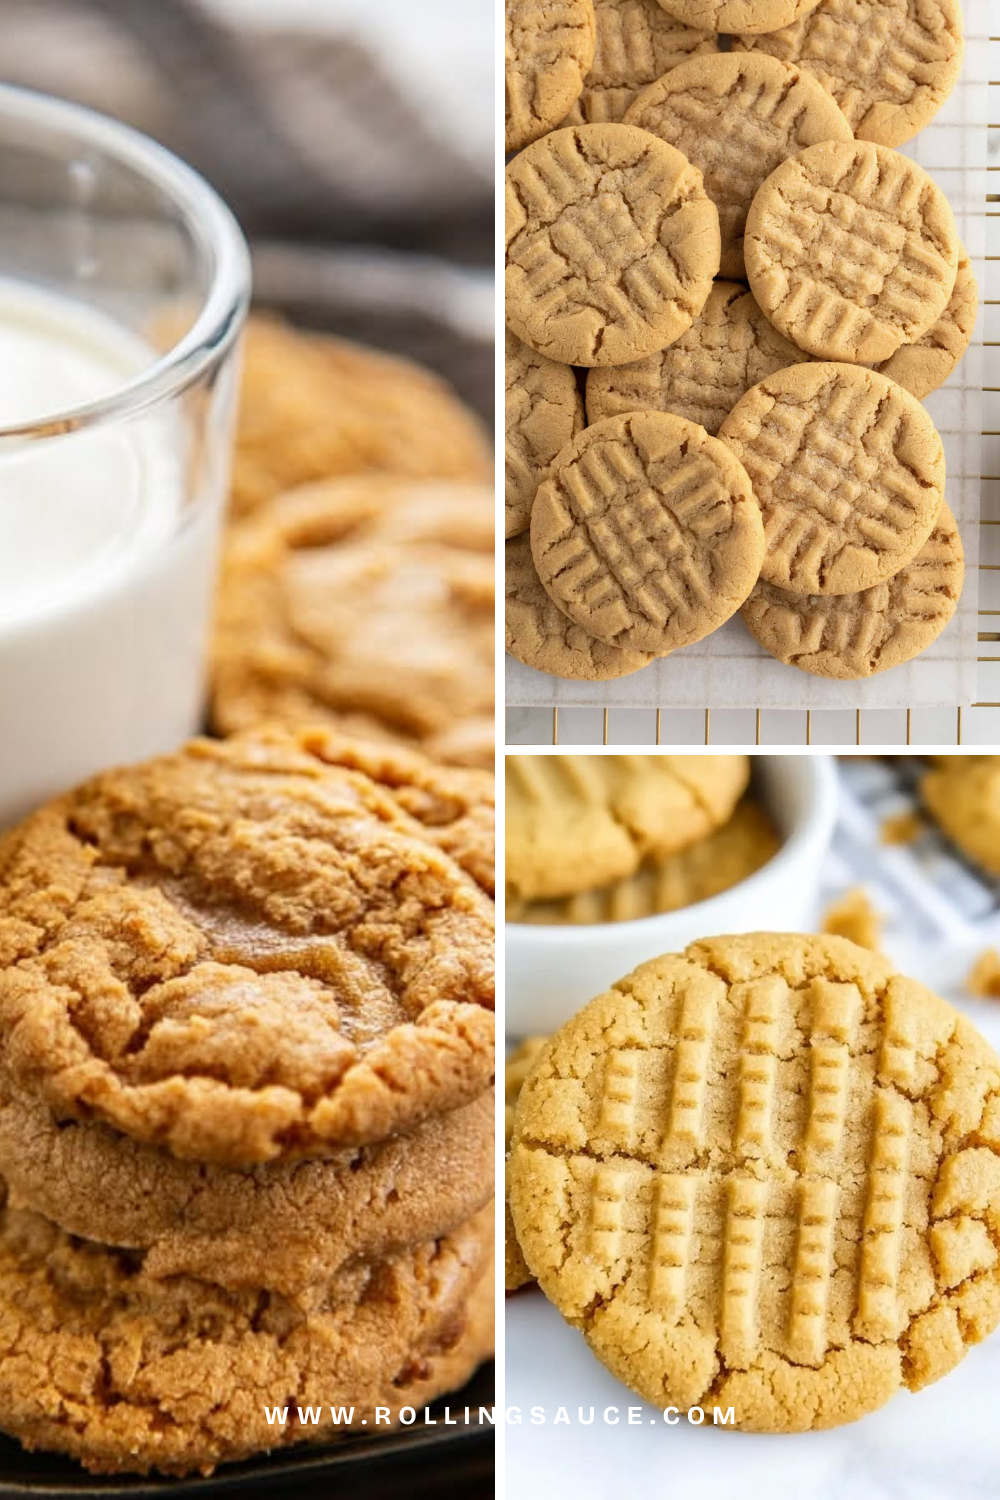
Three things separate a bakery-style cookie from a flatter, drier one, and none of them require anything unusual.
The first is the sugar ratio. This recipe leans heavily on brown sugar — a full cup of it, compared to a more modest amount of granulated sugar. Brown sugar contains molasses, which holds onto moisture as the cookies bake, and that’s a big part of what keeps the center soft instead of crumbly even after the cookies have cooled completely.
The second is the combination of butter and peanut butter together, rather than peanut butter alone. Butter contributes its own moisture and helps the cookies spread into that classic round shape, while the peanut butter adds flavor and a slightly denser, chewier bite. Using only peanut butter (or too little butter) tends to produce a drier, more crumbly cookie, even with the right amount of sugar.
The third is underbaking — on purpose. These cookies come out of the oven looking slightly underdone in the center, with edges that are just barely set. That’s intentional. The cookies continue to firm up as they cool on the baking sheet, and pulling them a minute or two before they look “done” is the single biggest factor in getting that soft, almost fudgy center instead of a cookie that’s cooked all the way through and firm everywhere.
What You’ll Need
- Unsalted butter, softened — for richness and spread
- Creamy peanut butter — regular, shelf-stable creamy peanut butter, not the natural kind that separates
- Granulated sugar and brown sugar — brown sugar makes up the larger share, which is part of what keeps these soft
- Egg and vanilla extract — for structure and flavor
- All-purpose flour, baking soda, baking powder, and salt — the dry base
A note on the peanut butter: natural peanut butter (the kind that separates and needs stirring) has a different oil content than the shelf-stable kind, and it can throw off the texture of these cookies — sometimes making the dough oily or the cookies spread too much. Stick with a standard creamy peanut butter like Jif or Skippy for the most predictable results.
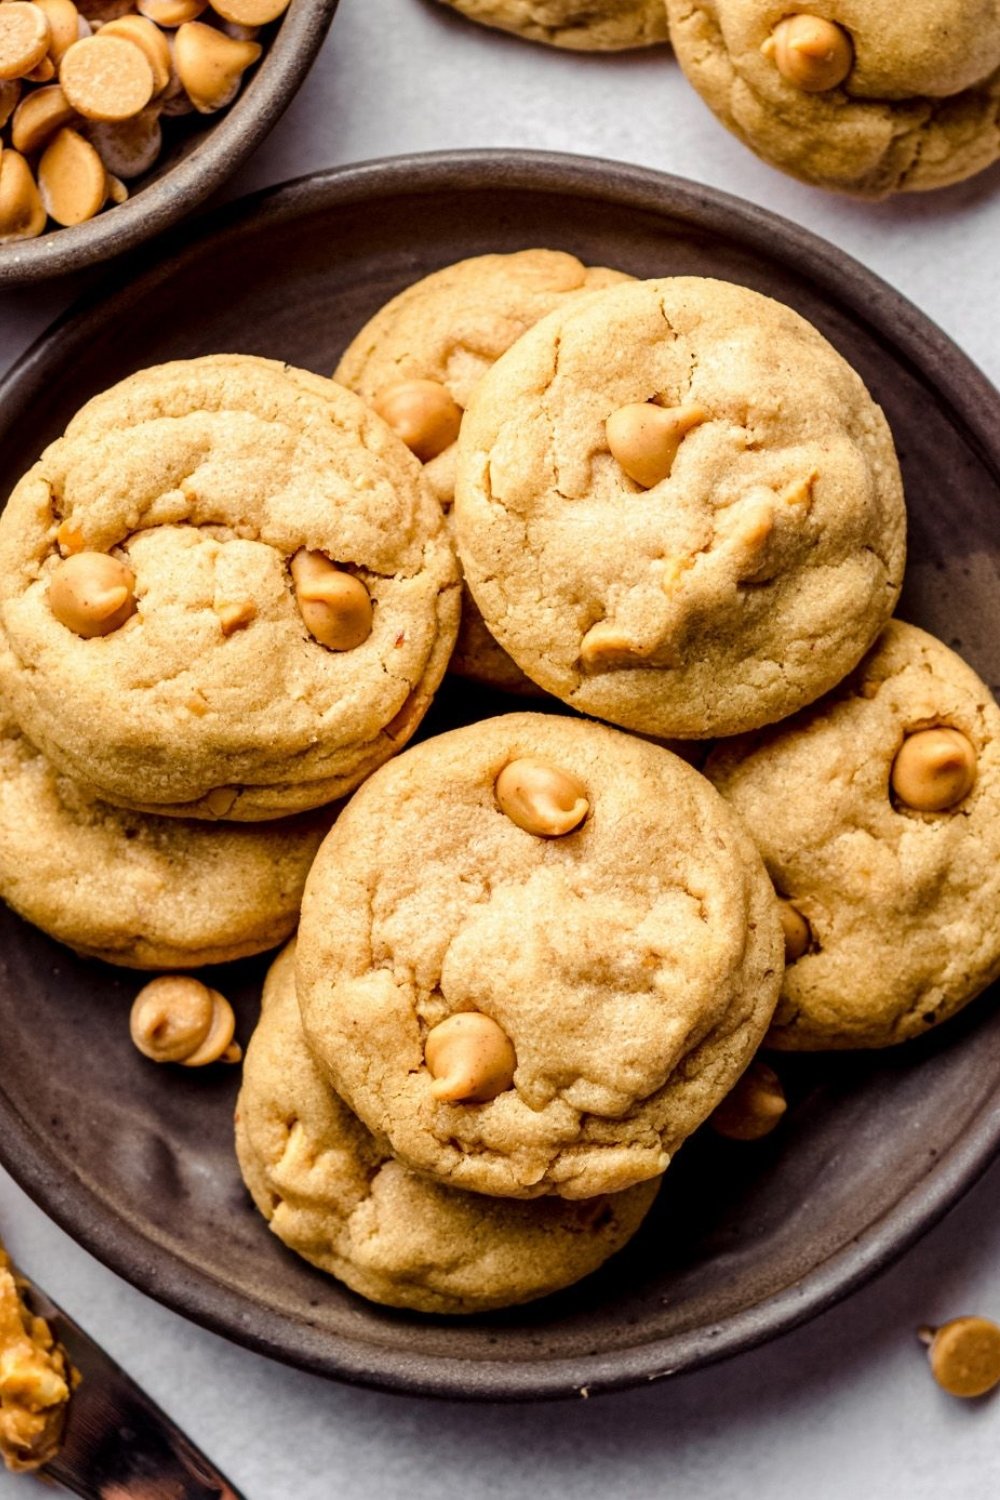

Bakery-Style Soft and Chewy Peanut Butter Cookies
Ingredients
Method
- Preheat oven to 350°F and line baking sheets with parchment paper.
- In a medium bowl, whisk together the flour, baking soda, baking powder, and salt.
- In a large bowl, beat the softened butter and peanut butter together until smooth, about 1 minute.
- Add the granulated sugar and brown sugar and beat until light and fluffy, about 2 minutes.
- Add the egg and vanilla extract and mix until just combined.
- Add the flour mixture in two additions, mixing until just combined. Do not overmix.
- Scoop dough into 2-tablespoon balls and roll in granulated sugar if desired. Place on the prepared baking sheets, spaced a couple inches apart.
- Optional: press each ball with a fork in a criss-cross pattern for the classic look, or leave as rounded balls for a thicker, puffier cookie.
- Bake for 9-11 minutes, until edges are set and just barely golden but centers still look soft.
- Cool on the baking sheet for 5 minutes before transferring to a wire rack.
Notes
- Storage: Store in an airtight container at room temperature for up to 5 days; a slice of bread in the container helps keep cookies soft longer.
- Make ahead: Scoop dough into balls and freeze on a tray until solid, then transfer to a freezer bag for up to 3 months. Bake from frozen, adding 1-2 extra minutes.
- Swap: Crunchy peanut butter can be used in place of creamy; a 1:1 gluten-free flour blend works in place of all-purpose flour.
How to Make Them
Start by whisking together the flour, baking soda, baking powder, and salt in a medium bowl, then set it aside. In a large bowl, beat the softened butter and peanut butter together until smooth and combined, about a minute. Add both the granulated sugar and brown sugar and beat again until the mixture is light and noticeably fluffier — this step is doing more than just mixing; it’s incorporating air into the dough, which contributes to the puffy, bakery-style shape rather than a flat cookie.
Add the egg and vanilla extract and mix until just combined. Then add the flour mixture in two additions, mixing on low speed (or by hand) until the dough comes together. Stop as soon as you don’t see streaks of flour anymore — overmixing at this stage develops more gluten than you want in a cookie, which can make the texture tougher instead of tender.
Scoop the dough into balls of about 2 tablespoons each and roll them in granulated sugar if you want that classic sparkly, slightly crisp exterior. Place them on a parchment-lined baking sheet, spacing them a couple of inches apart. If you want the traditional criss-cross look, press the top of each ball gently with a fork in two directions — but for the thickest, most bakery-style result, you can also just leave them as rounded balls; they’ll puff and crack on top as they bake instead. Bake at 350°F for 9 to 11 minutes, until the edges are set and just barely turning golden, but the centers still look soft and slightly underdone. Let the cookies cool on the baking sheet for 5 minutes before moving them to a wire rack — they’ll firm up significantly during this time.
Why Cookies Sometimes Turn Out Dry or Crumbly
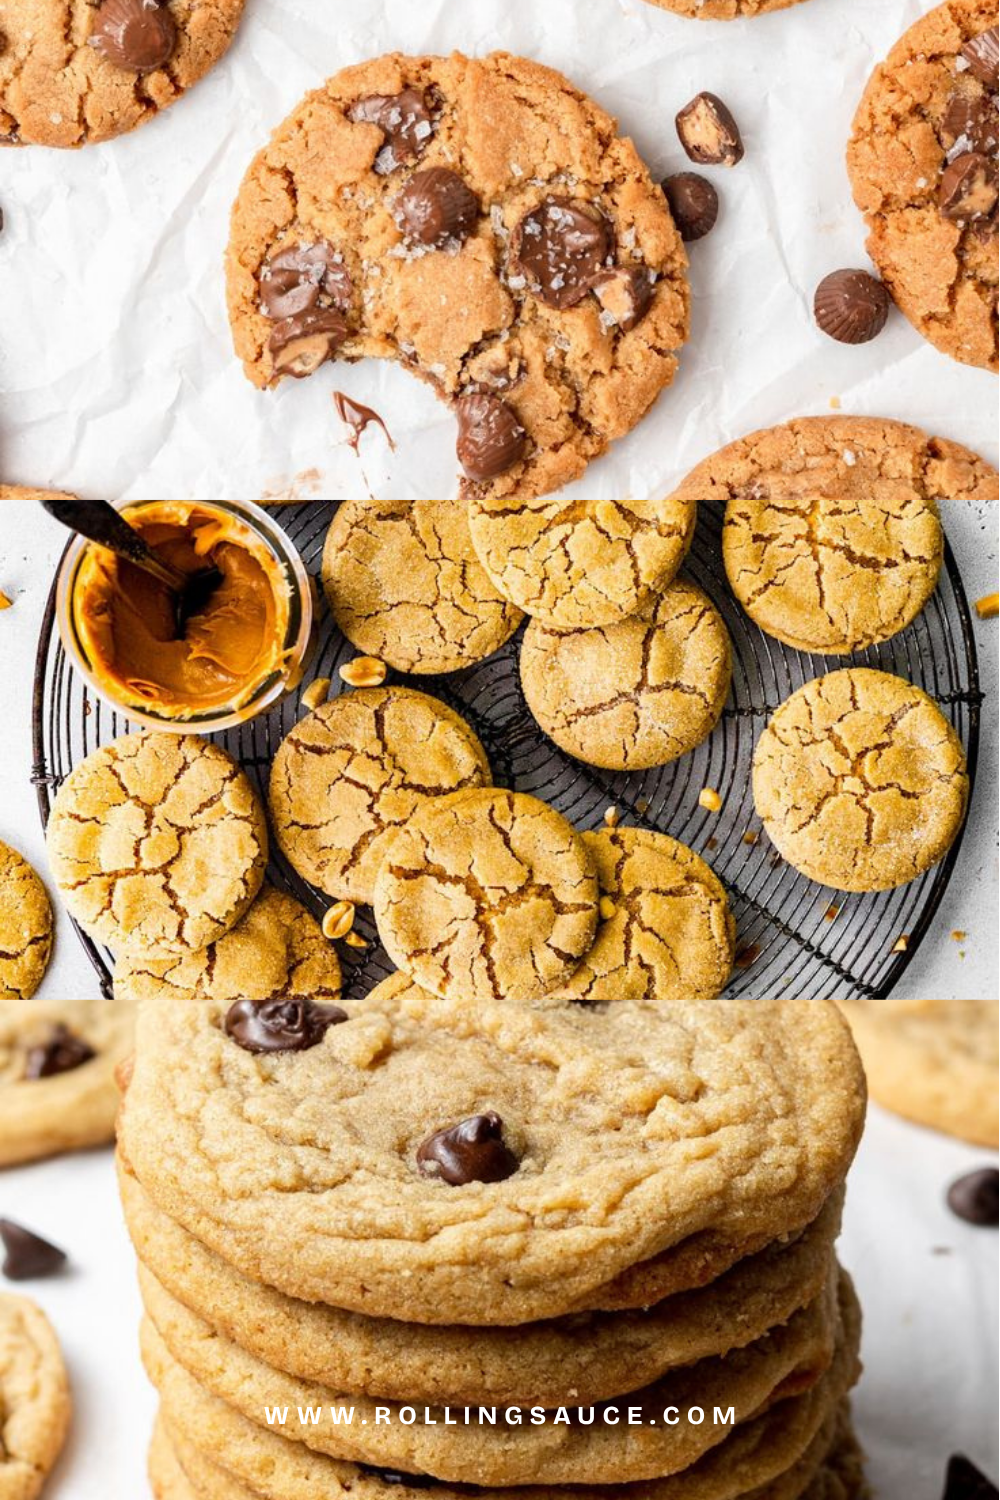
If you’ve made peanut butter cookies before and they came out drier than you wanted, it’s worth understanding what’s actually happening, because the fixes are usually small. According to King Arthur Baking’s overview of cookie science, brown sugar’s molasses content makes it hygroscopic — meaning it actively attracts and holds onto water — which is why recipes that lean toward brown sugar tend to produce softer, chewier results than recipes that rely mostly on white sugar.
Overbaking is the other major factor, and it’s an easy mistake to make because peanut butter cookies don’t brown as dramatically as something like chocolate chip cookies, so it can be hard to tell by color alone when they’re done. If you’re used to baking cookies until they look fully set and matte across the whole surface, that’s usually a sign they’ve gone a minute or two past where you’d want to pull them for a soft center. The cookies in this recipe should still look slightly shiny and soft in the middle when they come out — that’s correct, not underdone.
Finally, how you measure flour matters more than it might seem. Scooping a measuring cup directly into a bag of flour packs in more flour than spooning it in loosely, sometimes by quite a bit, and extra flour is one of the most common reasons cookies turn out drier and more cake-like than intended.
There’s also a timing factor that’s easy to overlook: cookies continue to bake for a short time even after they leave the oven, simply from residual heat in the baking sheet and in the cookies themselves. This is sometimes called “carryover cooking,” and it’s most noticeable in thick, dense bakes like these cookies. If you wait to pull them until they look completely done in the oven, that extra carryover time pushes them past the soft stage and into firmer territory by the time they’ve cooled. Treating “slightly underdone” as the actual finish line, rather than as a risk you’re taking, is the mental shift that makes the biggest difference.
Tips for the Best Cookies
- Use room-temperature butter, not melted or cold straight from the fridge — it should give slightly when pressed but still hold its shape, which helps it incorporate air properly when beaten with the sugars.
- Don’t skip rolling the dough balls in sugar before baking if you want that classic slightly crisp, sparkly exterior; it adds very little sweetness overall but makes a real difference in texture contrast.
- If your kitchen runs warm, chilling the dough for 15 to 20 minutes before baking can help the cookies hold their shape better and bake up a bit thicker.
- Slightly underbaking is the goal here, but pull a test cookie or two from the first batch to check your oven’s actual timing — every oven runs a little differently, and it’s easier to adjust the remaining dough than to fix an already-baked batch.
- Store cooled cookies in an airtight container with a slice of bread inside; the bread will go stale before the cookies do, since it’s giving up its moisture to keep the cookies soft.
Variations
These cookies are easy to build on without changing the basic ratios. A handful of mini chocolate chips folded into the dough turns these into peanut butter chocolate chip cookies, and they hold up well even with the extra mix-ins. For a saltier, more bakery-case look, a sprinkle of flaky sea salt on top right after baking adds a nice contrast to the sweetness without changing the texture.
If you want a more pronounced peanut flavor, swirling in a tablespoon or two of extra peanut butter right before scooping (so it stays in streaks rather than fully blending in) gives some bites a more concentrated peanut butter hit. And if you’re a fan of the classic look, the criss-cross fork pattern works fine here too — it’ll just flatten the cookies slightly compared to leaving them as rounded balls.
FAQ
Can I use crunchy peanut butter instead of creamy? Yes, though the texture will be different — you’ll get small bits of peanut throughout instead of a smooth dough. The ratios don’t need to change, but the cookies may spread very slightly less.
How do I know when these are actually done if they’re supposed to look underbaked? Look for edges that have set and turned just barely golden, with the surface no longer looking wet or glossy at the very edges, even if the center still looks soft. If you press the center gently, it should feel set but still give slightly — it will continue to firm up as it cools.
Can I freeze the dough? Yes. Scoop the dough into balls, freeze them on a tray until solid, then transfer to a freezer bag for up to 3 months. Bake from frozen, adding 1 to 2 extra minutes to the bake time.
Why did my cookies spread too thin? This is usually either butter that was too soft (or melted), dough that wasn’t given enough time if your kitchen is warm, or a baking sheet that was still hot from a previous batch. Letting the dough rest briefly and making sure baking sheets cool between batches both help.
How long do these stay soft? Stored in an airtight container at room temperature, these stay soft for about 5 days, thanks to the brown sugar’s moisture-retaining properties. The bread trick mentioned above can extend that even further.
Can I make these gluten-free? A 1:1 gluten-free flour blend can generally be substituted for the all-purpose flour without changing the other ingredients, though the texture may be slightly more delicate. Since these cookies are already on the softer side, a gluten-free version is a good candidate for this kind of swap compared to cookies that rely on a firmer, more structured crumb.
This is the kind of cookie worth making a double batch of, since the dough freezes well and the baked cookies disappear faster than you’d expect once people realize they’re the soft, bakery-style version instead of the dry kind. If you’re already in baking mode, classic banana bread and moist and tender blueberry muffins with a sugar-crusted top both share that same “simple ingredients, bakery-level result” approach, and they’re worth keeping in the same rotation as these cookies for whenever the craving for something homemade and sweet shows up.