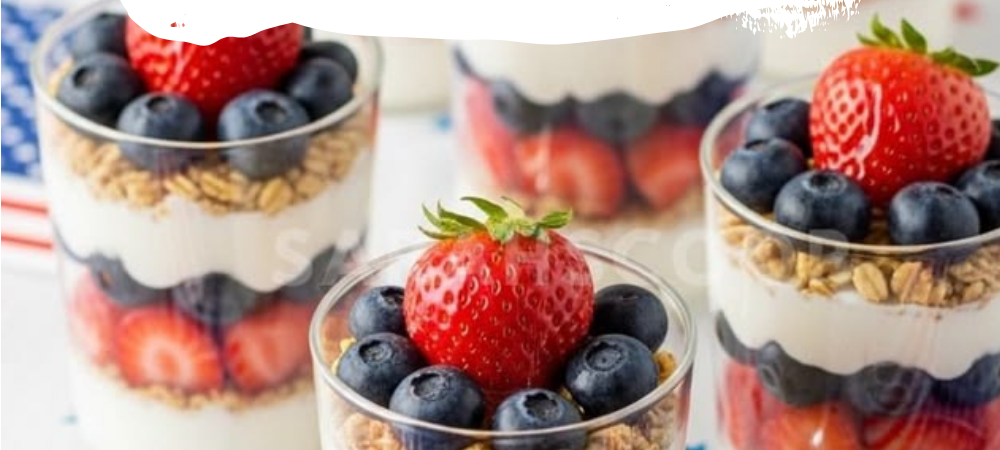
The Fourth of July cookout has a pretty specific food dynamic: everyone brings their best savory game (burgers, ribs, potato salad), and then the dessert table gets treated like an afterthought. A store-bought sheet cake with some red and blue sprinkles, maybe a bowl of fruit that’s been sitting in the sun for an hour. It doesn’t have to be that way.
These three 4th of July desserts all look completely intentional — the kind of thing that makes people ask who brought that — but none of them require advanced baking skills or a lot of oven time. One is completely no-bake. One uses a brownie base and colored frosting. One is a trifle you assemble from layers, which is basically the easiest thing you can make that also happens to be visually dramatic in a glass bowl. All three hit the red, white, and blue visual without anything artificial or forced.
Make one, make all three, or pick the one that fits your schedule. The cheesecake cups can be made the night before. The brownies travel well. The trifle takes about 20 minutes to assemble and looks like you put in significant effort when you absolutely did not.
What’s in This Lineup
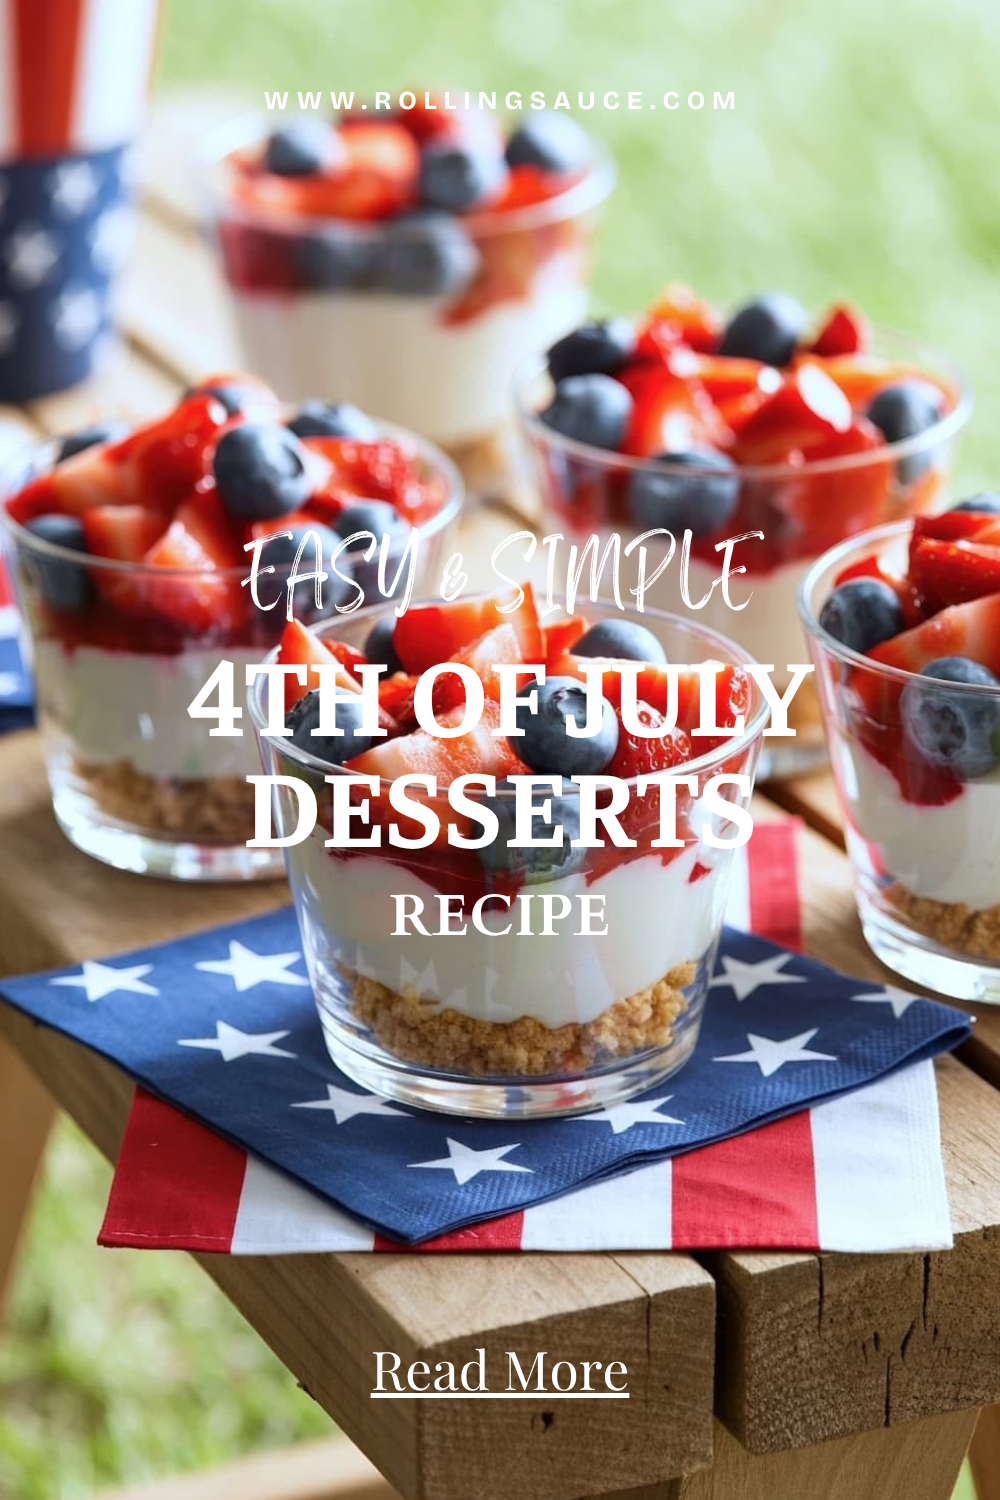
Three recipes, three different levels of involvement. The cheesecake cups are no-bake, portable, and individual-sized — no slicing, no serving utensils needed. The brownies are the most hands-on of the three but are the most crowd-proof; fudgy chocolate with patriotic frosting is not going to be refused. The trifle is the showstopper — it’s the dessert that lives in a giant glass bowl in the center of the table and gets scooped into bowls for everyone.
All three use fresh strawberries and blueberries as the core patriotic color element, which means they taste like summer and look like the holiday without a drop of food dye.
Dessert 1: No-Bake Red, White & Blue Cheesecake Cups
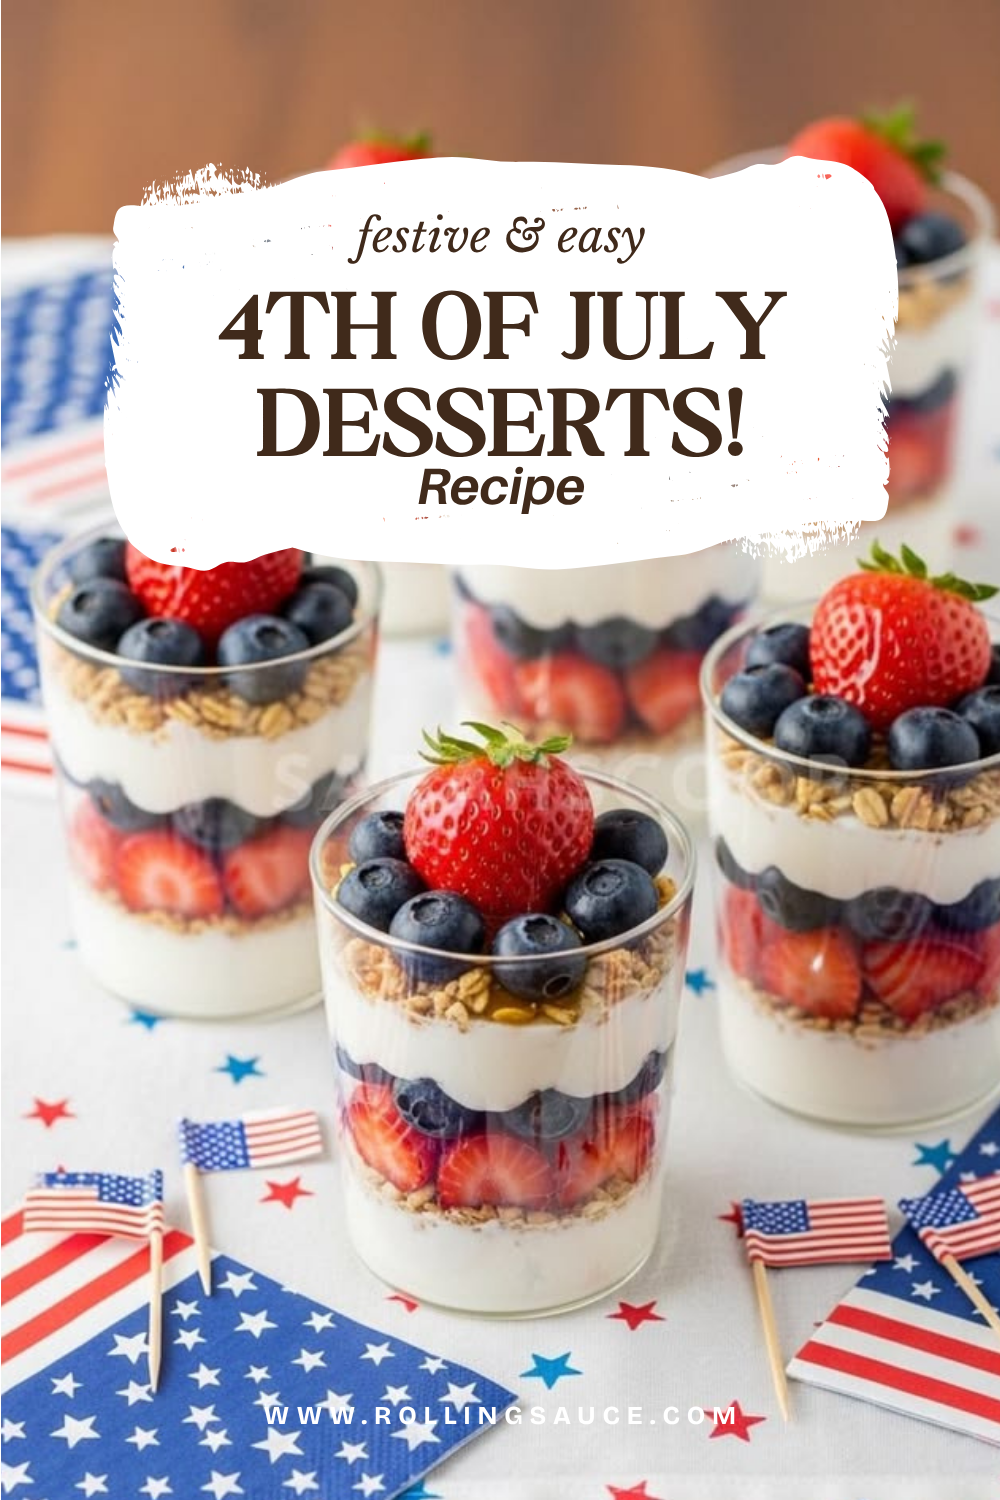
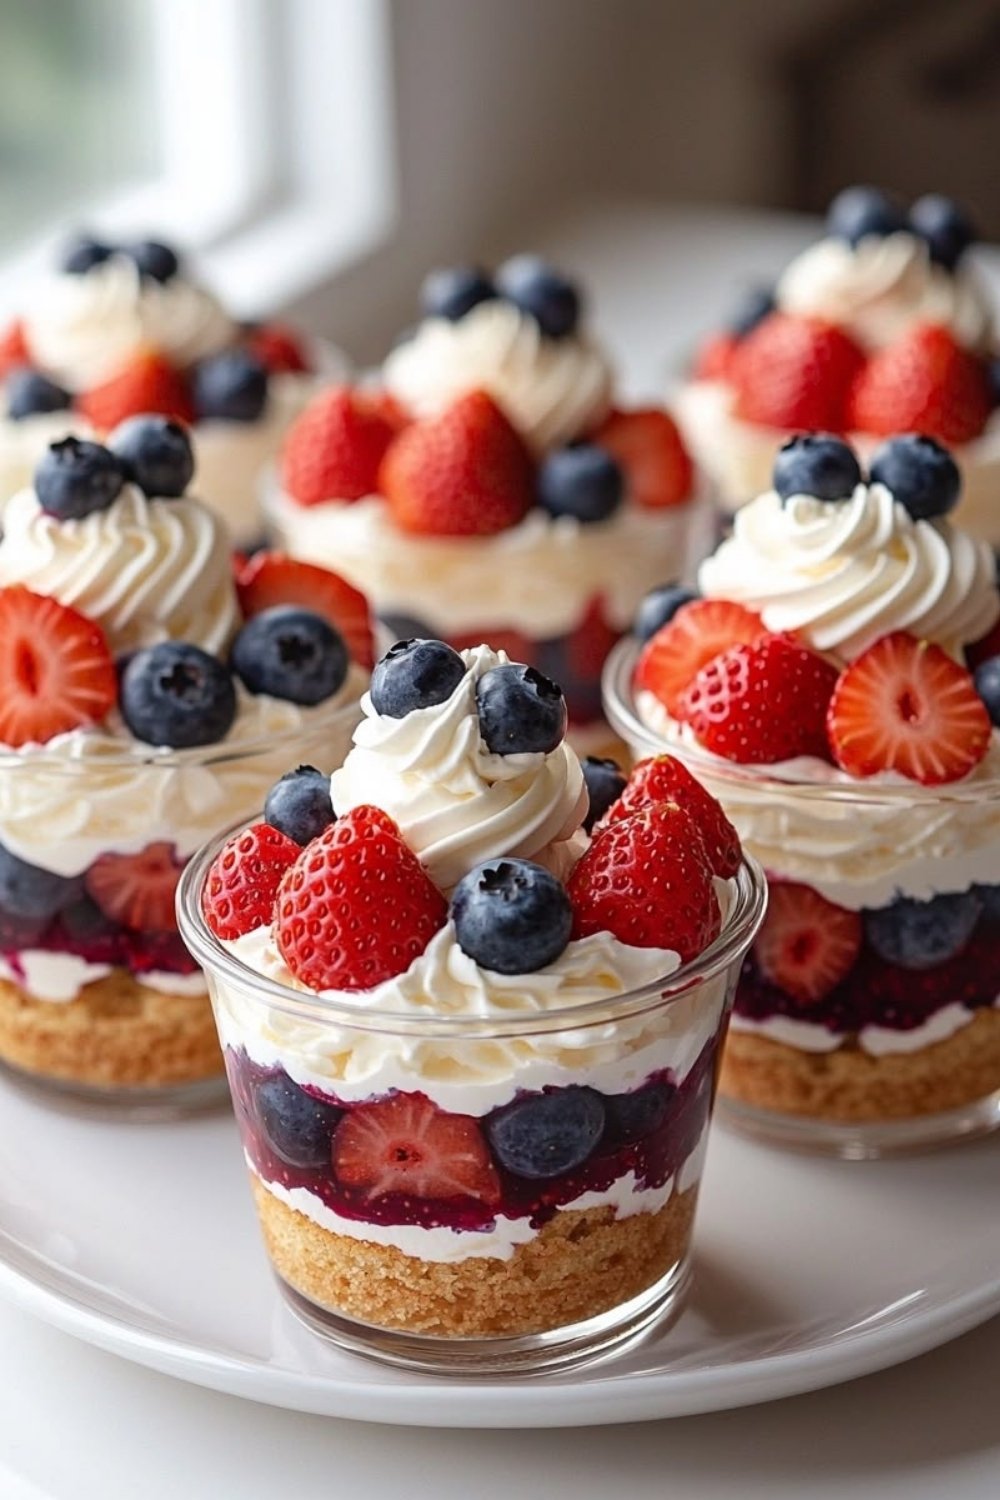
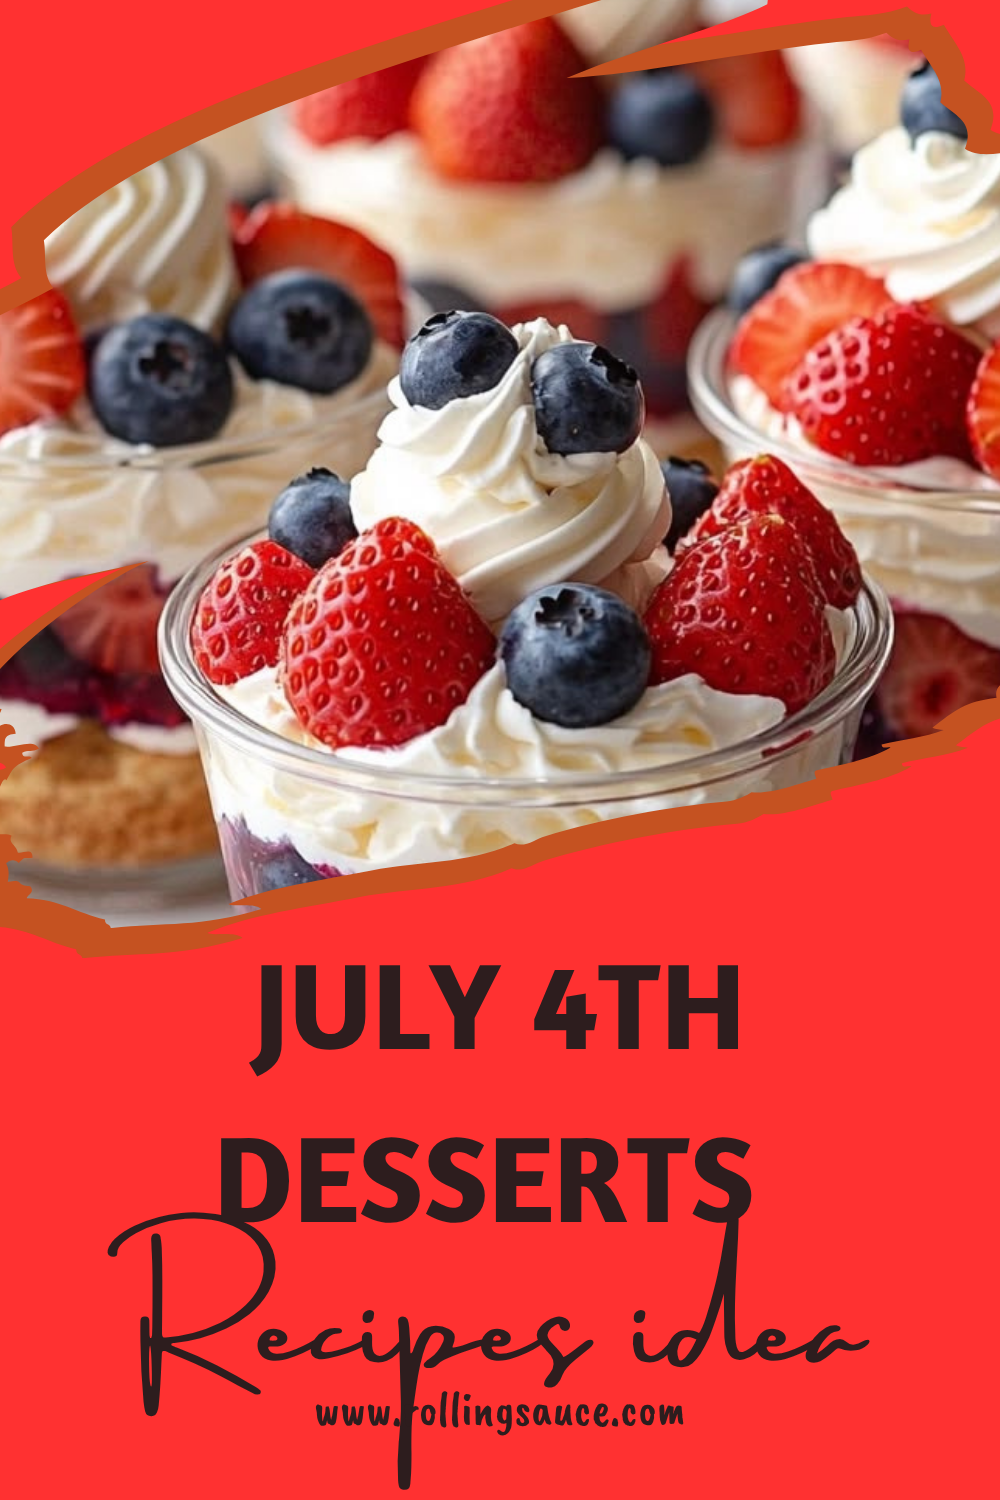
This is the one I’d make if I only had time for one. Individual portions, no oven, and you can make them twelve to twenty-four hours ahead and pull them out of the fridge right before serving. The base is a buttered graham cracker crust pressed into the bottom of small glass cups or clear plastic serving cups. The filling is a lightened cream cheese mixture — cream cheese beaten smooth, then folded with powdered sugar, vanilla, and whipped cream to get a texture that’s rich but not dense. Top with sliced strawberries and blueberries and you’ve got something that looks polished without requiring any real technique.
The cream cheese needs to be fully at room temperature before you beat it, or you’ll end up with lumps that no amount of mixing will fix. Pull it out an hour before you start. If you’re using heavy cream for the whipped component, chill the bowl and beaters in the freezer for ten minutes first — cold cream whips faster, holds its volume better, and won’t break into a greasy mess halfway through. The two components — beaten cream cheese mixture and whipped cream — get folded together gently at the end, not beaten. Folding keeps the airiness in the whipped cream, which is what makes the filling light instead of dense.
The graham cracker base is pressed (not baked) into the bottom of each cup. A tablespoon or two per cup, pressed firmly with the back of a spoon, is enough to give structure without dominating the dessert. You can swap graham crackers for crushed Oreo cookies or vanilla wafers if you want a slightly different flavor in the base — all three work.
For more on building the layered cream cheese dessert format, my classic cheesecake with a buttery graham cracker crust uses the same base logic scaled up to a full pie.
The cups hold up for up to 24 hours refrigerated without the berry topping — add the fruit within two hours of serving so they stay bright and don’t bleed into the cream.

No-Bake Red, White & Blue Cheesecake Cups
Ingredients
Method
- Make the base: Stir together graham cracker crumbs, sugar, and melted butter until evenly moistened. Press 2 tbsp firmly into the bottom of each cup using the back of a spoon.
- Whip the cream: In a cold bowl, beat heavy cream with a hand mixer or stand mixer until stiff peaks form. Set aside.
- Make the filling: In a separate bowl, beat room-temperature cream cheese until completely smooth. Add powdered sugar and vanilla and beat until fluffy. Gently fold in the whipped cream until just combined — don't beat after folding.
- Fill: Spoon or pipe the filling into each cup over the graham cracker base, filling to just below the rim.
- Chill: Cover and refrigerate for at least 2 hours or overnight.
- Serve: Top each cup with sliced strawberries and blueberries within 2 hours of serving. Serve cold.
Notes
- Storage: Keep refrigerated. Best within 24 hours of assembling. Add berry
topping no more than 2 hours before serving. - Make ahead: Assemble cups without berry topping up to 24 hours ahead.
- Swap: Swap graham crackers for crushed vanilla wafers or Oreos for the
base. Add a thin layer of strawberry jam under the cream cheese
filling for extra flavor.
Dessert 2: Patriotic Flag Brownies
These are the option for when you want to show up with something that photographs well and also gets demolished in under ten minutes. A dense, fudgy brownie base — the kind with a crackled top — cut into rectangles, then frosted and decorated to look like miniature American flags. Red and white stripes piped across the bottom three-quarters, a blue square of frosting in the upper left corner, and small white star sprinkles pressed in.
The decorating sounds fussier than it is. You don’t need a piping bag — a small zip-lock with the corner snipped works fine. The stripes don’t need to be mathematically precise. The entire visual effect reads “American flag” at a glance, and slight imperfections actually make them look more handmade and charming.
A few brownie technique notes: don’t overmix the batter once you add the flour — overmixing develops gluten and produces a cakey, tough brownie instead of a fudgy one. Stir until the flour just disappears, then stop. Pull them from the oven when the center still has a slight jiggle — they’ll continue to set as they cool, and a slightly underbaked brownie is always better than an overbaked one. Let them cool completely before frosting. Completely. Frosting warm brownies is a recipe for sliding, melted decoration.
For the flag decoration, you don’t need a dedicated piping bag. A small zip-lock bag with one corner snipped to create a tiny opening works just as well. Fill one bag with red frosting and one with white, and work from the bottom of each brownie upward. Seven stripes total — four red, three white — and a blue square in the upper left. Small white star-shaped sprinkles or white nonpareils pressed into the blue section finish the look. The whole decorating process takes about 20 minutes once you have the frosting made, and the brownies can be decorated the morning of the cookout after baking and cooling the night before.
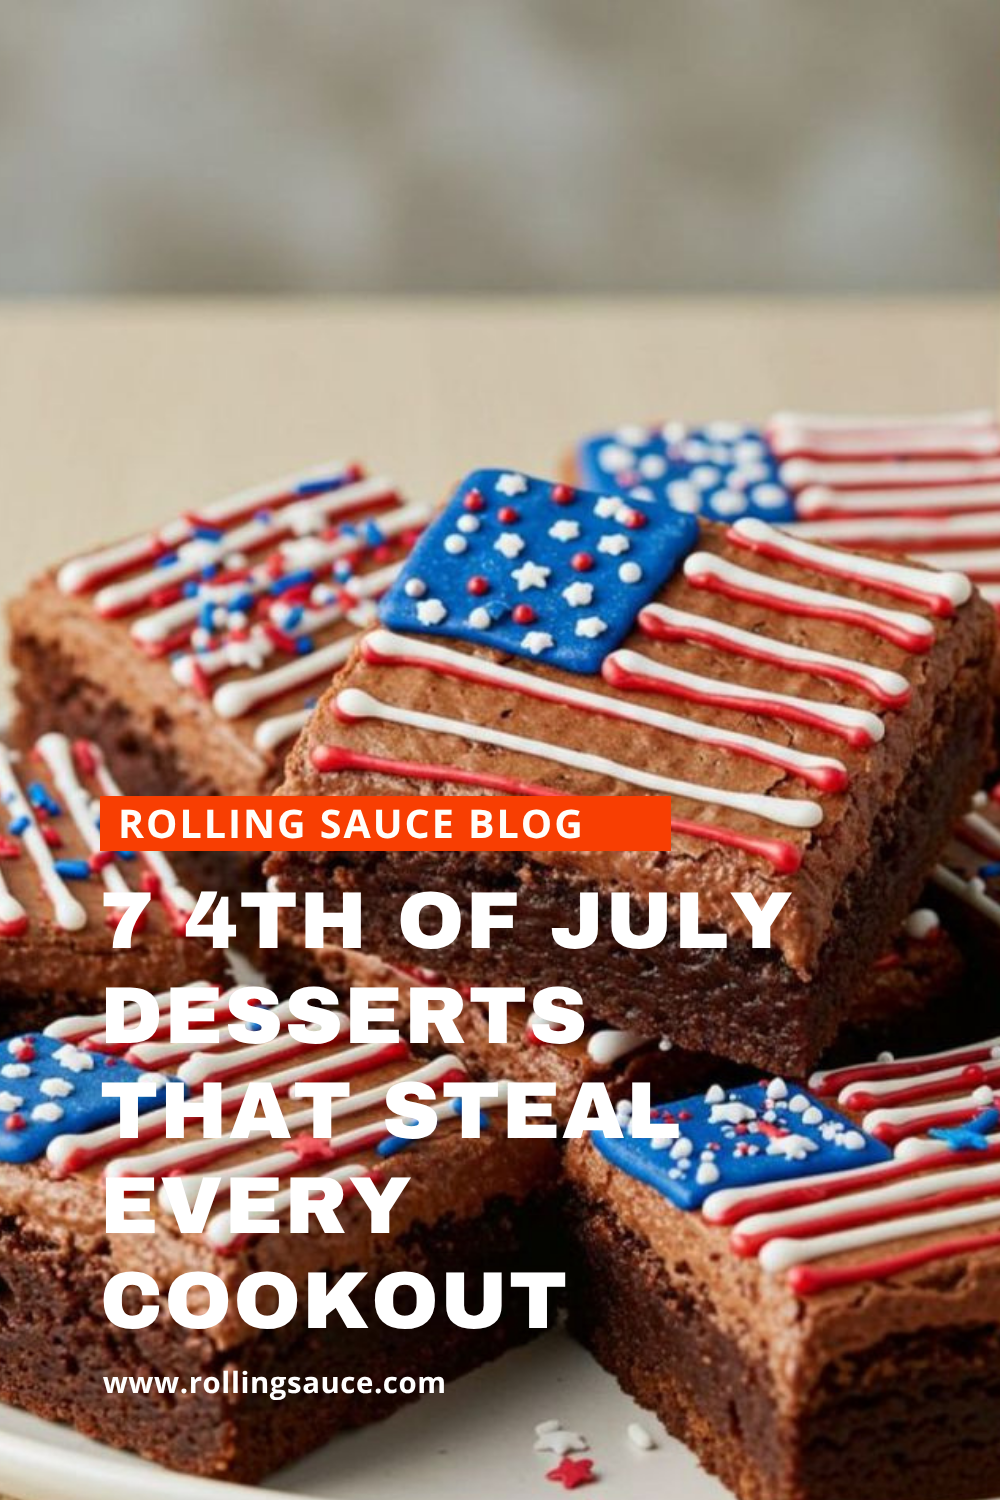
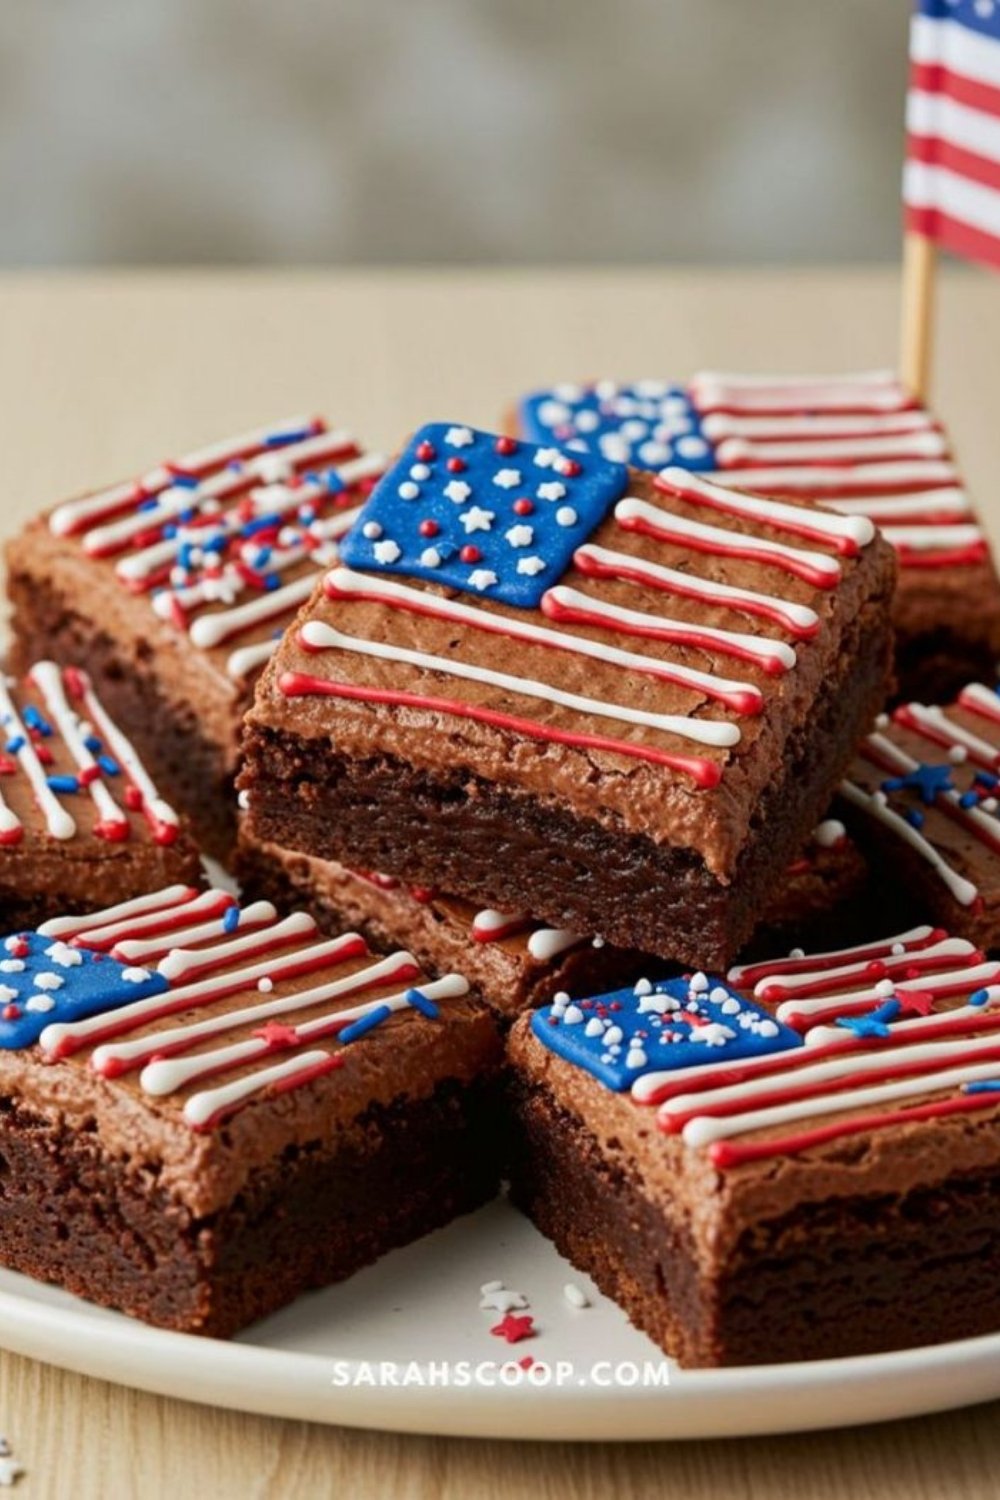
Patriotic Flag Brownies
Ingredients
Method
- Preheat oven to 350°F (175°C). Line a 9×13-inch pan with parchment paper.
- Melt butter in a large saucepan over low heat. Remove from heat and whisk in sugar. Add eggs one at a time, whisking after each. Stir in vanilla.
- Sift in flour, cocoa, salt, and baking powder. Stir until *just* combined — stop as soon as the flour disappears.
- Pour into prepared pan and spread evenly. Bake 25–30 minutes, until the edges are set and the center has a very slight jiggle. Do not overbake.
- Cool completely in the pan (at least 2 hours or overnight) before decorating.
- Decorate: Divide the white buttercream into three portions. Leave one white, tint one red, one blue (use gel food coloring for vivid color). Frost each brownie with a white base. Pipe red and white horizontal stripes across the bottom three-quarters. Add a blue rectangle in the upper left corner and press in star sprinkles.
Notes
- Storage: Keep loosely covered at room temperature for up to 3 days.
Refrigerate in hot weather. - Make ahead: Bake brownies the day before; frost and decorate the morning of
the cookout. - Swap: Use store-bought brownie mix to save time — bake according to
box directions, then decorate as above.
Dessert 3: Red, White & Blue Berry Trifle
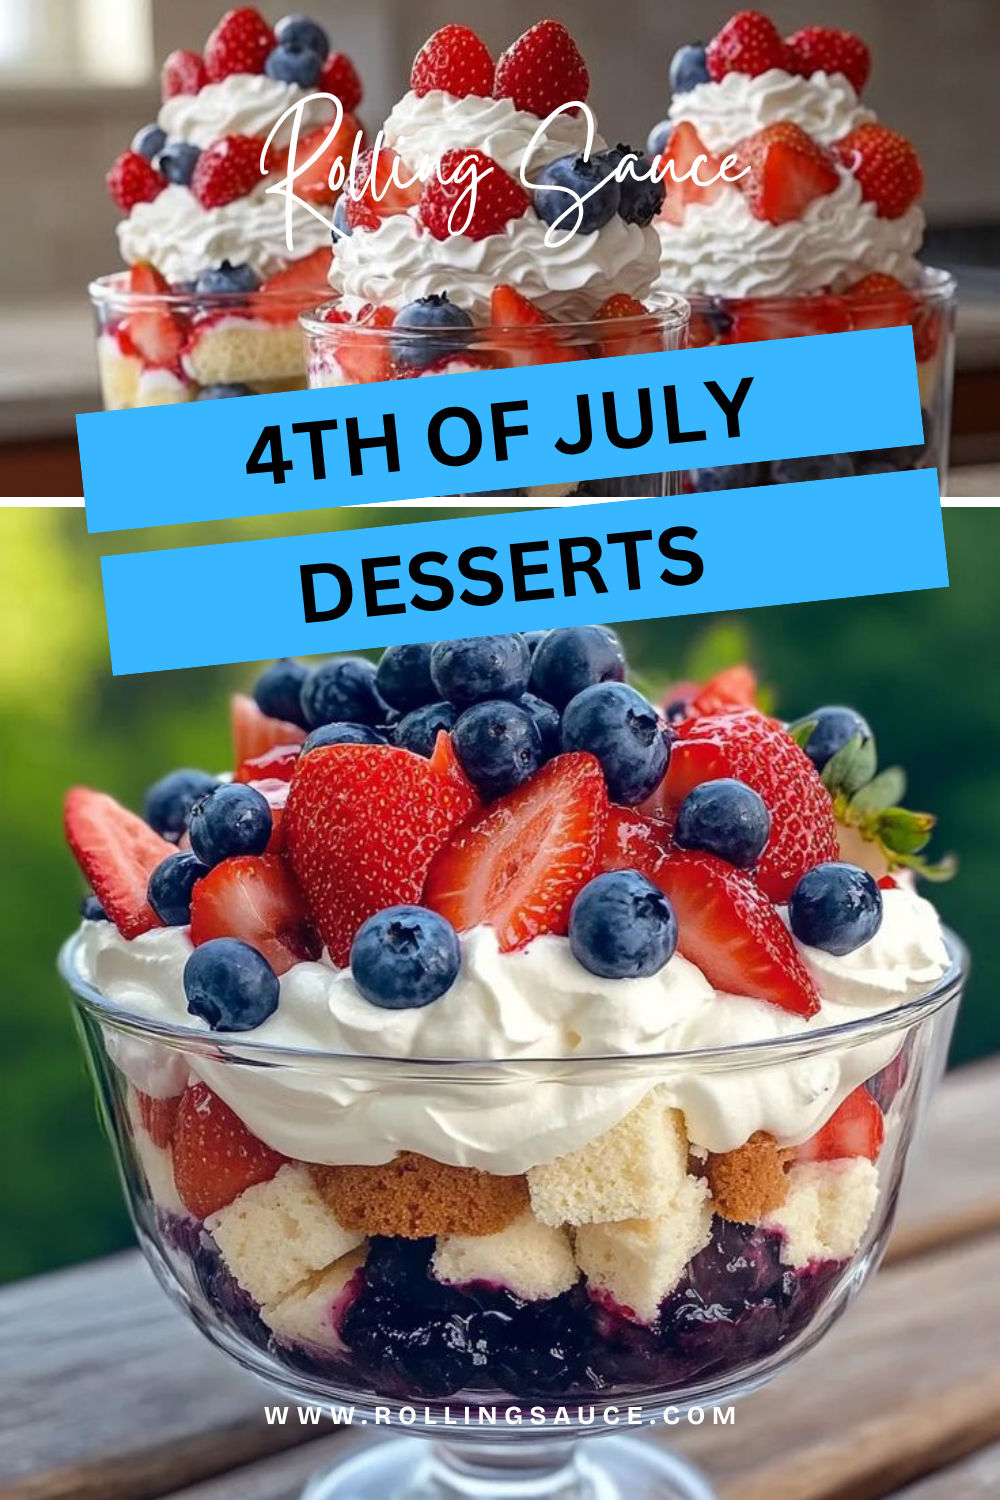
This is the big one. A glass trifle bowl stacked with layers of angel food cake, lightly sweetened whipped cream, fresh strawberries, and blueberries — it’s the kind of dessert that gets set on the center of the table and stays there as the focal point until it’s completely gone.
The structural genius of a trifle is that it’s completely forgiving. You don’t need even layers or perfect placement; the beauty is in the visible layers seen through the glass, and those look great with zero precision. Tear the angel food cake into rough cubes about one to two inches (store-bought is completely fine here — this is not the moment for homemade cake). Layer cake on the bottom, then a thick layer of whipped cream, then a generous layer of sliced strawberries and whole blueberries. Repeat that sequence one more time, then finish the top with a pile of berries arranged however looks good to you. Some people do a full American flag pattern on top — a square of blueberries in the upper left corner and rows of sliced strawberries across the rest — which looks striking and takes about five minutes.
The whipped cream: beat heavy cream with powdered sugar and vanilla until stiff peaks form. It holds much better than Cool Whip in the bowl but Cool Whip works if you need the convenience. For a richer, more stable cream layer that won’t weep after a few hours at room temperature, add two ounces of softened cream cheese to the heavy cream before whipping — it stiffens the whole thing without changing the flavor much.
This trifle needs at least two hours in the fridge before serving for the layers to settle and the cake to absorb moisture from the cream and berries — that softening is actually what makes it so good. Overnight is even better. For another no-bake layered dessert in the same spirit, my banana pudding with creamy layers uses the same build-and-chill logic.
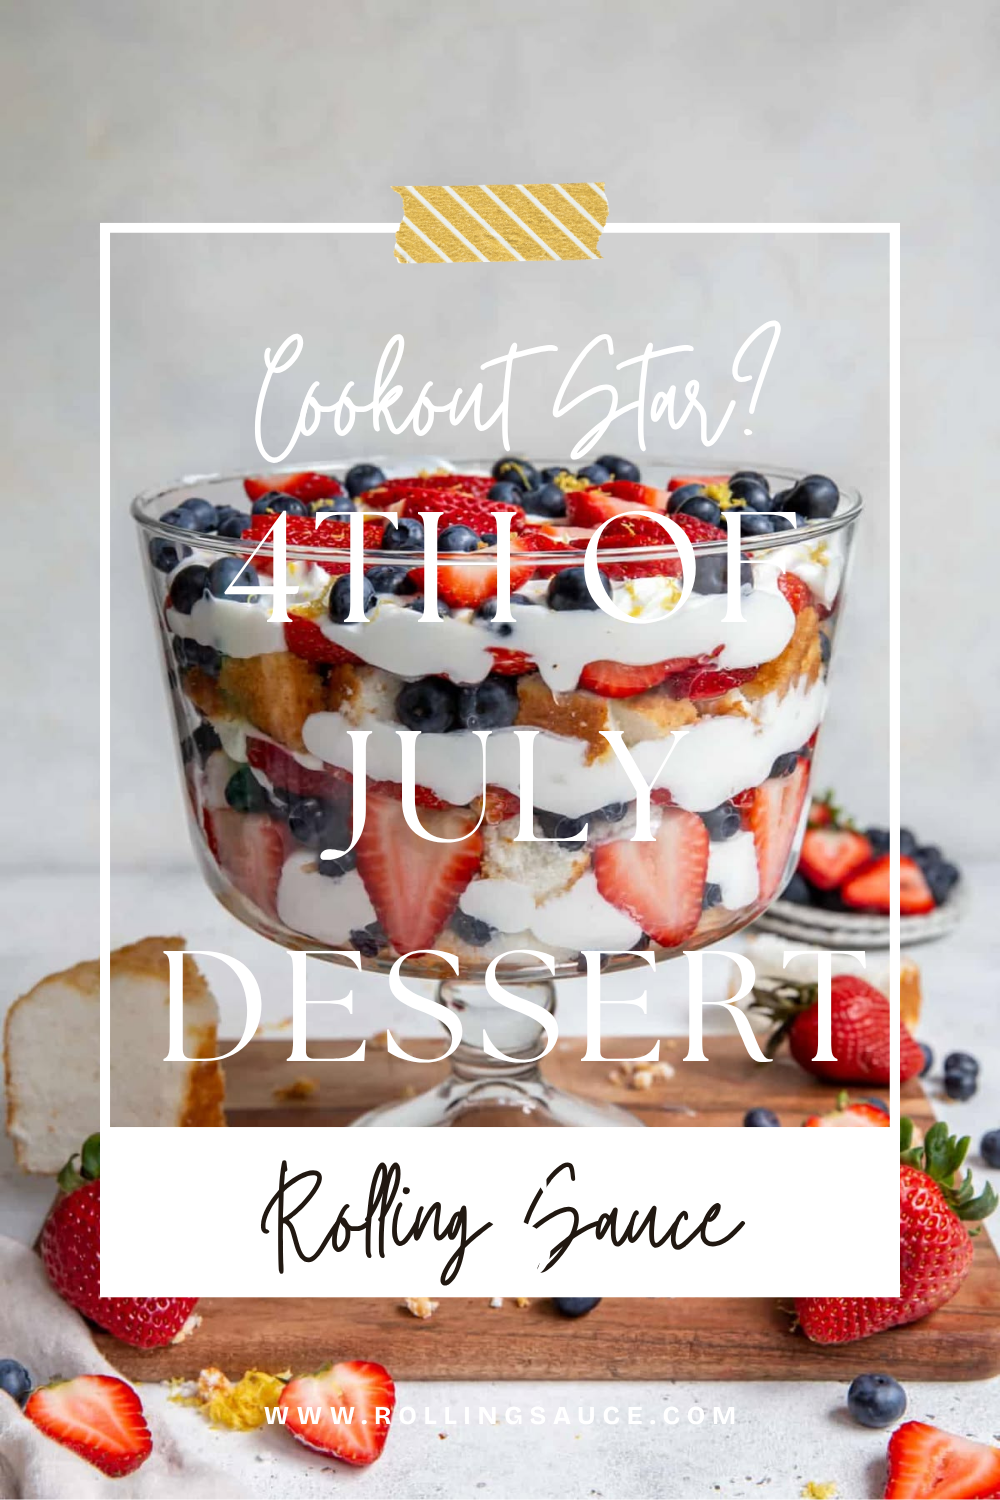
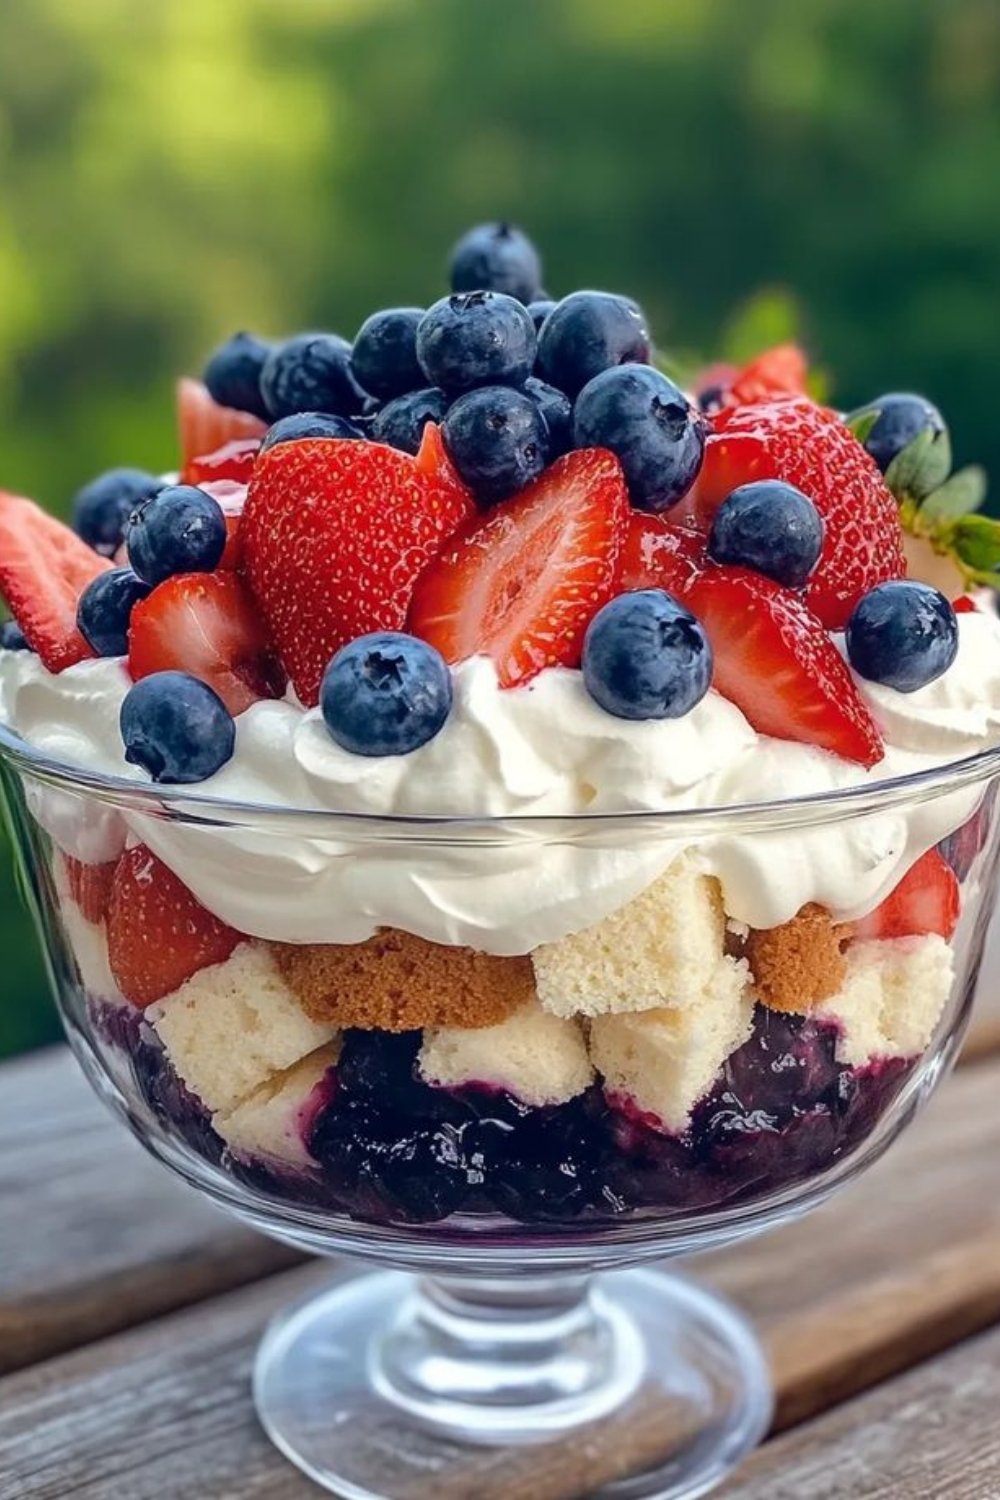
Red, White & Blue Berry Trifle
Ingredients
Method
- Make whipped cream: Beat heavy cream (and cream cheese if using) on medium speed until it begins to thicken. Add powdered sugar and vanilla. Beat to stiff peaks. Do not overbeat.
- Assemble: In a large glass trifle bowl or clear serving bowl, layer: — A generous layer of angel food cake pieces (bottom) — A thick layer of whipped cream — A layer of sliced strawberries and some blueberries. Repeat layers once more.
- Finish top: Arrange remaining strawberries and blueberries decoratively on top. For a flag effect, cluster blueberries in the upper left and arrange strawberry slices in rows across the rest.
- Chill: Cover and refrigerate at least 2 hours before serving (overnight is better — the cake softens beautifully).
Notes
- Storage: Keeps refrigerated for up to 2 days. Berry color may bleed slightly
after 24 hours but flavor holds well. - Make ahead: Assemble fully up to 24 hours ahead. The rest improves the texture.
- Swap: Swap angel food cake for pound cake or ladyfinger cookies. Add
raspberries for extra red color and flavor.
Tips for Cookout Dessert Success
- Make everything the night before. All three of these desserts are actually better after resting in the fridge overnight. The cheesecake cups firm up, the trifle layers meld, and the brownies cut cleaner after fully cooling. The Fourth is already hectic enough — don’t add fresh dessert prep to the day-of list.
- Transport smart. The brownies travel best — stack them in a single layer in a covered container and they’ll survive a car ride without issue. The cheesecake cups transport fine if you keep them refrigerated and add the berry topping at the destination. The trifle is best assembled on-site if you’re traveling far; pack the cake, cream, and berries separately and layer when you arrive. A large zip-lock works for the torn cake pieces, and a mason jar works for the whipped cream.
- Use the freshest berries you can find. These desserts are showcasing strawberries and blueberries front and center, so their quality matters. At a farmers market or grocery store in early July, both should be in peak season. Avoid berries that are mushy, pale, or smell sour.
- Keep desserts cold. July heat is not kind to cream-based desserts. If you’re at an outdoor cookout, keep these in a cooler or on a shaded table and serve within two hours of pulling them from refrigeration.
- Scale freely. All three recipes scale up easily. Doubling the trifle is as simple as buying a second cake and more berries. If it’s too hot to bake and the brownies feel like too much work, my no-bake cookies are a 15-minute backup that fits the same cookout format.
Frequently Asked Questions
Can all three of these be made ahead? Yes — that’s one of the main reasons I chose these three specifically. The cheesecake cups and trifle can be assembled 12 to 24 hours ahead (add berry toppings within 2 hours of serving). The brownies bake the day before, cool overnight, and get decorated the morning of the cookout. None of these require last-minute work.
What’s the best container for the cheesecake cups? Small clear plastic party cups (9-oz or 12-oz size) work well for a larger crowd and eliminate the need for dishwashing. For a more polished look, small mason jars or short glass tumblers are beautiful. Whatever you use, clear sides let you see the graham cracker layer and the cream, which is most of the visual appeal.
My whipped cream deflated — what went wrong? Whipped cream loses volume when the fat in the cream gets too warm. The most common culprits: bowl and beaters weren’t cold (put them in the freezer for 10 minutes before whipping), or the cream was room temperature. Use cream straight from the fridge. If you’re making it ahead and need it to hold overnight, adding cream cheese to the heavy cream before whipping (as mentioned in the trifle recipe) stabilizes it significantly.
Can I use frozen berries? For the trifle layers, you can thaw and drain frozen berries in a pinch, but fresh berries hold their shape and color significantly better. Frozen berries release a lot of liquid when they thaw and will make the layers bleed and look muddy. For the cheesecake cup topping and any presentation-forward decoration, fresh only.
What can I make if the oven feels like too much? Skip the brownies and make two batches of cheesecake cups or a double-sized trifle. Both are completely no-bake and require nothing but a mixer and refrigerator time. For other no-bake options worth having in your rotation, check out my banana pudding recipe — same no-bake approach, different flavor.
Three desserts, a lot of red and blue, zero food dye. These are the ones that end up being the subject of texts the next day asking for recipes. Make them, take them, claim your rightful place as the person who brought the best dessert.
Save this post before the Fourth gets here — you’ll want it.