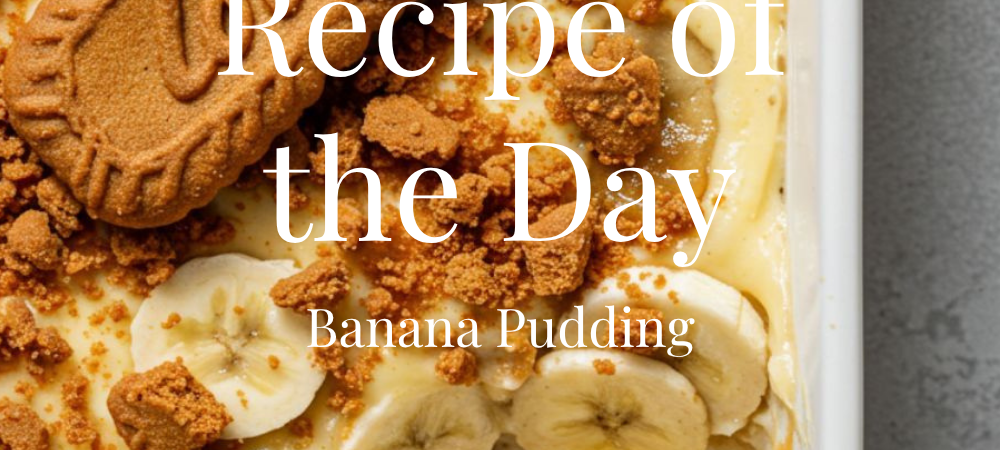
Every potluck, every cookout, every time someone asks me to bring dessert — this is the one I make. It’s the banana pudding I’ve been tweaking for years, and the version I finally stopped changing because there was nothing left to improve. No oven, no stove, no custard to stand over. The pudding base comes together in one bowl, the layers go in a dish, and after a few hours in the fridge you end up with something that’s genuinely hard to stop eating. It tastes like the classic you grew up with, except creamier, richer, and more likely to disappear before you’re ready to put it away. If you’ve been making banana pudding from a box of instant pudding mixed with milk, this version is going to feel like an upgrade. The secret is the cream cheese, and once you use it this way you’ll never go back.
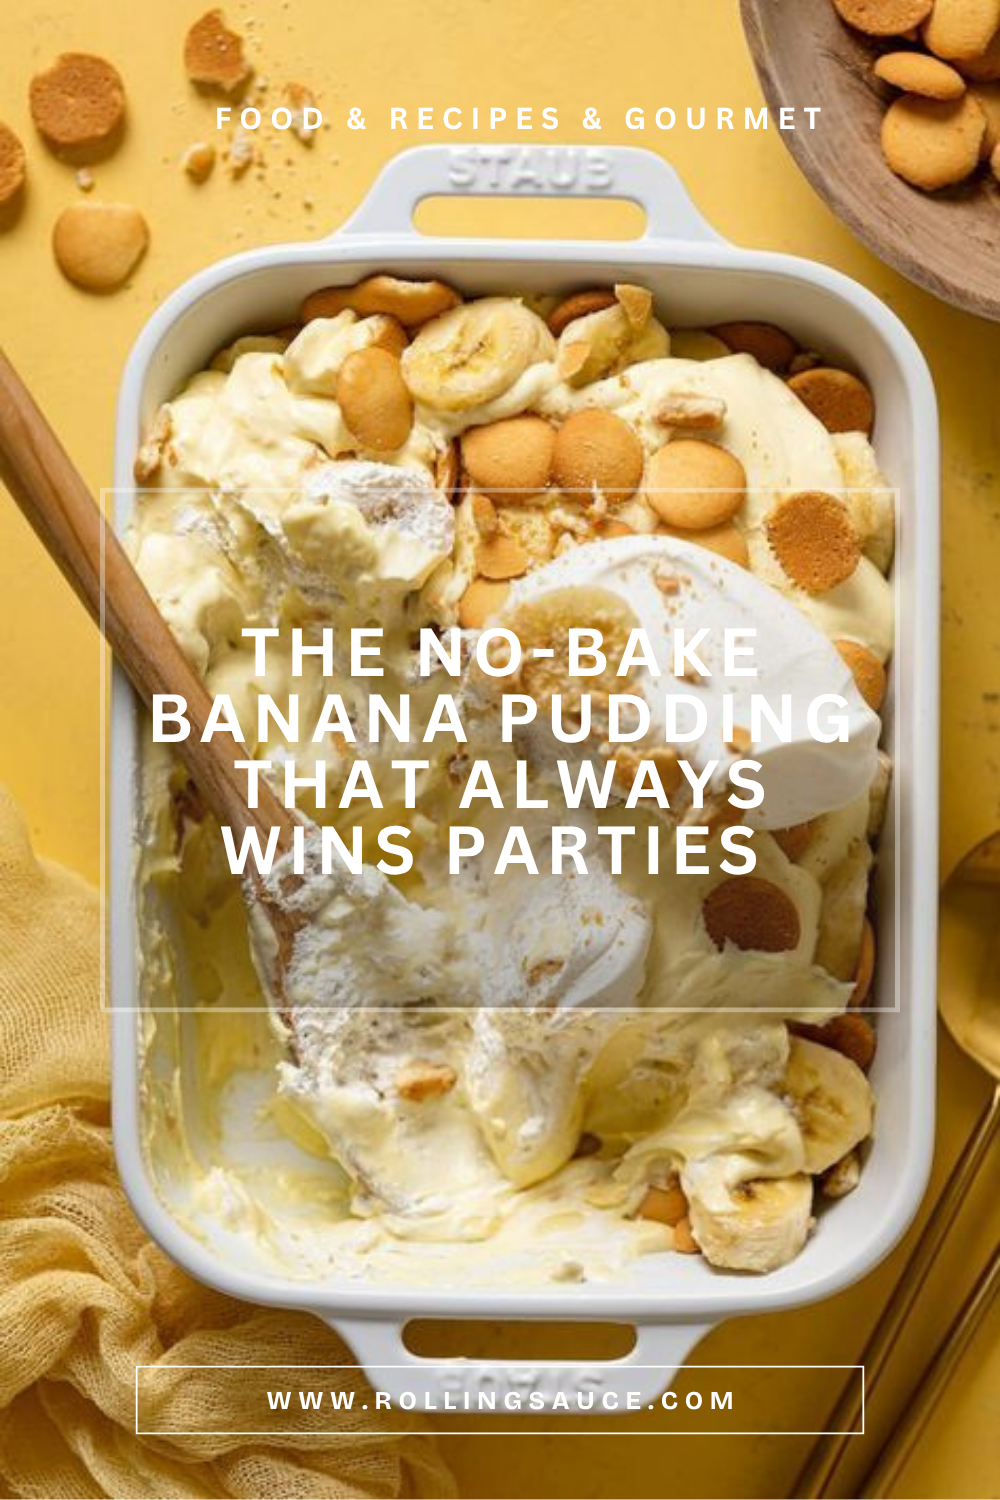
What Makes This Banana Pudding Different
Most banana pudding recipes start with instant pudding mix stirred into cold milk. That works. It’s fine. This version starts the same way, but adds cream cheese and sweetened condensed milk to the base, and those two additions change the texture completely.
Cream cheese makes the filling denser and richer without making it heavy — it sets up firm enough to hold clean layers but soft enough that every spoonful has that spoonable, creamy quality you want from a great banana pudding. It’s the same principle that makes a no-bake classic cheesecake set without the oven — cream cheese carries structure and richness at the same time. The sweetened condensed milk adds a deeper sweetness than granulated sugar would, with a caramel-adjacent flavor that plays well against the vanilla and the slightly tart sour notes of the cream cheese. Together they make the filling taste like it was made from scratch, even though the pudding mix is still doing the structural work underneath.
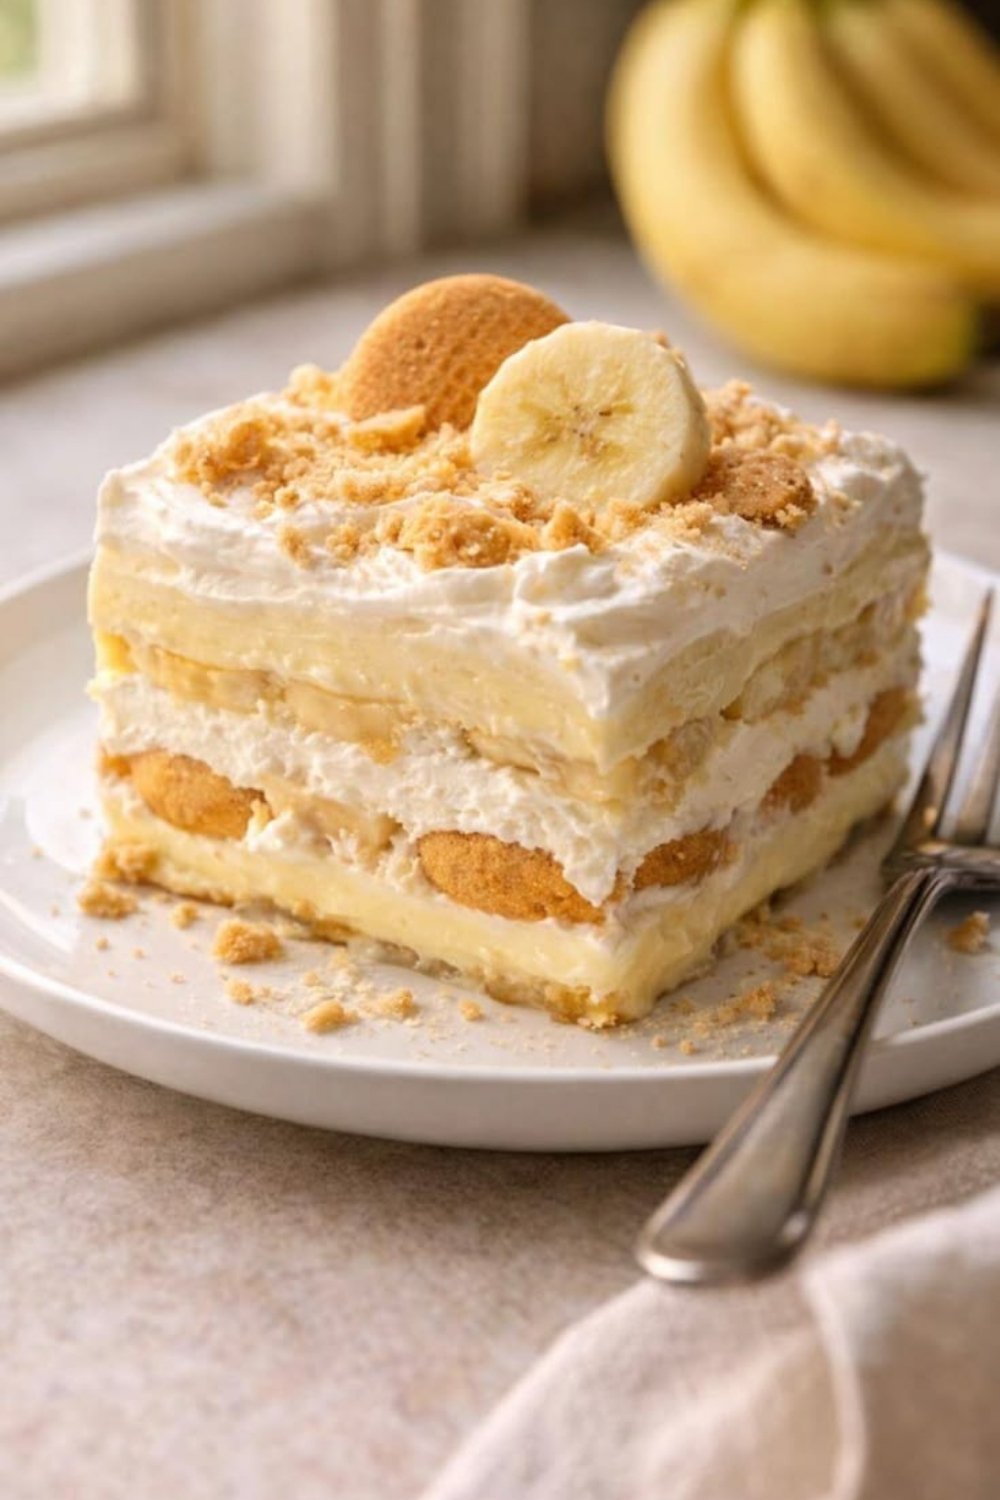
The other thing worth understanding is the layering itself. The goal isn’t to have crispy Nilla wafers in the finished dish — it’s to have wafers that have softened into something almost cake-like, still with a little body but fully fused with the pudding. That transformation takes time, which is why the four-hour chill is non-negotiable. At two hours the wafers are still distinct and a little chalky. At four, they’ve absorbed enough pudding to become something closer to sponge cake layers. Give it overnight and the dish is even better.
The one thing that does benefit from being fresh is the banana layer — which is why I toss the slices in a small amount of lemon juice before layering them in. The lemon juice slows the enzymatic reaction that turns cut bananas brown, and it doesn’t change the flavor at all as long as you use a light hand with it.
What You’ll Need
The pudding base
- 8 oz cream cheese, softened to room temperature
- 14 oz can sweetened condensed milk
- 5 oz box instant vanilla pudding mix
- 3 cups cold whole milk
- 2 tsp vanilla extract
The cream cheese must be softened — cold cream cheese won’t beat smooth and will leave lumps in the filling. If you forgot to take it out early, microwave it in 15-second bursts until it gives to gentle pressure but isn’t warm.
The whipped layer
- 16 oz container whipped topping (Cool Whip), divided
Half of this gets folded into the pudding base for lightness; the other half goes on top as a cloud layer before serving.
The layers
- 1 box (11 oz) Nilla wafers
- 4–5 ripe but firm bananas, sliced into rounds
- 1 tsp fresh lemon juice
Choose bananas that are fully yellow with no green at the tips, but not spotted or soft. Bananas that are too ripe will turn mushy in the pudding; bananas that are too underripe won’t have enough sweetness to carry the layers.
Exact quantities are in the recipe card below.

No-Bake Banana Pudding With Cream Cheese
Ingredients
Method
- In a large bowl, beat the softened cream cheese with a hand mixer on medium speed until completely smooth and fluffy, about 2 minutes. Scrape down the sides and beat again until no lumps remain.
- Add the sweetened condensed milk, instant pudding mix, cold milk, and vanilla extract to the cream cheese. Beat on medium speed until thick, smooth, and slightly aerated, about 2–3 minutes.
- Fold in half the container of whipped topping using a rubber spatula, using gentle sweeping motions to keep the mixture light. Refrigerate the pudding base for 30 minutes to firm up.
- Toss the banana slices in the lemon juice to coat lightly.
- In a 9×13-inch baking dish, arrange a single layer of Nilla wafers on the bottom, overlapping slightly. Layer half the banana slices over the wafers, then spread half the pudding mixture evenly over the bananas.
- Repeat: another layer of Nilla wafers, remaining banana slices, remaining pudding.
- Spread the remaining whipped topping over the top. Crush a small handful of Nilla wafers and scatter over the whipped topping.
- Cover tightly with plastic wrap and refrigerate for at least 4 hours (overnight is best). Add fresh banana slices to the top just before serving if desired.
Notes
- Storage: Cover and refrigerate for up to 2 days. Best within the first 24 hours of assembly.
- Make ahead: The pudding base can be made up to 2 days ahead and refrigerated; layer with wafers and bananas the day before serving.
- Swap: Replace Nilla wafers with Chessmen shortbread or Biscoff cookies for a richer, spiced variation. Use fresh whipped cream (2 cups heavy cream beaten to stiff peaks with 2 tbsp powdered sugar) in place of Cool Whip if preferred — serve within 6 hours.
How to Make It
1. Beat the cream cheese
Add the softened cream cheese to a large mixing bowl and beat with a hand mixer on medium speed until it’s completely smooth and fluffy, about 2 minutes. This is the step people rush, and you shouldn’t — lumps at this stage don’t smooth out later. Scrape down the sides of the bowl and beat again until there are no visible streaks of cream cheese left.
2. Build the pudding base
Add the sweetened condensed milk, instant pudding mix, cold milk, and vanilla extract to the cream cheese bowl. Beat on medium speed until the mixture is thick, smooth, and holds soft peaks when you lift the beaters — about 2 to 3 minutes. The pudding mix needs the cold milk to activate, so make sure it goes in cold.
3. Fold in the whipped topping
Add half the container of whipped topping to the pudding mixture. Fold it in gently with a rubber spatula, using big sweeping motions from the bottom of the bowl rather than stirring. You want to keep as much air in the whipped topping as possible — this is what gives the finished filling its light, almost mousse-like texture. Fold until just combined, with no white streaks, then refrigerate the mixture for 30 minutes to let it firm up before layering.
4. Prep the bananas
Slice the bananas into rounds about ¼-inch thick and toss them in the lemon juice. This step takes 30 seconds and makes a real difference if the dish needs to sit in the fridge for more than a few hours before serving.
5. Layer the dish
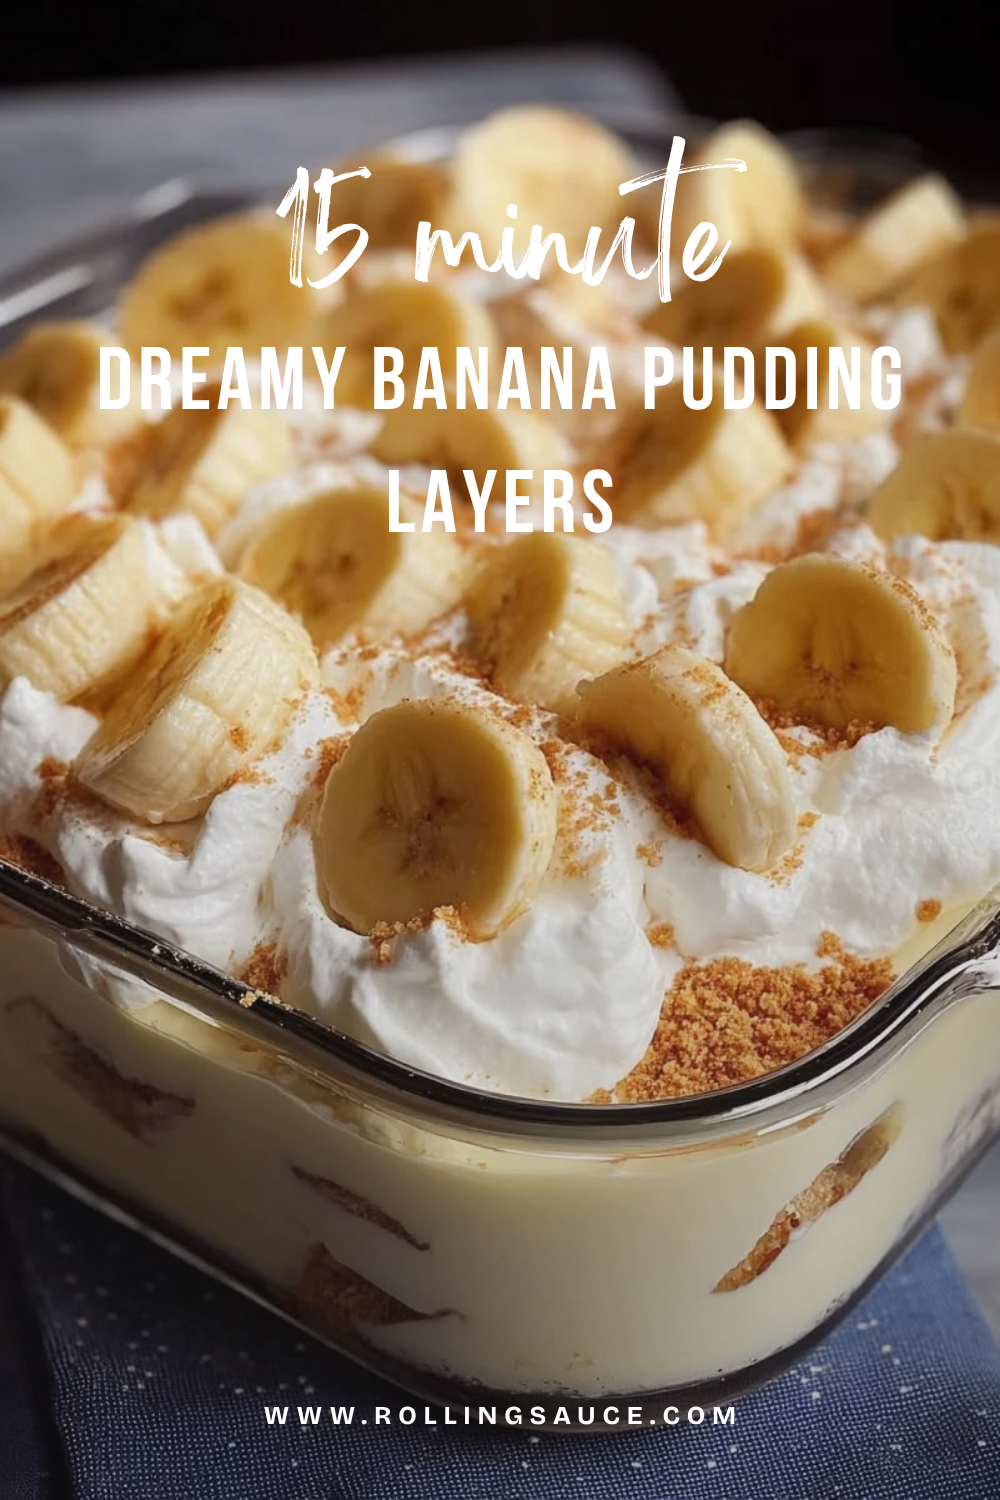
Start with a layer of Nilla wafers on the bottom of a 9×13-inch baking dish, overlapping them slightly to cover the surface. Add a layer of banana slices, then spread about one-third of the pudding mixture evenly across the bananas. Repeat — wafers, bananas, pudding — for two more layers, ending with the pudding on top.
6. Add the top layer and chill
Spread the remaining whipped topping over the top of the last pudding layer. Crush a small handful of Nilla wafers and scatter the crumbles across the whipped topping for texture. Slice two or three fresh banana rounds and arrange them on top if you’d like a garnish (add these only right before serving if possible). Cover the dish tightly with plastic wrap and refrigerate for at least 4 hours before serving. Overnight is even better.
Tips for Getting the Layers Right
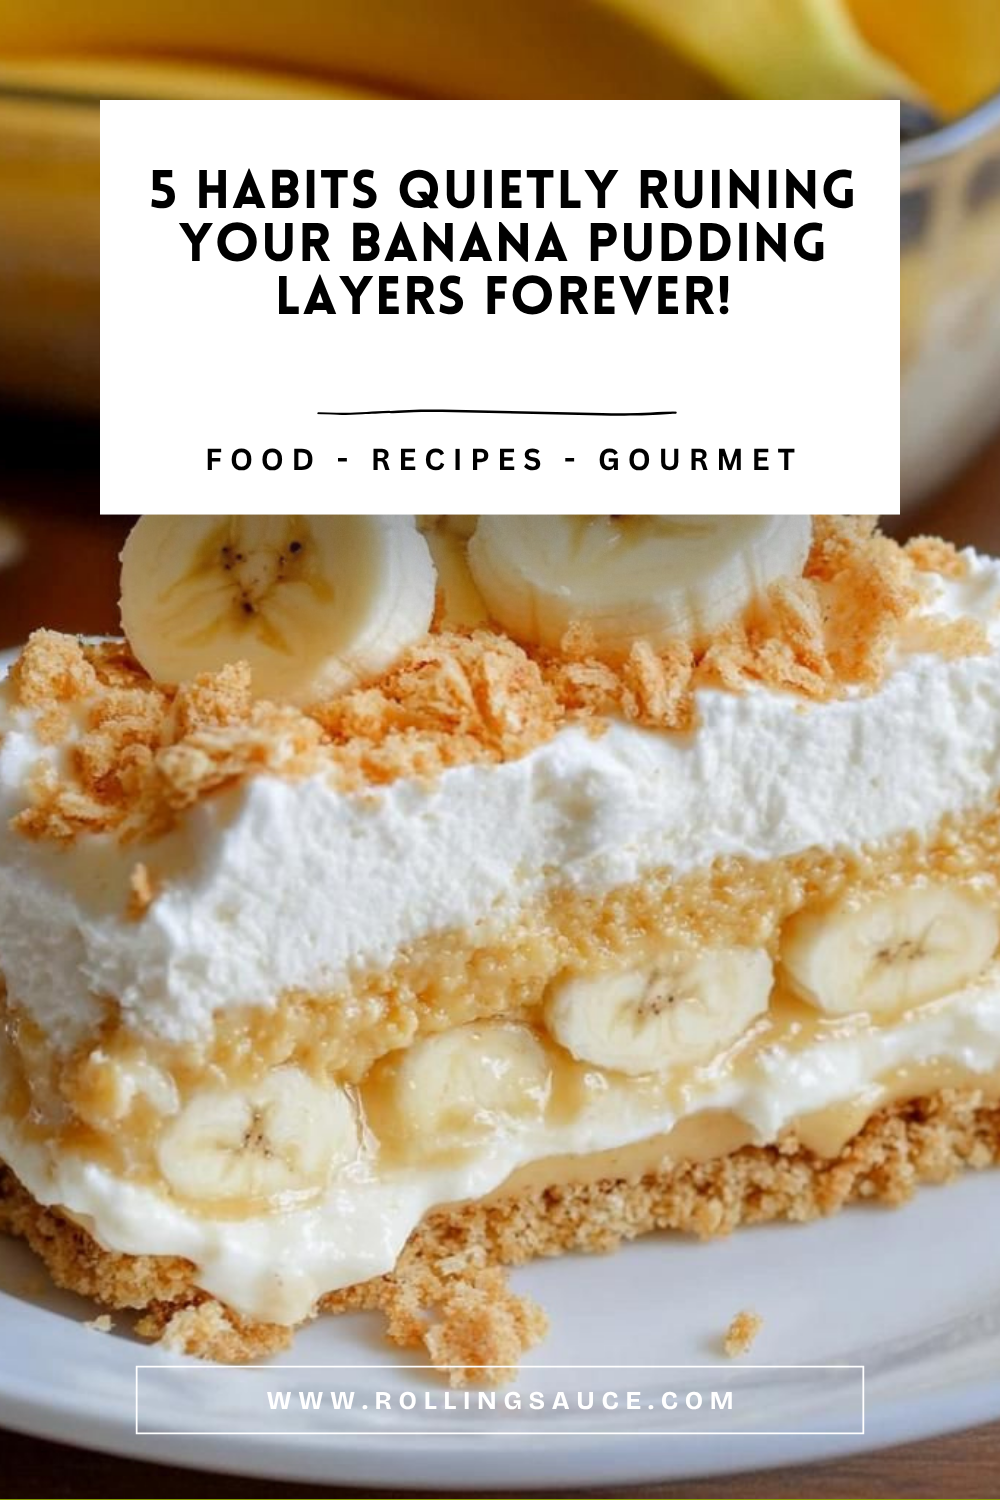
There are a few spots where banana pudding can go wrong, and they’re all fixable with a small adjustment.
Soft cream cheese is non-negotiable. If it’s even slightly cold, you’ll end up with lumps in the filling that won’t beat out. The pudding will taste right, but the texture will be grainy instead of smooth. Take the cream cheese out at least an hour before you start, or warm it as noted above.
The lemon juice tip is worth doing even if you’re serving the pudding the same day. Bananas start browning almost immediately after slicing, and a light toss with lemon juice buys you hours without any citrus flavor coming through in the dish. A teaspoon for four bananas is the right amount — more than that and you’ll start to taste it. If you’re concerned about any lemon flavor, pineapple juice works the same way and tastes more neutral in the context of a banana dessert.
Don’t rush the chill time. The four-hour rest in the fridge isn’t just about temperature — it’s the time the wafers need to soften and the pudding needs to set into distinct, spooonable layers. Serving it too early gives you a loose, soupy texture and wafers that are still crunchy. Let it go the full time, and ideally make it the night before.
If you’re making this for a gathering and want to guarantee clean, beautiful scoops, chill the dish overnight. The layers compact and hold together much better after 8 hours than after 4. Add the banana garnish on top right before you serve, not ahead of time — those visible top slices will brown faster than the ones buried in the layers.
Variations Worth Trying
The classic version here uses Nilla wafers, which is the most traditional choice and the one that softens the best over a long chill. But Chessmen shortbread cookies are a popular swap — they’re thicker and butterier, and they absorb the pudding more slowly, so the texture is different (chewier, with more structure). Either version works. If you want something slightly less sweet overall, the shortbread’s lower sugar content balances the condensed milk better.
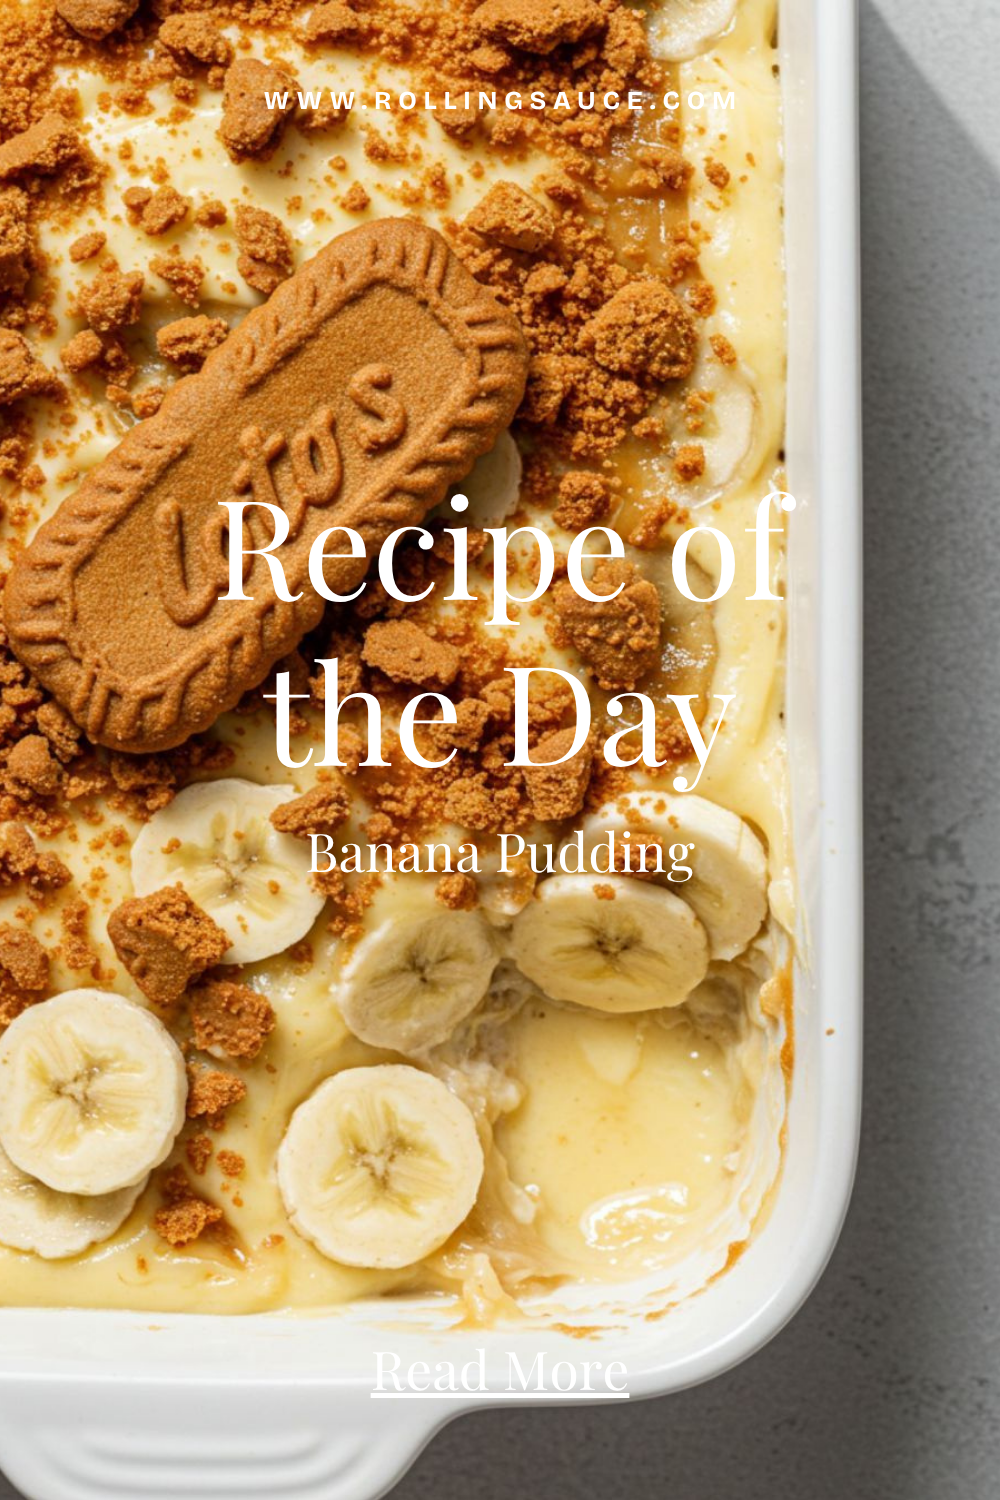
For a spiced version, Biscoff cookies layered in place of the Nilla wafers bring a caramelized, almost gingerbread note that works surprisingly well against the banana and vanilla. It reads more as a fall-flavored dessert than the classic summer version, but it’s just as easy and the combination disappears just as fast.
The base recipe also works well as individual servings in jars or glasses — useful if you want to prep portions ahead and avoid fighting over the first scoop. The layering logic is the same; just scale the quantities to the container size.
Frequently Asked Questions
Can I make individual servings instead of a full dish? Yes — layer the same ingredients into small Mason jars or glasses. The same quantities scale nicely into 8 individual jars. This is a great option for gatherings where you want pre-portioned servings, or for meal-prepping individual desserts through the week. Assemble, cover, and refrigerate; they keep just as well as the full dish and serve cleaner because each person gets their own jar.
How far ahead can I make banana pudding? Make it the day before and chill overnight. Any longer than that and the bananas start to soften and the layers lose their definition. The pudding base can be made up to two days ahead and stored covered in the fridge; layer it with the wafers and bananas the day before serving.
How do I keep bananas from turning brown? Toss the slices in a small amount of lemon juice before layering — about a teaspoon for every four bananas. The acid slows the enzymatic browning process without changing the flavor at a typical use rate. Keeping the banana slices buried under pudding (rather than sitting on top) also helps, since air exposure speeds up browning.
Can I use real whipped cream instead of Cool Whip? Yes, though it won’t hold as long in the fridge. Whip 2 cups of heavy cream to stiff peaks with 2 tablespoons of powdered sugar and 1 teaspoon of vanilla. Use it the same way as the whipped topping, but plan to serve the pudding within 6 hours. Stabilized whipped cream (made with a small amount of cream cheese or gelatin) will hold better.
Why is my filling lumpy? The cream cheese wasn’t soft enough when you started. If you notice lumps after the mixing stage, push the filling through a fine mesh strainer or re-blend it with an immersion blender before folding in the whipped topping — that usually smooths things out.
Can I freeze banana pudding? Not well — the bananas and pudding texture suffer significantly when frozen and thawed. This dessert is best made fresh and eaten within two days of assembling.
Make It, Bring It, Watch It Go
This is the kind of dessert that goes into the fridge as a full dish and comes out as an empty one. The layering takes maybe ten minutes of actual work; the rest is just refrigerator time doing its job. It pairs well with any summer or Southern spread — right alongside something like a Southern peach cobbler if you’re setting up a full dessert table, or on its own when you just need something worth bringing. If the whole no-bake approach is what you’re after for a gathering, my no-bake cookies follow the same zero-oven logic and make a quick second option without turning on a single burner. And when you’ve got bananas that are too soft and spotted for this recipe — the ones with black spots all over — that’s your sign to make classic banana bread instead. Between the two recipes, no banana goes to waste.
Save this one. You’ll want it again soon.