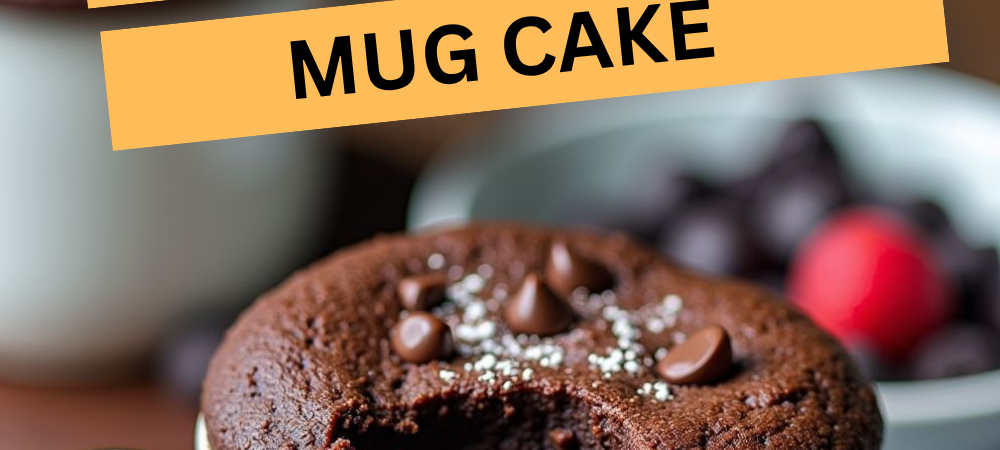
This quick chocolate mug cake is soft in the center, tender crumb, genuinely chocolatey from the cocoa and the melted chips on top. The secret isn’t a clever ingredient swap or a technique that requires equipment. It’s mostly just understanding that mug cakes fail because of two things: wrong ratios and overcooking. Fix those and the result surprises people.
The whole thing takes under 10 minutes from craving to first bite. The cleanup is one mug, one fork, and a measuring spoon. If you’re someone who keeps cocoa powder in the pantry, you probably have every ingredient for this right now.
Why Most Mug Cakes Taste Like Rubbery Disappointment
Two failure modes, both preventable.
Wrong ratios. The standard mug cake problem is a batter that’s either too thick or too wet. Too much flour produces a dense, chewy result with no rise. Too much liquid produces something spongy and wet that collapses when you put your spoon in. The right ratio is thinner than a normal cake batter — close to a pancake batter — which gives the microwave something it can cook evenly rather than sealing moisture in the center.
Overcooking. This is the bigger culprit and the one that’s hardest to fight because it goes against instinct. When you pull a mug cake from the microwave and the center looks barely set or slightly shiny, it feels underdone. It isn’t. The center continues cooking for 1–2 minutes from residual heat after the microwave stops. By the time you’re actually eating it, what looked underdone has set into a soft, tender center. When people add another 30–60 seconds because the top doesn’t look finished, they overcook the protein in the egg and the gluten in the flour — which is what makes the texture rubbery and dry. Pull it early and let it rest.
What Makes This Version Actually Work
A few specific decisions:
Dutch-process or natural cocoa — both work, but know the difference. As King Arthur Baking explains in their cocoa powder guide, Dutch-process cocoa is milder and less acidic, which produces a darker, smoother chocolate flavor in microwave applications where there’s no oven browning to build complexity. Natural cocoa is more assertive and slightly more acidic. Both taste good here — just don’t use cocoa labeled “hot chocolate mix” which is heavily sweetened and won’t work the same way.
Oil, not butter. Butter produces a richer flavor in baked goods, but it also creates a denser, tighter crumb. In a 90-second microwave cake where you have no time for the fats to emulsify properly, oil produces a more tender, moist result. Vegetable oil, canola oil, melted coconut oil — all work.
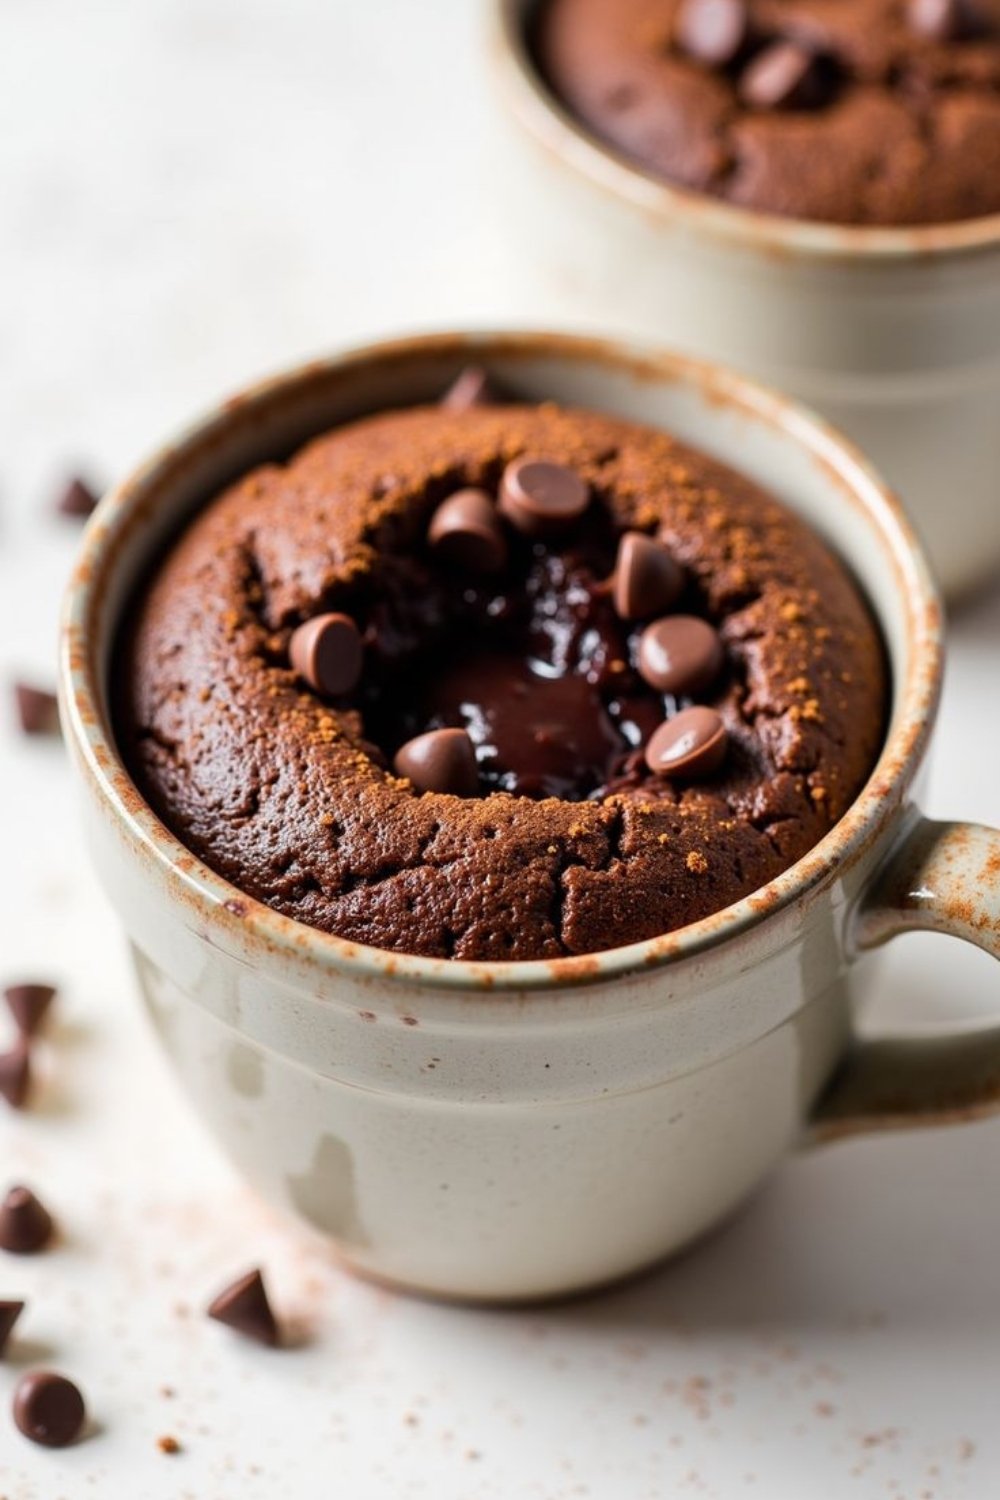
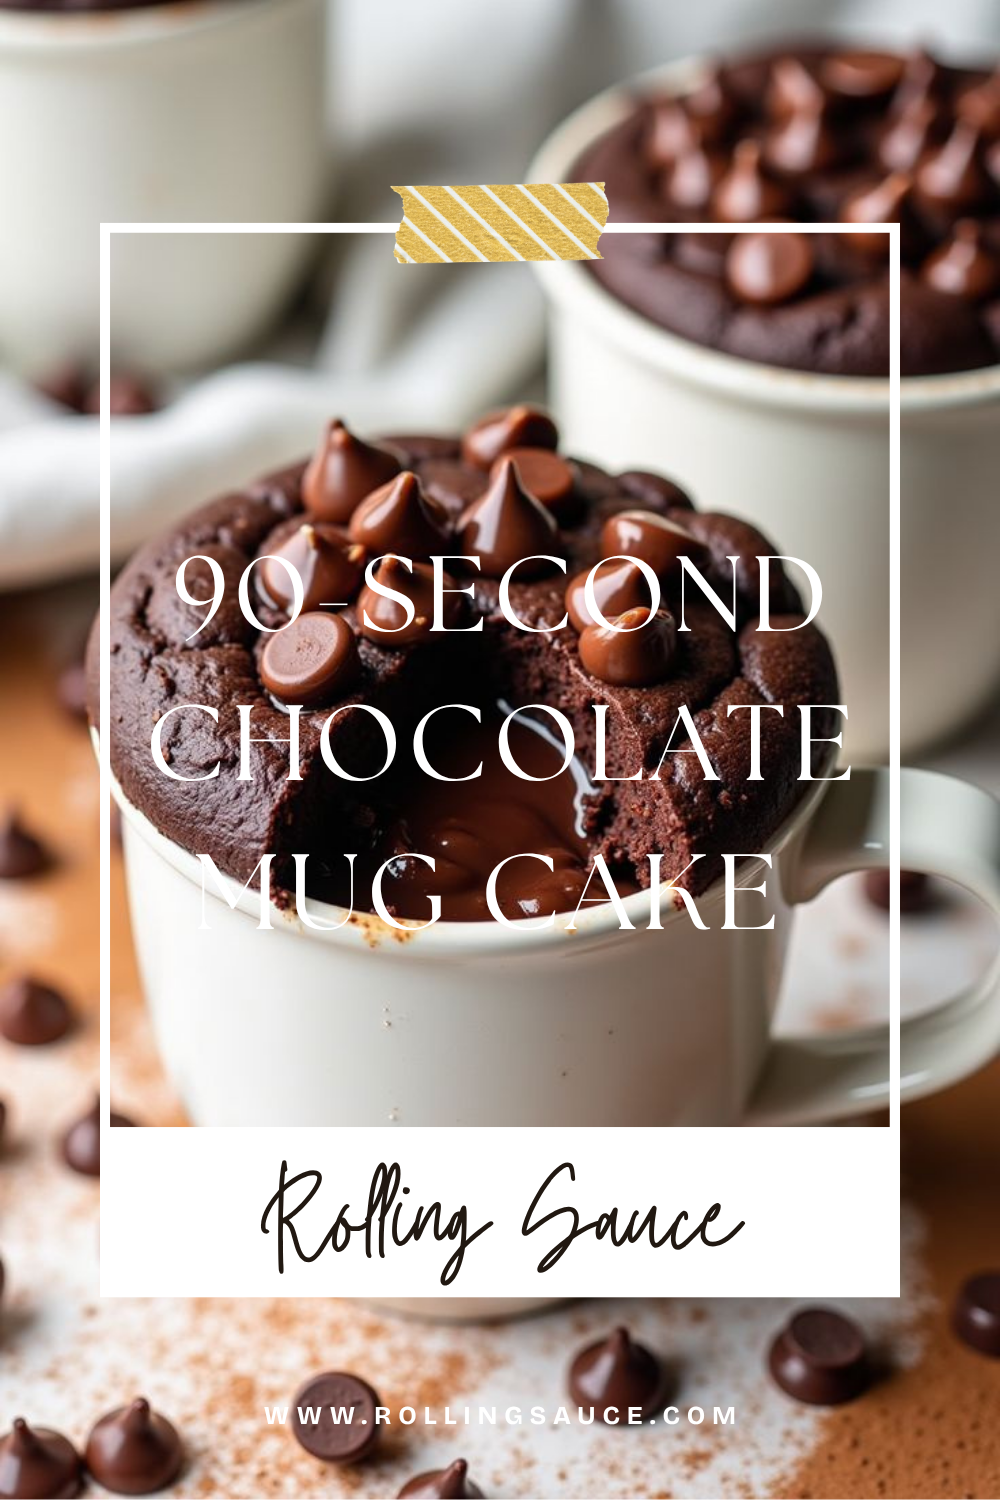
Chocolate chips pressed on top, not stirred in. A tablespoon of chocolate chips folded into the batter adds moisture and melty pockets throughout. Another tablespoon pressed on top of the batter (not stirred in) melts into a surface layer of glossy, molten chocolate that makes the cake look and taste like something you’d actually order at a restaurant. Don’t skip the two-stage chips.
One mug, one fork. Mixing in the mug you’re baking in means you’re not cleaning a bowl. It also means the batter is already at mug-temperature when it goes in the microwave, which affects how evenly it cooks.
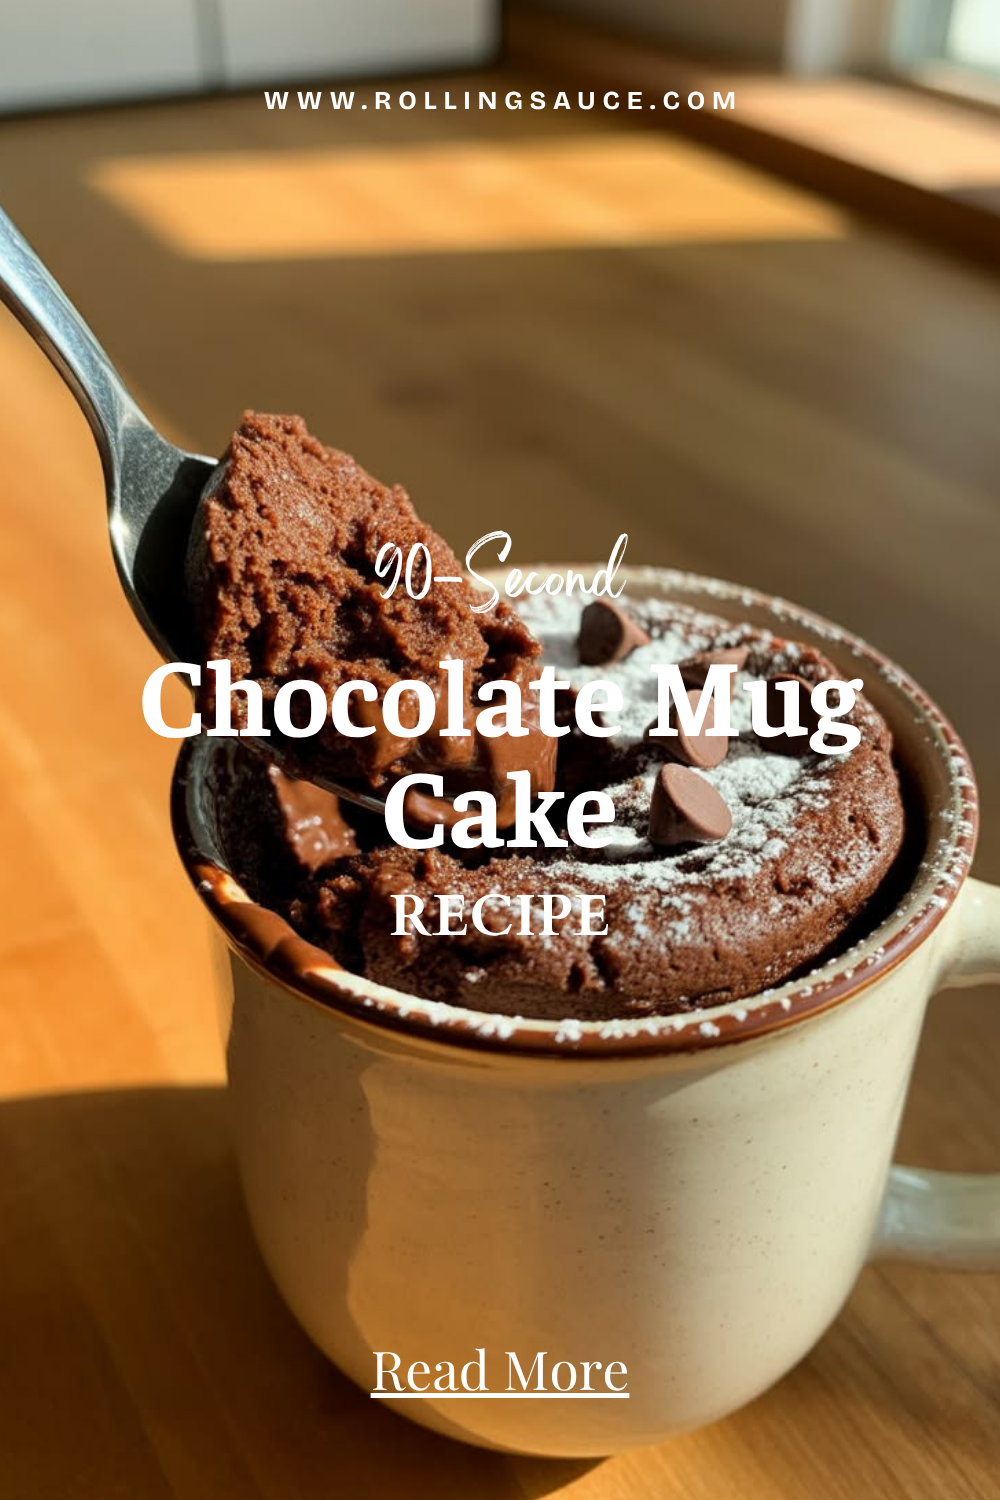
What You’ll Need
One 12-ounce (or larger) microwave-safe mug. That’s the only equipment beyond pantry staples.
- 4 tablespoons (30g) all-purpose flour
- 3 tablespoons (38g) granulated sugar
- 2 tablespoons (12g) unsweetened cocoa powder
- ¼ teaspoon baking powder
- Pinch of kosher salt
- 3 tablespoons (45ml) whole milk
- 2 tablespoons (28ml) neutral vegetable or canola oil
- ½ teaspoon pure vanilla extract
- 2 tablespoons (28g) semi-sweet chocolate chips, divided
Optional additions for the batter (choose one):
- 1 tablespoon peanut butter, Nutella, or almond butter (adds richness and a molten center when stirred into the middle of the batter before microwaving)
- 1 tablespoon cream cheese (makes the center more dense and rich)
For serving:
- Powdered sugar, vanilla ice cream, whipped cream, or a drizzle of Nutella
The mug size matters. A 12-ounce mug gives the batter room to rise without overflowing. In a small, narrow mug, the batter climbs the sides and overflows before the center sets. If your mugs are all small, use a large ramekin or a wide coffee cup.

Chocolate Mug Cake (90 Seconds)
Ingredients
Method
- Spray or butter the inside of a 12-oz (or larger) microwave-safe mug.
- Add flour, sugar, cocoa powder, baking powder, and salt to the mug. Whisk with a fork until no dry lumps remain.
- Add milk, oil, and vanilla. Stir until smooth. Fold in 1 tablespoon of the chocolate chips.
- Press remaining tablespoon of chocolate chips onto the top of the batter — don’t stir them in.
- Microwave on HIGH for 70–90 seconds. Stop when edges look set and center looks barely underdone. DO NOT OVERCOOK.
- Rest in the mug for 2 minutes before eating. The center finishes setting during this time.
- Eat from the mug or slide onto a plate. Top with powdered sugar, ice cream, or whipped cream.
Notes
- Timing: Start at 70 seconds. All microwaves differ — 700W needs more time, 1200W may be done at 70 sec.
- Rubbery texture fix: You overcooked it. Try 10–15 sec less next time and always rest 2 min.
- Lava center: Drop 1 tsp Nutella or peanut butter in the center of the batter before microwaving.
- Dairy-free: Use almond milk or oat milk in place of whole milk.
- Brownie version: Reduce flour to 2 tbsp, increase chocolate chips to 3 tbsp total.
How to Make It
Step 1: Prep the Mug
Lightly spray or butter the inside of a 12-ounce microwave-safe mug. This prevents the cake from sticking to the sides, which matters if you want to slide it out onto a plate rather than eating it from the mug.
Step 2: Mix the Dry Ingredients
Add the flour, sugar, cocoa powder, baking powder, and salt directly to the mug. Whisk with a fork until everything is combined and no lumps of cocoa powder remain. Dry lumps of cocoa in the finished cake are unpleasant.
Step 3: Add the Wet Ingredients
Add the milk, oil, and vanilla to the dry ingredients. Stir with the fork until the batter is smooth — it should look like a thin chocolate batter, similar to a thick chocolate milk. Fold in 1 tablespoon of the chocolate chips.
Step 4: Top with Chips
Press the remaining tablespoon of chocolate chips onto the surface of the batter. Don’t stir them in — they’ll stay on top and melt into a glossy layer during cooking. If you’re adding peanut butter or Nutella for a molten center, drop a heaping teaspoon into the center of the batter and press it in gently without stirring.
Step 5: Microwave (This Part Is Critical)
Microwave on HIGH for 70–90 seconds. Start at 70 seconds. The cake is done when the edges look set and the top is mostly dry, but the very center still looks slightly shiny or barely underdone. This is correct. Do not add more time. Transfer the mug to the counter and let it rest in the mug for 2 minutes — the center finishes cooking from residual heat during this window.
Eat directly from the mug or carefully slide the cake out onto a plate after resting.
The 90-Second Timing Explained
Every microwave is different, which is why mug cake recipes give a range rather than a precise time. A 700-watt microwave needs closer to 90 seconds. A 1200-watt microwave may be done at 70 seconds. The same batter in a wide, flat mug will cook faster than in a tall, narrow mug because there’s more surface area exposed to the microwave’s energy.
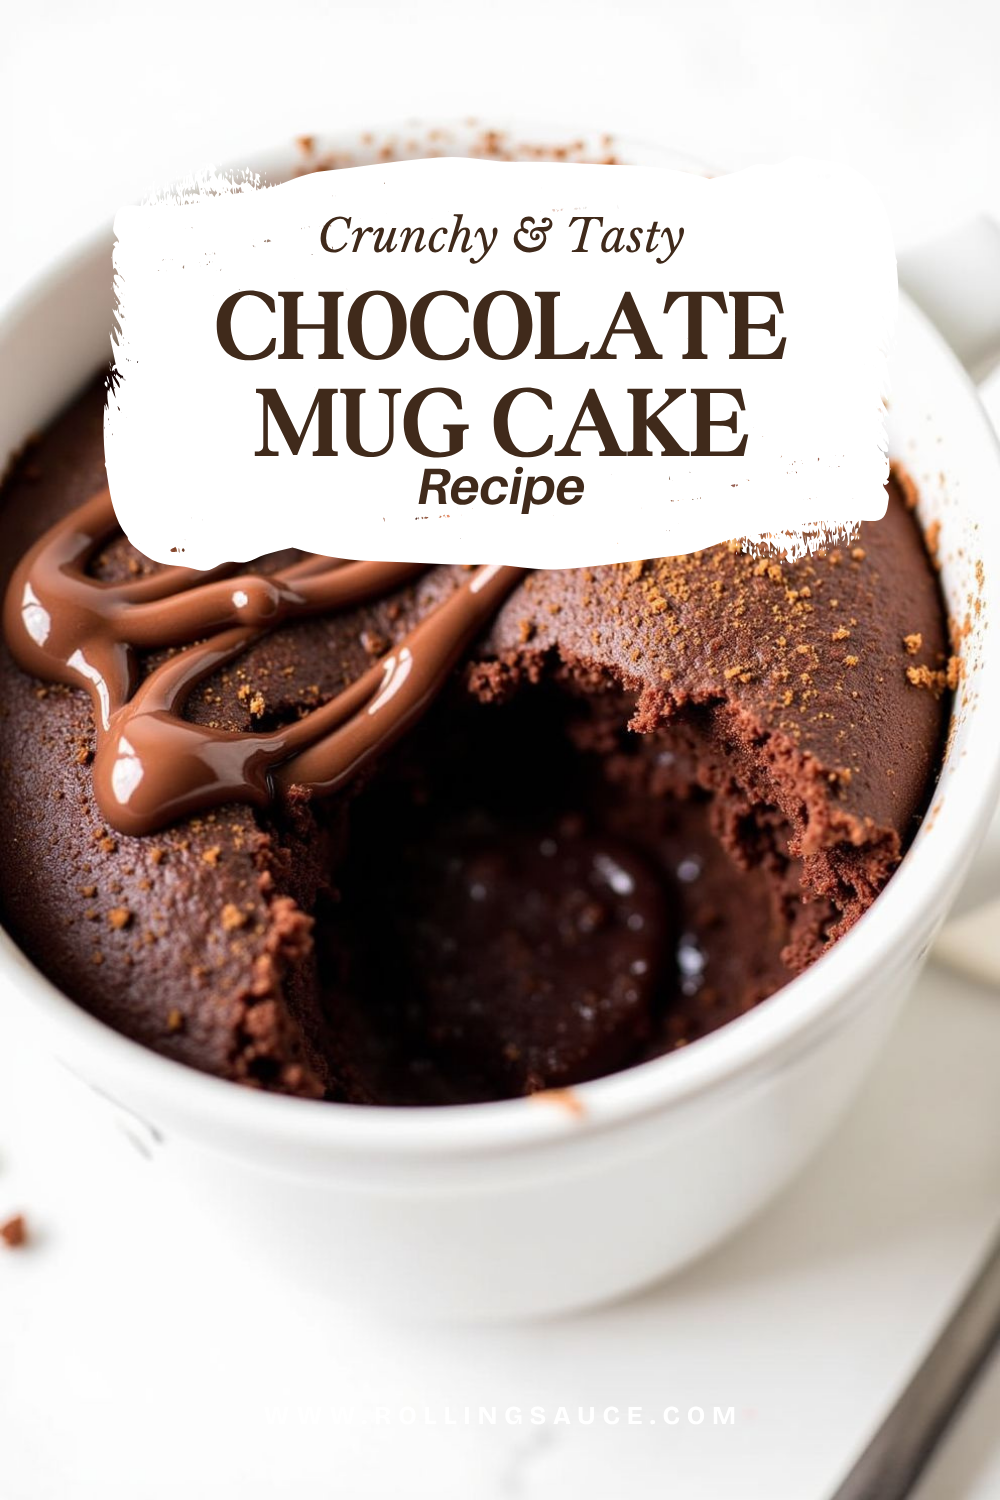
The signals to watch for are the same regardless of wattage: the edges and top of the cake should look set and dry, and the very center should still look slightly underdone. This is the target. When you see those signs, stop — even if you haven’t reached 90 seconds yet.
If you go past the point where the whole top looks set and dry, you’ve likely overcooked it. The cake will still be edible, but the texture will be chewier and drier than it should be. This is the most common mug cake error, and the only fix is a shorter cook time next batch.
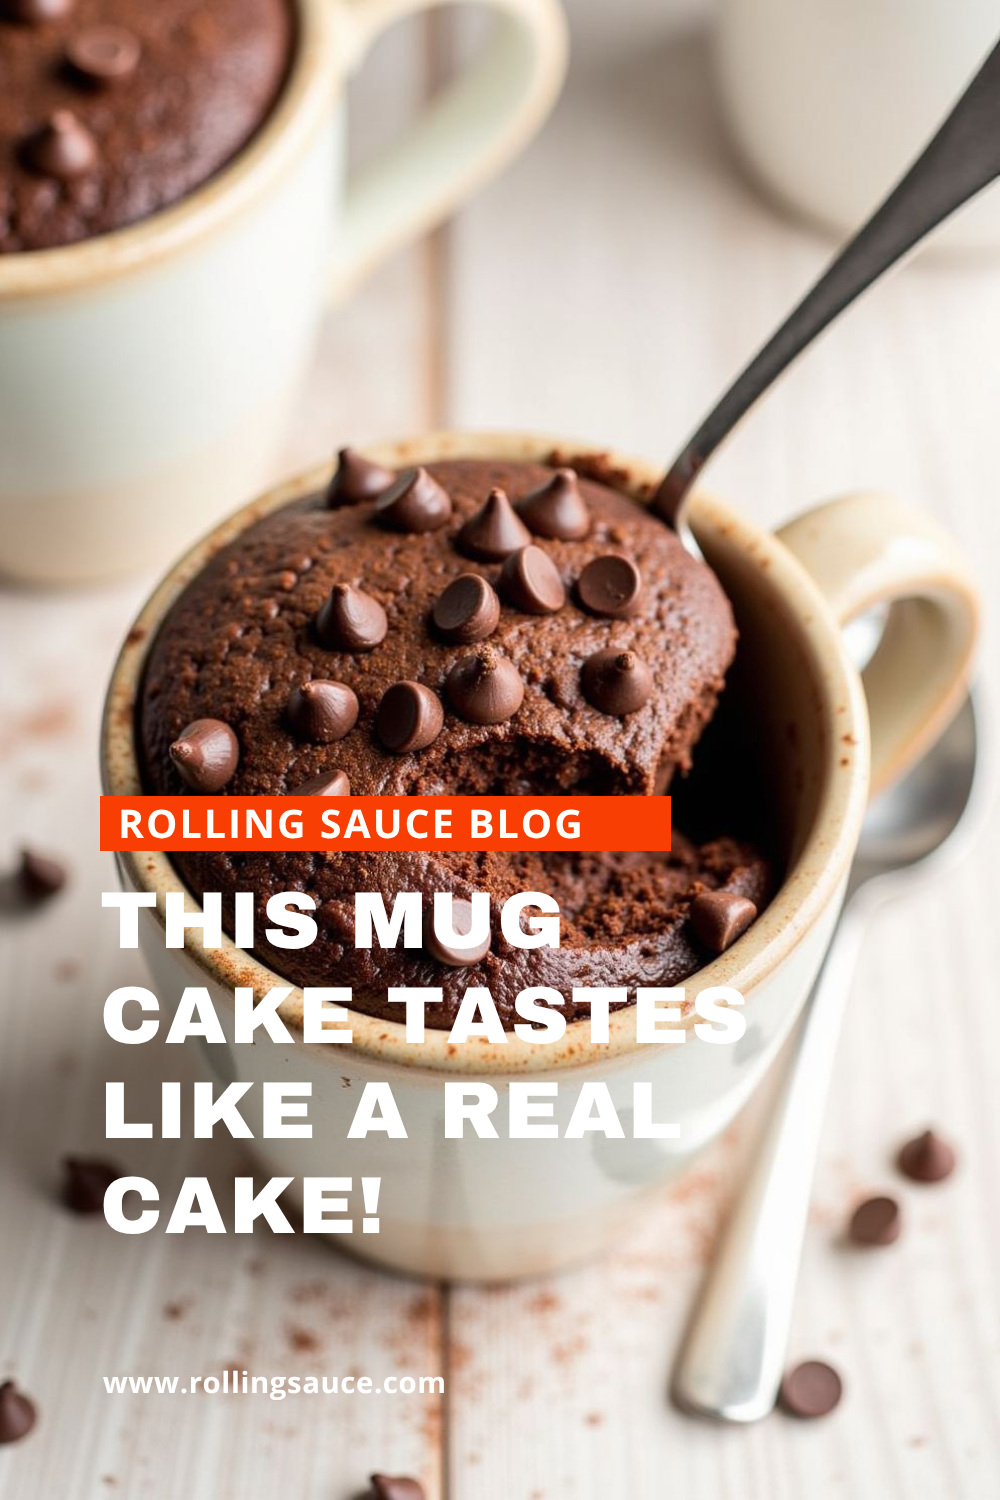
The 1–2 minute rest is non-negotiable. Eating the mug cake immediately out of the microwave means eating a partially set center that tastes raw. Waiting two minutes means eating a soft, just-cooked center that tastes like warm fudgy cake. Same cook time, very different eating experience.
Tips for the Best Results
- Use a big enough mug. A 12-ounce minimum. Mug cakes puff up significantly during cooking and then settle as they cool. A small mug results in overflow onto the microwave floor, which is a cleaning problem on top of a baking problem.
- Don’t over-stir the batter. Like any cake, overworking develops gluten and produces a tougher texture. Mix until smooth and stop.
- Measure by tablespoon, not by feel. The ratios in a mug cake recipe are tight enough that eyeballing the cocoa or flour significantly changes the result. Four tablespoons of flour is a specific amount — too much and the cake is dry and dense, too little and it doesn’t have enough structure to rise.
- Whole milk over skim. The fat in whole milk contributes to the moist texture. Skim milk works but the result is slightly less rich. Almond milk and oat milk also work as dairy-free substitutions.
- Let it cool slightly before eating. The mug and the cake are both very hot directly out of the microwave. A minute of patience prevents a burned tongue and produces a better-textured result.
Variations Worth Trying
The base recipe is a canvas:
- Peanut butter lava center. Add a generous teaspoon of peanut butter to the center of the batter before microwaving. Don’t stir. The peanut butter creates a soft, gooey center surrounded by chocolate cake.
- Nutella swirl. Same approach — a teaspoon of Nutella dropped in the center produces a hazelnut-chocolate molten middle that’s absurdly good.
- Espresso boost. Add ½ teaspoon of instant espresso powder to the dry ingredients. You won’t taste coffee specifically, but it intensifies the chocolate flavor significantly.
- Sea salt finish. A small pinch of flaky salt pressed onto the top of the cake as it comes out of the microwave is the simplest possible upgrade. Salt and chocolate is a combination that makes everything better.
- Brownie-style. Reduce the flour to 2 tablespoons and increase the chocolate chips to 3 tablespoons total. The result is denser, fudgier, and more brownie-like than cake-like.
- Vanilla mug cake. Omit the cocoa powder, replace it with an extra tablespoon of flour, and double the vanilla. Add white chocolate chips for the version shown in some of the images here.
For other no-oven desserts when a craving hits without warning, no-bake cookies are in the same category — ready in under 20 minutes, no oven involved, genuinely satisfying.
Frequently Asked Questions
Why is my mug cake rubbery? Overcooked. This is the single most common issue. The microwave continued past the point where the top was set, and the egg protein and gluten tightened into a rubbery texture. Next batch: stop at 70–75 seconds, rest for 2 minutes, and see what happens. The center will finish setting during the rest time.
Can I make this without an egg? Yes. This recipe doesn’t include egg, which keeps the texture more cake-like and less eggy. Some mug cake recipes do call for egg — they tend to produce a slightly more structured crumb, but also more risk of rubberiness if overcooked. Egg-free is generally more forgiving.
Can I bake it in the oven instead? You can bake the batter in a ramekin at 350°F for 12–15 minutes. The texture is slightly different — more like a small cupcake. But the whole appeal of this recipe is the 90-second timeline, so the oven version defeats the purpose a bit.
How do I know what wattage my microwave is? Check the inside of the door or the back of the machine. Most home microwaves are between 900 and 1200 watts. If yours is lower (600–700 watts), add 15–20 seconds to the start time and watch carefully.
Serving and Finishing Touches
The mug cake is best eaten warm, directly from the mug or slid out onto a plate. At room temperature it’s still good but denser — the warm center is what makes it feel luxurious.
Powdered sugar dusted on top takes two seconds. A scoop of vanilla ice cream melting over the warm chocolate cake is one of the better food-to-effort ratios in dessert. Whipped cream from a can is extremely acceptable here. A drizzle of Nutella or peanut butter is good if you didn’t already put it inside the cake.
When the craving is for real cake rather than single-serving microwave cake, one-layer carrot cake is the version that delivers without layer cake complexity. But for a Tuesday at 10 PM when the chocolate craving hits, 90 seconds in the microwave is the right answer.