
The whole strategy is simple — make a double batch of filling, assemble two chicken pot pies, and freeze one for later. That frozen pie sits there quietly for up to three months, and when you’re tired and hungry and completely over thinking about food, you slide it straight into the oven — no thawing required — and walk out of the kitchen while it bakes. By the time you’re changed out of your work clothes and back in the kitchen, the whole house smells like deep, savory, browned-butter heaven.
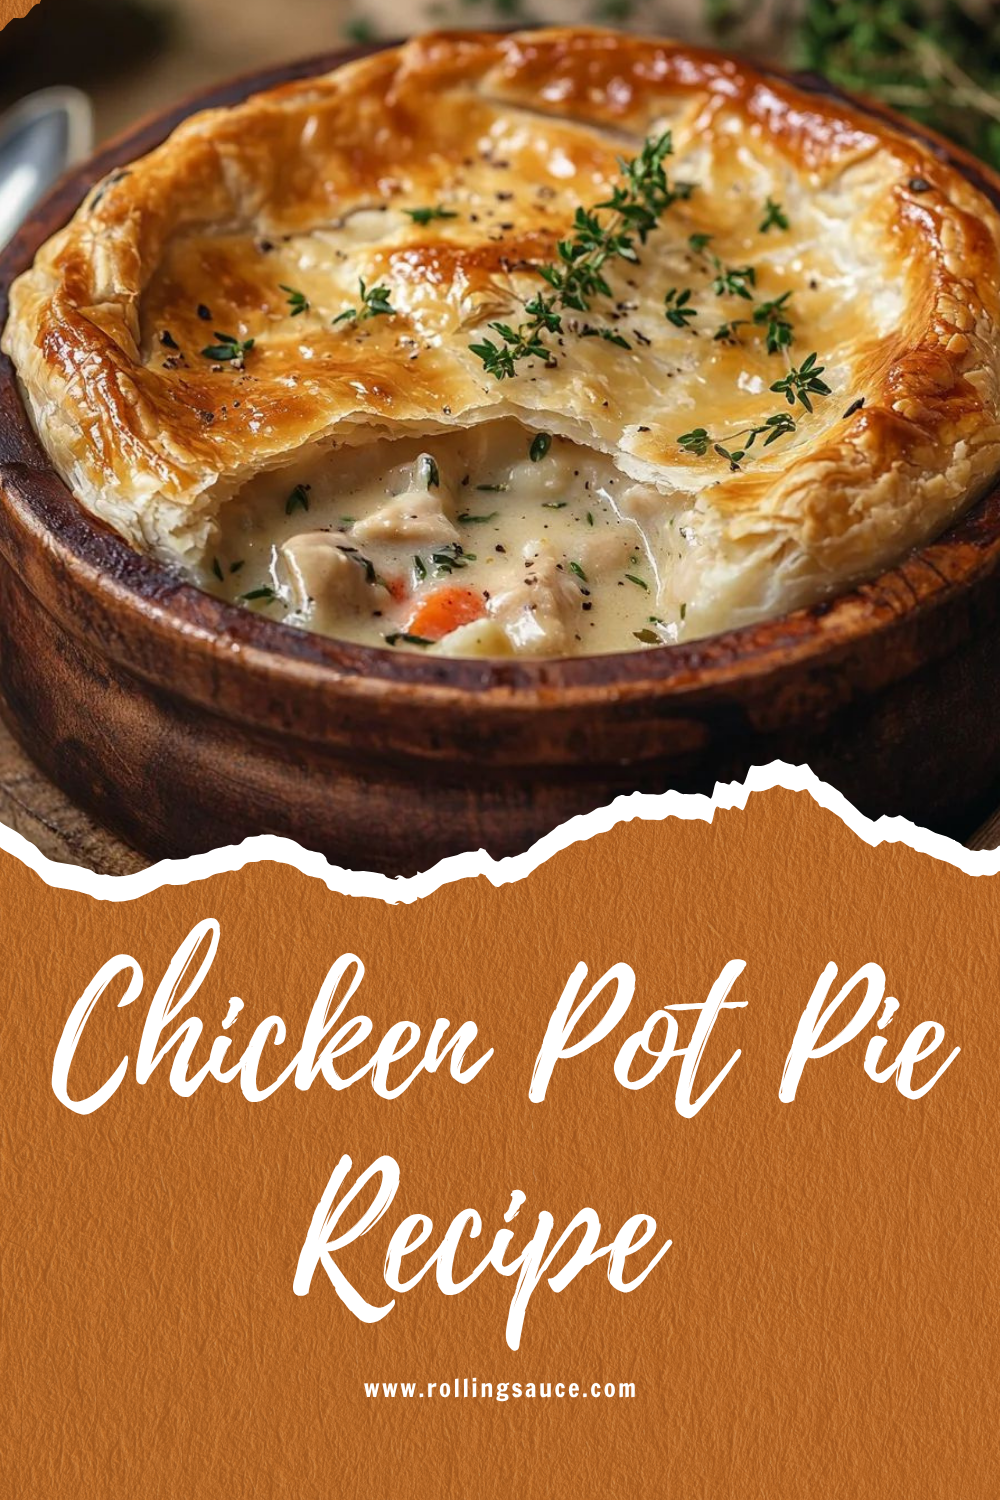
The filling is rich and loaded with vegetables, built on a proper butter-and-flour roux that keeps it thick and glossy through the freeze-and-bake process. The crust is store-bought refrigerated dough, which is a completely reasonable choice for a dish that’s going into the freezer anyway. I’ve made this with homemade crust too, and yes, it’s worth it if you have the time — but don’t let the crust be the reason this chicken pot pie never gets made.
Why This Recipe Works So Well
Chicken pot pie is one of those dishes where technique actually matters, especially for the freezer version. A lot of freezer recipes go watery and soggy after baking from frozen. This one doesn’t, and that comes down to two things.
First, the filling is built on a proper roux — butter and flour cooked together before any liquid goes in. That’s the foundation of every great cream sauce. It’s what gives you a filling that’s thick, velvety, and clings to every piece of chicken instead of pooling at the bottom of the pie. A flour-thickened sauce freezes and reheats cleanly. A cornstarch-thickened sauce can turn grainy and separated.
Second, you don’t add the egg wash before freezing. Brushing the crust with egg before it goes in the freezer makes the pastry wet and limp, and it bakes up pale and soft instead of crackly and golden. The egg wash goes on right before the pie enters the oven — not a minute before.
I also use rotisserie chicken here, which cuts the prep time in half. The meat is already cooked, already tender, and already carrying good background flavor — all you’re doing is shredding it into the sauce. One bird gives you right around 4 cups of meat, which is exactly what you need for two pies. If you want to build out your whole rotation of shortcut dinners with rotisserie chicken, this pot pie is one of the best uses for it.
What You’ll Need
This recipe makes two 9-inch chicken pot pies — one to bake tonight and one to freeze for later. Here’s everything you’ll need.
For the filling:
- 4 tablespoons unsalted butter
- 1 large yellow onion, diced
- 3 medium carrots, cut into small pieces
- 3 stalks celery, sliced ¼ inch thick
- 4 cloves garlic, minced
- ½ cup all-purpose flour
- 3 cups chicken broth
- 1 cup heavy cream
- 4 cups shredded cooked chicken (about 1 rotisserie chicken)
- 1½ cups frozen peas
- 1½ teaspoons kosher salt
- 1 teaspoon freshly cracked black pepper
- 1 teaspoon dried thyme
- 2 tablespoons fresh flat-leaf parsley, chopped
For the crust:
- 2 packages store-bought refrigerated pie crust (4 rounds total)
- 1 large egg + 1 tablespoon water (egg wash — only brush this on the pie you’re baking tonight)
A quick note on pans: if you’re planning to freeze one of the pies, use a metal or aluminum foil pie pan, not glass. A glass pan can crack when it goes from deep-freeze temperature into a hot oven. Metal handles the temperature swing with no drama.


Freezer-Friendly Chicken Pot Pie
Ingredients
Method
- Melt the butter in a large skillet or Dutch oven over medium-high heat. Add the onion, carrots, and celery and cook for 6 minutes, stirring occasionally, until softened. Add the garlic and stir for 30 seconds until fragrant.
- Sprinkle the flour over the vegetables and stir to coat. Cook for 1 full minute to toast out the raw flour taste. Pour in the chicken broth gradually, whisking as you go to prevent lumps. Add the heavy cream, salt, pepper, thyme, and parsley.
- Simmer over medium-low heat for 8–10 minutes, stirring occasionally, until the sauce is thick enough to coat the back of a spoon. Remove from heat and fold in the shredded chicken and frozen peas. Taste and adjust salt.
- Preheat oven to 400°F if baking one tonight. Press one round of pie crust into a 9-inch pie pan. Spoon half the filling in. Top with a second crust round, crimp the edges, and cut 4–5 steam vents. Repeat for the second pie.
- For the pie baking now: brush the top crust with egg wash. Bake on a rimmed baking sheet at 400°F for 35–40 minutes until deep golden and the filling bubbles through the vents. Rest 10 minutes before slicing.
- For the pie going in the freezer: do NOT brush with egg wash. Cover tightly with foil then plastic wrap. Freeze for up to 3 months. To bake from frozen: bake covered at 400°F for 30 minutes, remove foil, brush with egg wash, and bake 30–40 more minutes until golden and bubbling. Internal temperature should reach 165°F.
Notes
- Storage: Baked leftovers keep in the fridge for up to 4 days, covered. Reheat at 350°F for 15–20 minutes.
- Make ahead: Filling can be made up to 3 days ahead and refrigerated. Assemble pies the day of baking.
- Swap: Substitute leftover roasted turkey 1:1 for the chicken. Whole milk or half-and-half can replace the heavy cream for a lighter filling.
How to Make It
Step 1: Cook the Vegetables
Melt the butter in a large skillet or Dutch oven over medium-high heat. Add the onion, carrots, and celery and cook for 6 minutes, stirring a few times, until softened and the onion is translucent. Add the garlic and stir for 30 seconds until fragrant. Don’t rush this step — you want the carrots genuinely tender before the liquid goes in, not crunchy in the finished pie.
Step 2: Build the Sauce
Sprinkle the flour over the vegetables and stir to coat everything evenly. Cook for 1 full minute — this toasts out the raw flour taste, which is chalky and flat. Pour in the chicken broth gradually, whisking as you go to break up any lumps. Add the heavy cream, salt, pepper, thyme, and parsley. Let the sauce simmer over medium-low heat for 8–10 minutes, stirring occasionally, until it’s thick enough to coat the back of a spoon. If you drag your finger across the spoon and the line holds, you’re ready.
Step 3: Add the Chicken and Peas
Pull the pan off the heat. Fold in the shredded chicken and frozen peas. Taste it and adjust the salt — it should be well-seasoned and bold, because the buttery crust absorbs a lot of flavor and a timid filling tastes flat inside the pie. The sauce will loosen just slightly in the oven, so thick and assertive is what you want right now.
Step 4: Assemble
Preheat your oven to 400°F if you’re baking one tonight. Unroll a round of pie crust into a 9-inch pie pan and press it gently into the edges. Spoon half the filling in — it’ll be generous, which is the point. Lay a second crust over the top, press the edges together, and crimp them with a fork or your fingers. Cut 4–5 slits in the top crust so steam can escape. Repeat for the second pie. Brush the egg wash over whichever pie is going into the oven.

How to Freeze Your Chicken Pot Pie
For the pie going into the freezer: skip the egg wash entirely. Cover the assembled, unbaked pie tightly with aluminum foil, pressing it down so no air pockets form against the crust. Then wrap the whole thing in plastic wrap or slide it into a large zip-lock freezer bag. It keeps for up to 3 months — according to the USDA cold storage chart, meat-filled casseroles and pies hold well in the freezer for up to 3 months before quality starts to decline.
When you’re ready to bake from frozen, there’s no need to thaw it overnight. Preheat the oven to 400°F. Place the frozen pie — still covered in foil — on a baking sheet (the filling sometimes bubbles over). Bake covered for 30 minutes, then pull off the foil. Brush the top crust with egg wash and bake for another 30–40 minutes, until the crust is a deep burnished gold and the filling is bubbling visibly through the vents. The internal temperature of the filling should reach 165°F. If the crust starts browning too fast before the filling is hot, tent it loosely with foil.
Label the pie before it goes in the freezer — write the date and your bake instructions right on the foil so you’re not guessing three months from now. This is the same organized make-ahead approach that makes dishes like a make-ahead sweet potato casserole so valuable to have in your rotation.

Tips for a Golden, Creamy Pot Pie Every Time
A few things I’ve figured out from making this more times than I can count:
- Cook the flour, don’t skip it. Give the flour-coated vegetables a full minute in the butter before any liquid goes in. Raw flour tastes like paste. Cooked flour disappears into the sauce.
- Thicken the filling well before you assemble. If your sauce looks thin in the pan, keep simmering. It thickens more in the oven, but if you start thin, you end up soupy.
- Don’t pack the filling. You want the filling to be full but not packed so tight the top crust tears when you cut the pie. A little breathing room means cleaner slices.
- Cut real steam vents. At least 4–5, and make them at least an inch long. Without good vents, steam builds up under the top crust and softens it from the inside out.
- Rest before cutting. Let the baked pie sit for 10 minutes before you slice it. The filling firms up slightly as it cools, and you’ll get cleaner, more structured slices. Cut it straight out of the oven and the filling pours everywhere — still great, just not as photogenic.
- Season more boldly than you think you need to. The crust is buttery and absorbs flavor. A filling that tastes right in the pan often tastes underseasoned inside the finished pie.

Variations and Easy Swaps
This recipe has a forgiving base that handles changes well:
- No heavy cream? Whole milk or half-and-half works. The filling will be a little lighter but still thick enough to hold.
- Add potatoes. A cup of small-diced Yukon Golds, added with the carrots, makes the filling heartier and more filling as a standalone dinner.
- Turkey pot pie. Swap the chicken 1:1 for leftover roasted turkey. This is a classic post-Thanksgiving move — the pie holds the filling better than most reheating methods, and the flavors carry over beautifully.
- Add mushrooms. Slice 8 oz of cremini mushrooms and add them to the pan with the onion and carrots. They cook down, absorb the sauce, and add a savory depth to the filling.
- Go mini. Divide the filling among four 5-inch foil tins for individual-sized pies. These freeze even better than full-size ones because they heat through faster from frozen — great for weeknight meals when you don’t need a full 9-inch pie on the table.
- Swap the crust. Refrigerated pie crust is the practical choice, but puff pastry makes for a dramatically flaky, layered top if you want something a little more special. Just use it for the top only — puff pastry doesn’t work as a bottom crust under this kind of filling.
Frequently Asked Questions
Can I freeze chicken pot pie after it’s already been baked? Yes, though the crust doesn’t hold up as well as when you freeze it unbaked. For leftovers from a baked pie, wrap individual slices tightly in foil and freeze for up to 2 months. Reheat at 350°F on a baking sheet until warmed through, about 20–25 minutes.
Can I make the filling ahead and refrigerate it? Absolutely. The filling keeps in the fridge for up to 3 days. Make it ahead, then assemble and bake when you’re ready. The crust can also be stored separately in the fridge and rolled out fresh the day of.
Do I have to use store-bought pie crust? Not at all. A homemade all-butter crust is excellent here and bakes up with a richer, more complex flavor. The trade-off is about 30 extra minutes and a bit of planning. For a freezer pie especially, store-bought is reliable and stress-free — which is the whole point of building a freezer stash.
What’s the best pan for freezing? A disposable aluminum foil pan is the easiest answer — nothing to wash, no worrying about your good pie dish living in the freezer for months, and it goes straight from freezer to oven. For other great make-ahead dinners worth stocking up, a quick weeknight lasagna and a batch of white chicken chili are both built for this kind of organized cooking.
Can I use uncooked chicken instead of rotisserie? You can, but it changes the process. Dice 1½ lbs of boneless chicken breast or thigh into bite-size pieces and cook it through in the butter before adding the vegetables. Thigh meat is more forgiving and stays juicier in the filling. Just make sure it’s fully cooked before assembling — the baking time isn’t long enough to cook raw chicken from scratch.
What to Serve With Chicken Pot Pie
Honestly, this pie is a full dinner on its own. But if you want to round out the plate, a crisp green salad with a sharp vinaigrette cuts through the richness of the filling nicely. Roasted green beans or a quick sautéed spinach are both easy sides that don’t compete with the pie. For a full comfort-food dinner, serve slices alongside buttery mashed potatoes — the sauce from the pie filling doubles as gravy and the whole meal becomes the kind of dinner people talk about.
Leftovers reheat well at 350°F for 15–20 minutes, covered loosely with foil. The crust won’t be quite as shatteringly crisp as fresh, but the filling gets even better overnight once all the flavors have had time to settle in.