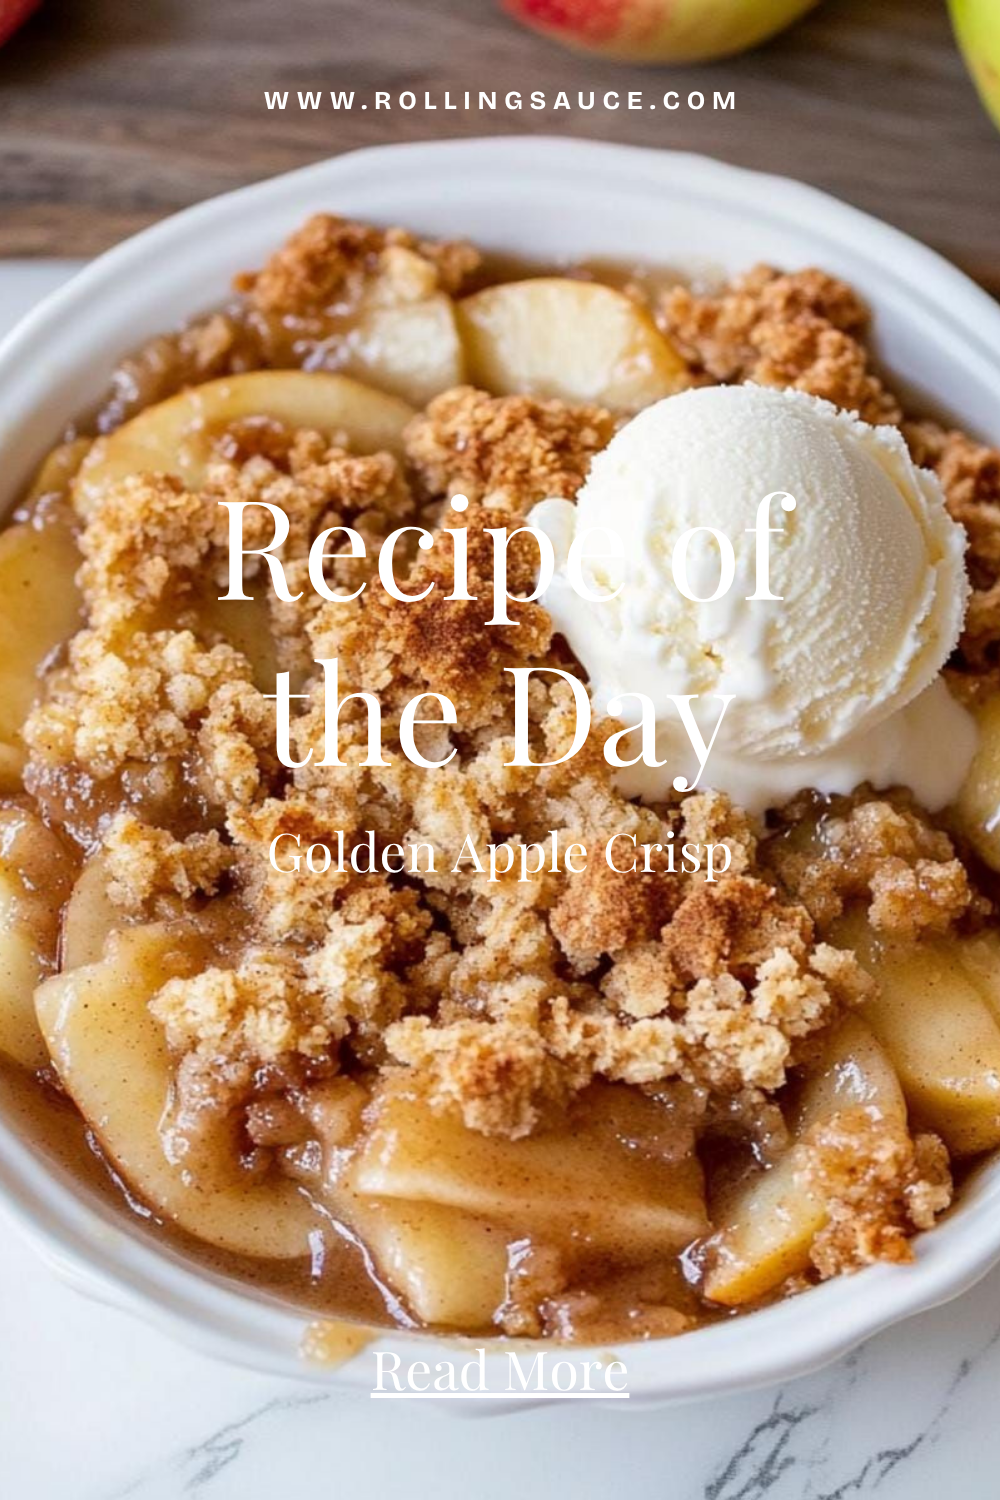
There’s a specific smell that comes out of an oven when apple crisp is about forty minutes in. Warm cinnamon, caramelizing brown sugar, butter browning into something nutty and golden — the whole house gets pulled toward the kitchen. It’s one of those aromas that feels like a memory even when you’re making the recipe for the first time.
This is the apple crisp I’ve been making for years, based on the kind of old-fashioned recipe that used to show up handwritten on index cards at bake sales and church potlucks. The kind that didn’t have any tricks or clever additions — just good apples, a brown sugar oat topping, and enough butter to make the whole thing come together properly. Over time I figured out the two technique details that make the topping stay genuinely crisp instead of going soft and granola-ish, and I’ve been making it the same way ever since.
Apple crisp is also one of the most forgiving baking projects there is. No pie crust to chill and roll, no blind baking, no worrying about whether the custard will set. You peel some apples, mix a topping, assemble, and bake. Start to table in about an hour. If you’ve been looking for a dessert that can anchor a fall dinner without requiring you to spend all afternoon in the kitchen, this is it.
The Two Things That Make the Topping Actually Golden and Crisp
Most apple crisp disappointments come down to a topping that looked golden when it came out of the oven but turned soft and clumpy by the time the dish reached the table. There are two culprits, and fixing both makes a noticeable difference.
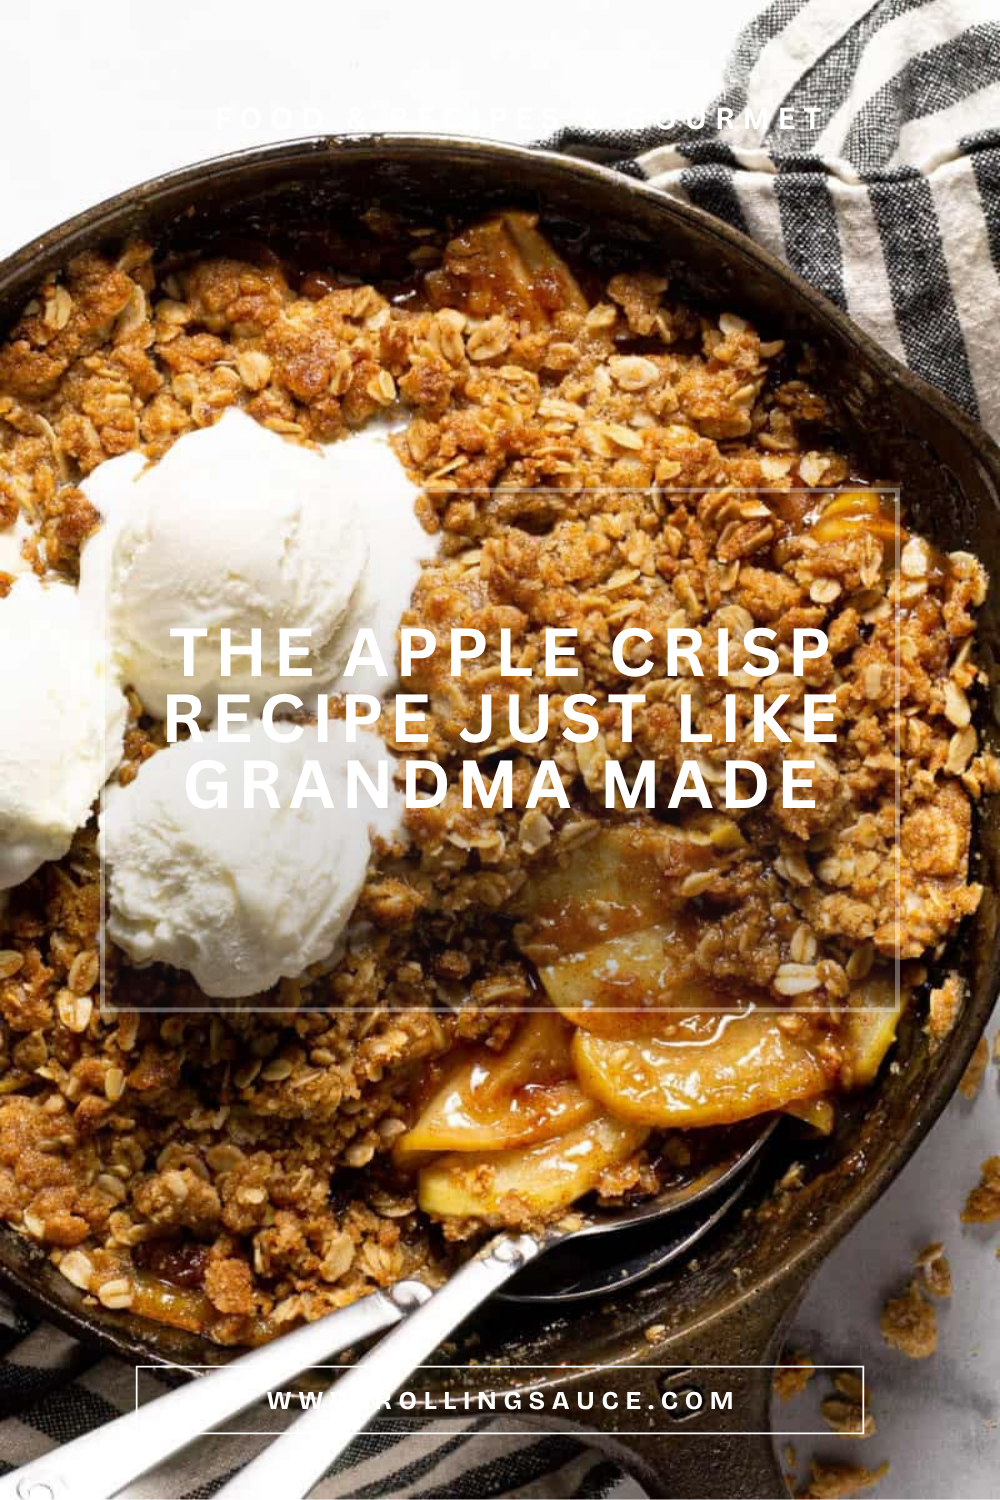
Cold butter, not melted. This is the single most important technique decision. When you work cold butter — cubed, pulled straight from the fridge — into the oat mixture with your fingertips, the butter coats some of the oats and flour without melting into them completely. During baking, those small butter pockets steam and then evaporate, creating small crisp clusters. You can see them on the surface: irregular, golden, crunchy clumps that hold their texture as the dessert cools. Melted butter, on the other hand, saturates the whole mixture evenly. The topping bakes into something denser, more uniform, and much more prone to softening.
Don’t press the topping down. Once you’ve scattered the mixture over the apples, resist the urge to pack it smooth. Loose topping = air pockets = crunchier texture = that golden crust that cracks when you press a spoon into it. Pressed topping = a denser, flatter layer that traps steam from the apples below and softens as it sits. Scatter it unevenly on purpose. Taller irregular mounds crisp up better than a flat, packed surface.
Everything else — the ratio of oats to flour, the amount of sugar — matters too, but those two details are what separates a topping that stays crisp for hours from one that softens within twenty minutes.
Which Apples Work Best
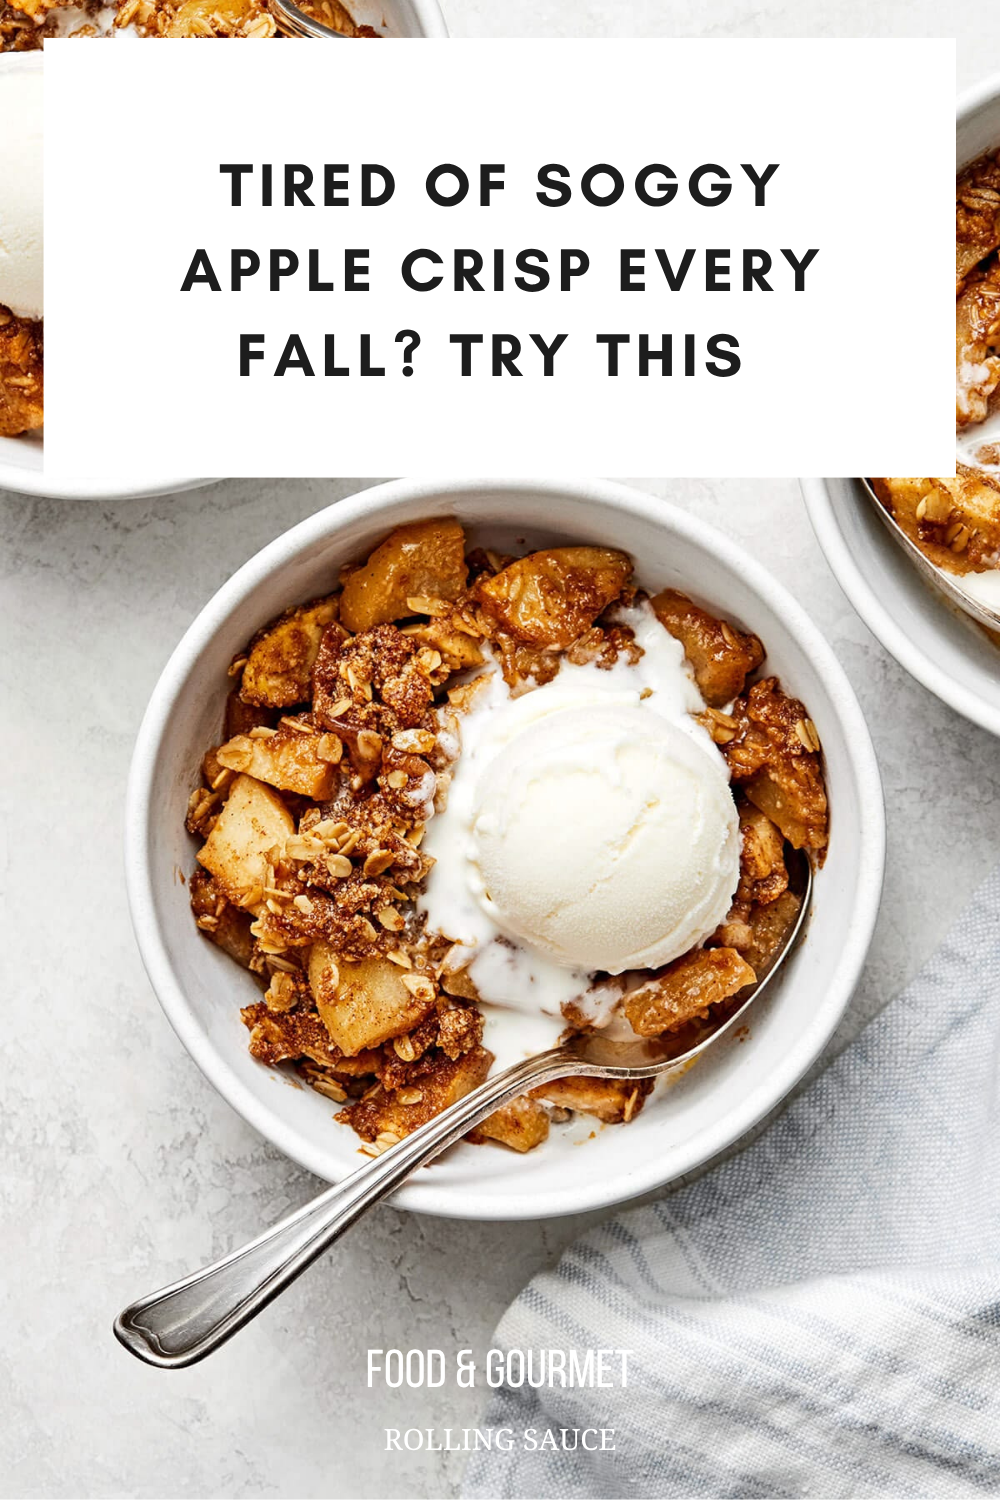
Not all apples behave the same way in the oven, and the difference between a good choice and a bad one is significant. The wrong apple turns to applesauce under the topping and leaves you with a soggy bottom layer. The right apple holds its shape, softens just enough to be tender, and releases the right amount of juice to form that thick, syrupy filling.
Honeycrisp is my first choice — it’s sweet, holds its structure well, and the juice it releases thickens into something almost caramel-like during baking. Granny Smith is the classic tart pick and pairs well with the sweetness of the brown sugar topping; it stays firmer than most varieties. Braeburn and Fuji both work well too. What I try to avoid: Red Delicious (mealy, low juice) and McIntosh (too soft, turns to mush).
A mix of two varieties is worth doing when you can manage it — equal parts Honeycrisp and Granny Smith gives you sweetness, tartness, good texture, and enough juice. If you’re working with what’s at the store or the farmers market, any firm baking apple will produce a good crisp. For a deeper breakdown of how different apple varieties behave in baked desserts, King Arthur Baking’s apple guide is genuinely useful.
What You’ll Need
The ingredient list is short, which is part of why this recipe holds up so well across generations. Nothing unusual, nothing that requires a specialty store trip.
For the apple filling: six cups of peeled, cored, and sliced apples (about five to six medium apples), a mix of granulated and brown sugar, ground cinnamon, a pinch of nutmeg, fresh lemon juice, and a tablespoon of flour to help thicken the juices as they release during baking.
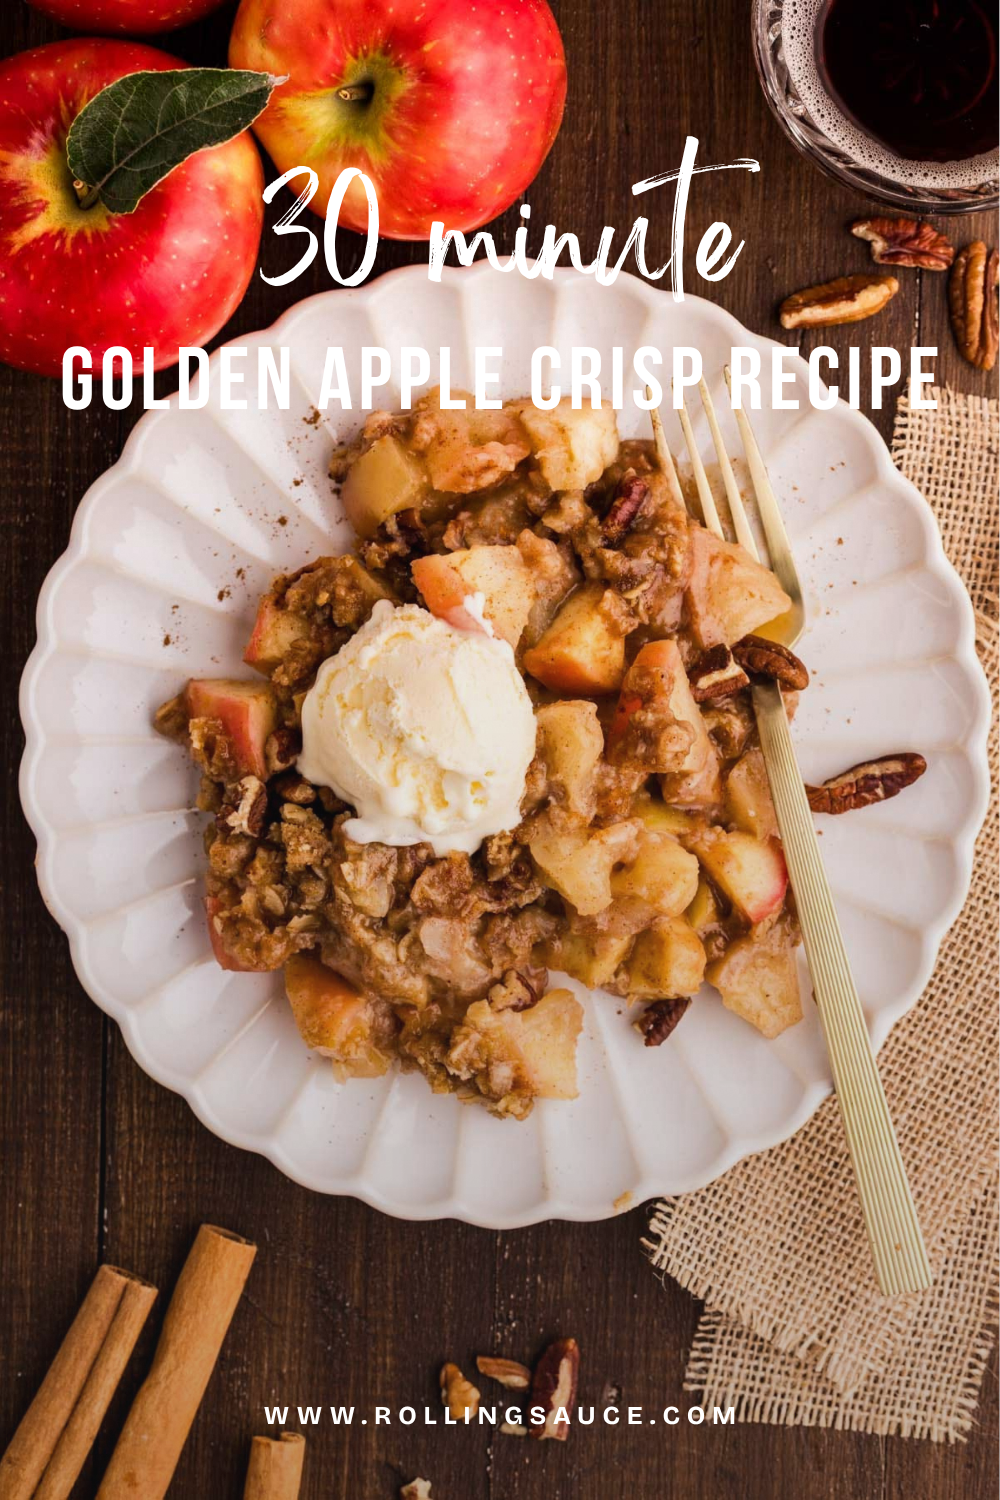
For the oat topping: old-fashioned rolled oats (not quick oats — quick oats are cut too small and produce a mushy topping), all-purpose flour, packed brown sugar, cinnamon, a pinch of salt, and cold unsalted butter. If you want some crunch and richness in every bite, add half a cup of chopped pecans to the topping mix. They toast beautifully in the oven and add a slight earthiness that works well with the cinnamon-apple filling.
How to Make It
Step 1: Preheat and prep your baking dish. Set your oven to 350°F. Butter a 9×13-inch baking dish lightly, or use a 9×9 for a deeper, thicker crisp.
Step 2: Make the apple filling. Peel, core, and slice the apples about 1/4-inch thick — thin enough to cook through but not so thin they disintegrate. Toss them in a large bowl with granulated sugar, brown sugar, cinnamon, nutmeg, lemon juice, and flour. The lemon juice is not optional; it adds brightness to an otherwise very sweet filling and keeps the apples from oxidizing while you prepare the topping. Spread the filling in an even layer in your prepared baking dish.
Step 3: Make the oat topping. In a separate bowl, combine rolled oats, flour, brown sugar, cinnamon, and salt. Stir to distribute everything evenly. Cut the cold butter into small cubes (about half an inch) and drop them into the bowl. Work the butter into the mixture with your fingertips, pinching and pressing until the butter is fully incorporated and the mixture can hold together when you squeeze a handful, but still breaks apart easily. If you’re adding pecans, stir them in now.
Step 4: Assemble. Scatter the oat topping loosely over the apples. Don’t press it down. Spread it in a rough, uneven layer — some spots can be thicker, some thinner. That uneven surface is what gives you those crunchy golden clusters on top.
Step 5: Bake. Place the dish on the center rack. Bake for 45 to 50 minutes. The crisp is done when the topping is deep golden brown and the apple filling is bubbling visibly around the edges. That bubbling is important — it means the filling has thickened and the apples are fully cooked through. If the topping is browning too fast, tent loosely with foil and continue baking until the filling bubbles.
Step 6: Rest before serving. Let the crisp sit for 10 minutes before scooping. The filling thickens as it cools slightly, and it’s also hot enough to burn your mouth straight from the oven.
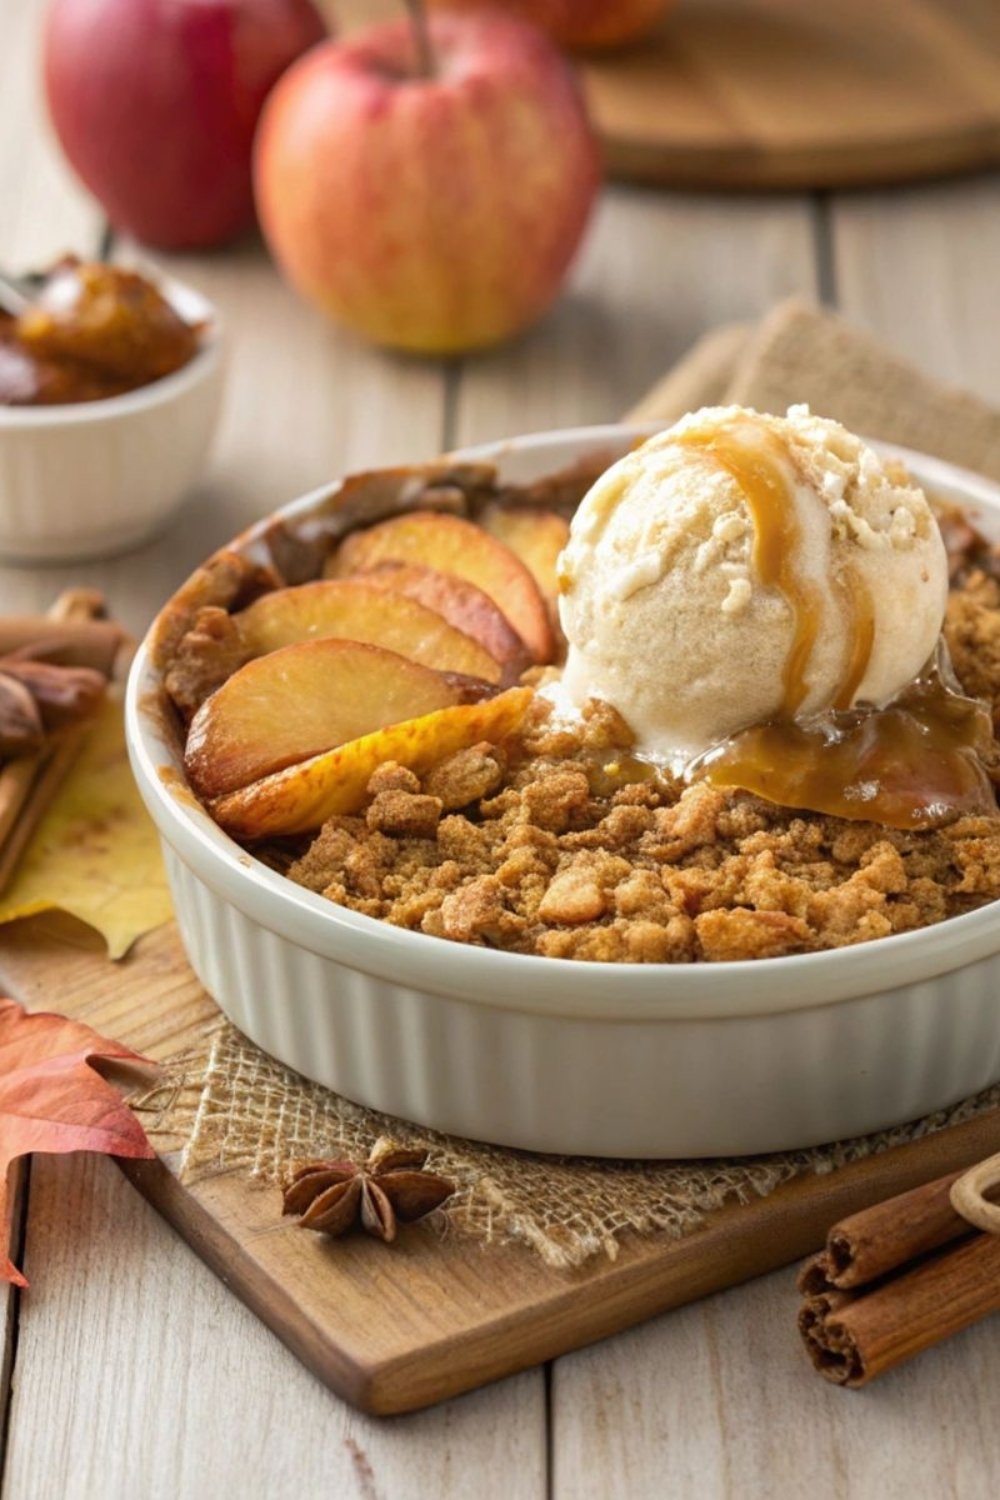

Grandma’s Apple Crisp With That Perfect Golden Crust
Ingredients
Method
- Preheat oven to 350°F (175°C). Lightly butter a 9×13-inch baking dish (or 9×9 for a deeper, thicker crisp).
- Make the apple filling: Toss sliced apples with granulated sugar, brown sugar, cinnamon, nutmeg, lemon juice, and flour until evenly coated. Spread in an even layer in the prepared baking dish.
- Make the oat topping: In a medium bowl, stir together rolled oats, flour, brown sugar, cinnamon, and salt. Add the cold butter cubes. Work the butter into the mixture with your fingertips, pinching until fully incorporated and the mixture holds together when squeezed but still breaks apart. Stir in pecans if using.
- Assemble: Scatter the topping loosely over the apples in an uneven layer. Do not press it down.
- Bake for 45–50 minutes, until the topping is deep golden brown and the apple filling is bubbling visibly around the edges. If the topping browns too fast, tent loosely with foil.
- Rest 10 minutes before serving. Serve warm with vanilla ice cream.
Notes
- Storage: Cover loosely and refrigerate up to 4 days. Reheat in a 325°F
oven for 15–20 minutes to restore crunch. Avoid the microwave
if you want to keep the topping crisp. - Make ahead: Assemble the unbaked crisp up to 24 hours ahead, cover, and
refrigerate. Bake from cold, adding 5–10 minutes to baking time. - Swap: Swap pecans for walnuts. Replace 2 cups of apples with sliced
pears or fresh cranberries for a variation. Use gluten-free
flour and certified GF oats for a gluten-free version.
Tips for Getting It Right Every Time
- Cold butter is the whole game. If your butter has softened by the time you work it in, refrigerate the whole topping mixture for 15 minutes before scattering it over the apples. Cold going into the oven means crunchier coming out.
- Don’t skimp on the apples. Six cups sounds like a lot. Apples shrink significantly during baking. An undersized apple layer means too much topping relative to filling, and the final ratio feels off. Mound the apples slightly higher than the edge of the dish — they’ll settle down as they bake.
- Check at 40 minutes. Ovens vary. If you see deep golden color and vigorous bubbling at 40 minutes, it’s done. If the topping looks pale and the filling isn’t bubbling yet, give it 10 more minutes.
- Make it ahead. You can assemble the crisp (topping and filling) up to 24 hours ahead and refrigerate it unbaked. The topping actually benefits from resting — the butter firms back up, and it goes into the oven in better shape. Add 5 to 10 extra minutes to the baking time if going from cold.
- Storing leftovers. Cover loosely (not airtight) and refrigerate for up to four days. Reheat in a 325°F oven for 15 to 20 minutes to restore crunch. A microwave reheats it faster but softens the topping. Your call.
If you love warm fruit desserts like this, my Southern peach cobbler uses a similar bake-until-bubbling logic and is the summer equivalent of this recipe. And for a fall baking day when you want to run the oven twice, this apple crisp pairs well with a loaf of classic banana bread in the same afternoon.
How to Serve It
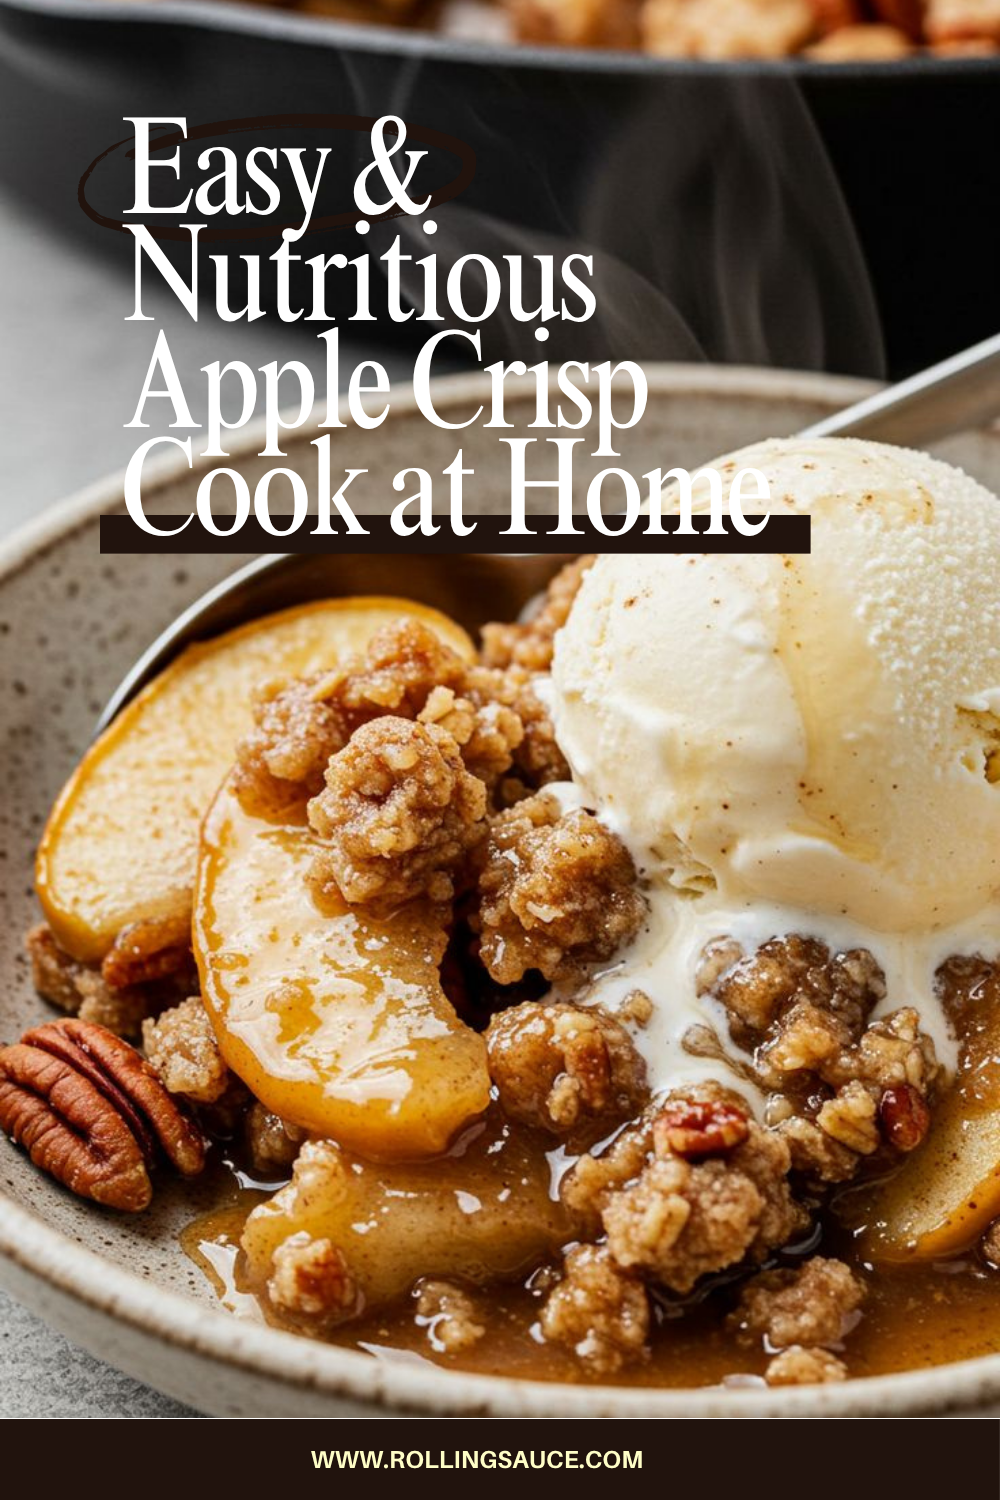
Warm, with a scoop of vanilla ice cream on top — that’s the standard, and it’s standard for good reason. The cold ice cream melts into the warm cinnamon filling and creates a sauce all on its own. Go with a good-quality vanilla; the flavor actually matters here.
Other options that work: a dollop of lightly sweetened whipped cream, a drizzle of caramel sauce (especially over the ice cream), or a pour of heavy cream right into the bowl. If you’re serving it at a gathering and don’t want to deal with ice cream logistics, whipped cream is the easier move — it holds better on a buffet table.
This dessert also holds up well at room temperature, making it a strong choice for potlucks or Thanksgiving tables where you don’t want to be managing warm desserts at the last minute. The topping stays reasonably crisp for about two hours out of the oven. If you want something that requires zero oven time for a fall gathering, my no-bake cookies are worth bookmarking alongside this one.
Frequently Asked Questions
What’s the difference between apple crisp and apple crumble? These two terms get used interchangeably in American kitchens, but there’s a technical distinction. A crisp topping contains oats; a crumble does not. Both use butter, flour, and sugar, but oats are what give the crisp its characteristic crunchy, granola-like texture. British crumble typically uses only butter, flour, and sugar — no oats — and produces a finer, more shortbread-like topping. This recipe is unambiguously a crisp, and the oats are what make the golden crust.
Can I use quick oats instead of rolled oats? Technically yes, but the result is noticeably different. Quick oats are cut into smaller pieces and have a finer texture — they produce a denser, less crunchy topping that tends to clump rather than cluster. Old-fashioned rolled oats are flat, full-size flakes that stay distinct in the topping and give you the chunky, crunchy texture that makes a great apple crisp. If rolled oats are what you have, use them.
Why is my apple crisp watery? Usually one of two things: the apples released more juice than expected, or the crisp came out of the oven before the filling had time to thicken and bubble. The tablespoon of flour in the filling helps absorb and thicken the released juice during baking, but it only works if the filling actually reaches a full, bubbling simmer in the oven. If yours looks watery, it needed more time. Some apple varieties are also juicier than others — a firmer, lower-moisture apple like Granny Smith produces less juice than a very ripe Fuji.
Can I make this gluten-free? Yes, with two straightforward swaps: use gluten-free all-purpose flour (a cup-for-cup blend like Bob’s Red Mill 1-to-1) in both the filling and the topping, and make sure your rolled oats are certified gluten-free (oats are often processed in facilities that handle wheat). The texture and flavor are very close to the original.
Can I add other fruit? Yes. Apple and pear together is a classic combination — the pear adds a floral softness that pairs well with the spiced oat topping. Apple and cranberry gives you tartness and color. Apple and quince is an old-fashioned pairing that’s worth trying in late fall when quince is in season. Keep the total volume of fruit at around six cups and adjust the sugar up or down based on the sweetness of what you’re using.
This is the recipe I pull out every year when the apples are good and the weather turns, and it has never let me down. The kind of dessert that makes the whole effort of fall feel worthwhile.
If you make it, save this post or share it — it’s one worth having around when the apple season comes back around.