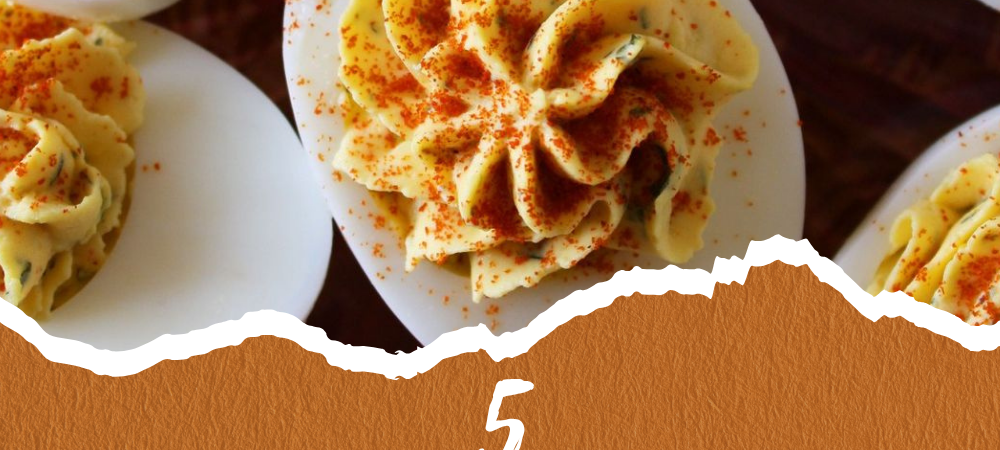
Every potluck has one dish that vanishes before anyone’s even sat down, and at most gatherings, that dish is deviled eggs. Bring a tray, set it down, and by the time you’ve found a seat, half of it is gone. There’s something about a classic — a creamy, tangy filling piped back into a soft egg white — that beats out almost anything fussier on the table.
This version leans into that classic format, with one small addition that makes the filling noticeably richer than a basic mayo-and-mustard mix, without changing what makes deviled eggs deviled eggs in the first place.
There’s also a reason this is the dish people specifically request, year after year, for the same gatherings. Deviled eggs travel well, hold up at room temperature longer than most creamy dishes, and disappear at a rate that makes them feel like a treat even though they’re built from ingredients most people already have in the fridge. If you’ve ever shown up to a potluck with something more ambitious that came home barely touched, this is the dish that doesn’t have that problem.

The Ingredients You Need
This is a short list, and the ratios matter more than the ingredients themselves — small adjustments to any one of these change the final texture and flavor more than you’d expect.
- Eggs — the foundation of the whole dish. Slightly older eggs (a week or so past purchase) peel more easily than very fresh ones, which matters more here than in almost any other egg recipe.
- Mayonnaise — the main binder and the source of most of the creaminess.
- Softened butter — this is the small addition that sets this version apart. A spoonful of butter mashed into the yolks before anything else gives the filling a rounder, richer texture that mayonnaise alone doesn’t quite achieve.
- Mustard — Dijon for a sharper, more grown-up flavor, or yellow mustard for the classic tang most people grew up with. Either works.
- A splash of vinegar or pickle juice — brightens the filling and cuts through the richness of the butter and mayo.
- A pinch of nutmeg — an old-fashioned addition that most modern recipes skip, but it adds a warm background note that makes people ask what’s different about these without being able to place it.
- Salt and pepper — to taste, added gradually since the mustard and pickle juice already bring some salt.
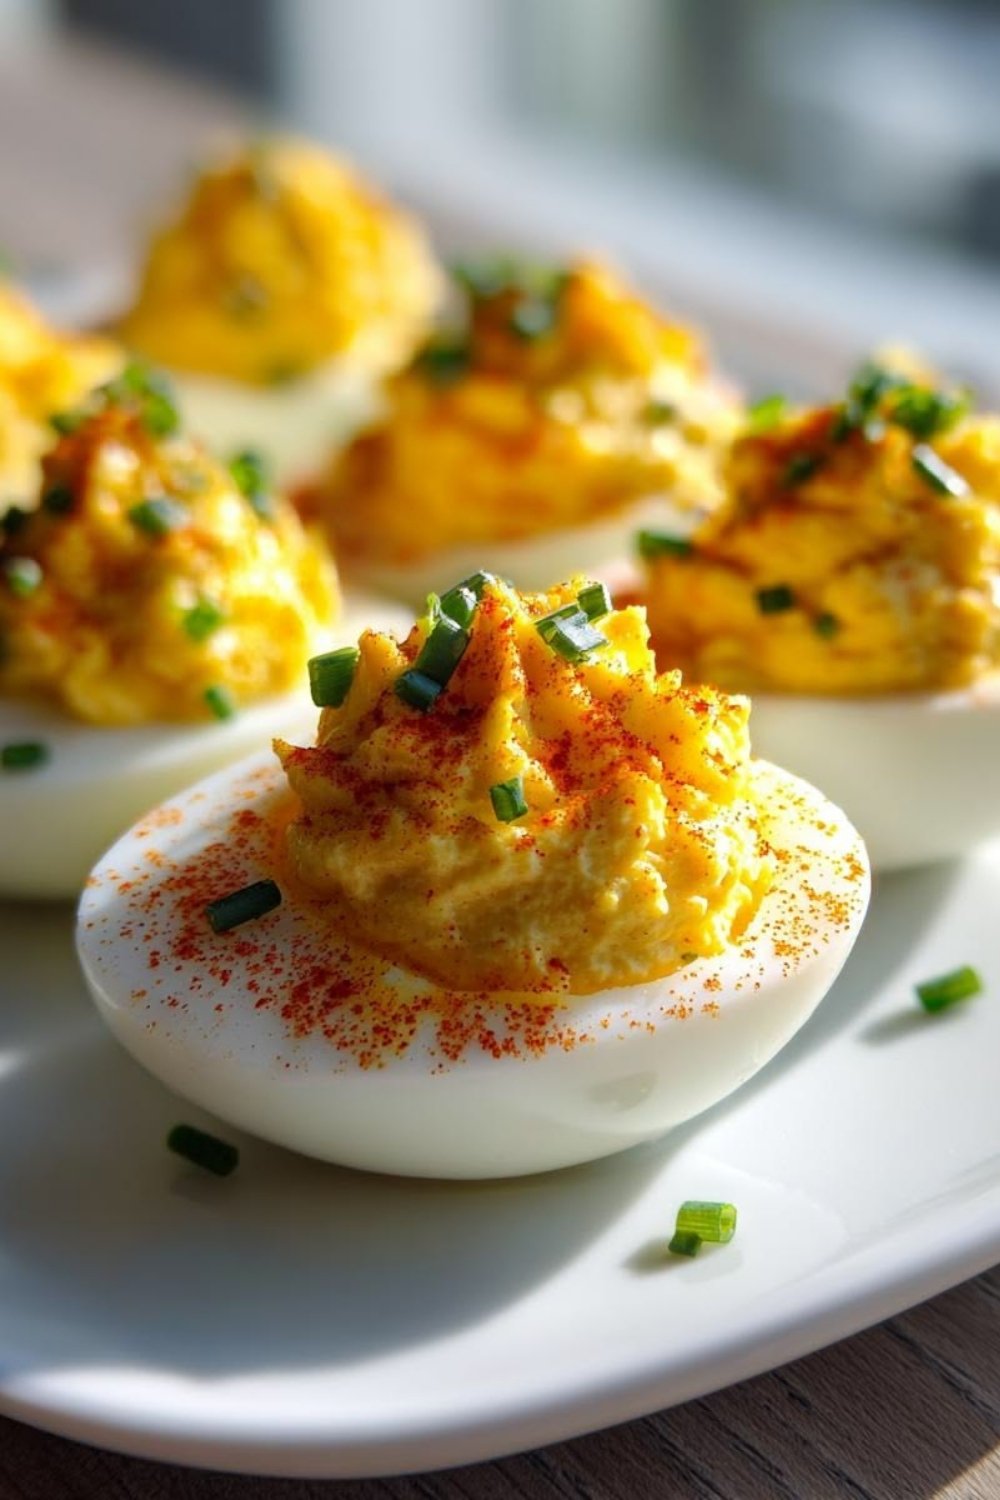
- Smoked paprika, for topping — a step up from regular paprika, with a deeper, slightly smoky flavor that complements the richer filling.
- Fresh chives, for garnish — optional, but they add color and a mild onion flavor that balances the richness.

The Best Classic Deviled Eggs
Ingredients
Method
- Place the eggs in a saucepan, cover with cold water by about an inch, and bring to a boil. Turn off the heat, cover, and let sit for 12 minutes.
- Transfer the eggs to a bowl of ice water and let cool for at least 10 minutes before peeling.
- Peel the eggs and slice in half lengthwise. Remove the yolks to a bowl and set the whites aside on a serving plate.
- Mash the softened butter into the warm yolks with a fork until smooth.
- Add the mayonnaise, mustard, vinegar or pickle juice, nutmeg, salt, and pepper. Stir until completely smooth, tasting and adjusting as needed.
- Spoon or pipe the filling into the egg white halves.
- Sprinkle with smoked paprika and chopped chives. Refrigerate for at least 30 minutes before serving.
Notes
- Storage: Keeps covered in the fridge for up to 3 days.
- Make ahead: Filling and cooked egg whites can be stored separately in the fridge for up to 2 days; fill the day of serving for best texture.
- Swap: Regular paprika can replace smoked paprika for a milder, more traditional flavor.
How to Make Classic Deviled Eggs
Boil the Eggs the Easy-Peel Way
Place the eggs in a single layer in a saucepan and cover with cold water by about an inch. Bring to a boil, then turn off the heat, cover the pot, and let the eggs sit in the hot water for 12 minutes. Transfer them immediately to a bowl of ice water and let them sit for at least 10 minutes before peeling.
This method — starting the eggs in cold water but cooling them quickly afterward — tends to give more consistent results than dropping cold eggs straight into boiling water, and the ice bath does double duty: it stops the cooking before the yolks turn gray-green at the edges, and it shrinks the egg slightly inside the shell, which makes peeling much easier. If you’ve struggled with hard-boiled eggs sticking to their shells in the past, the combination of timing and a proper ice bath tends to matter more than any other single trick.
Halve the Eggs and Remove the Yolks
Once the eggs are cool enough to handle, peel them and slice each one in half lengthwise with a sharp knife, wiping the blade between cuts for clean edges. Gently pop the yolks out into a separate bowl, and set the whites aside on a serving plate, cut-side up.
Mash the Butter Into the Yolks First
Before adding anything else, mash the softened butter into the warm yolks with a fork until the mixture is smooth and slightly glossy. Doing this step first — while the yolks are still a little warm from the egg — helps the butter melt in completely rather than sitting as separate streaks through the filling.
Mix in the Rest of the Filling
Add the mayonnaise, mustard, vinegar or pickle juice, nutmeg, salt, and pepper to the yolk mixture and stir until completely smooth. Taste and adjust — this is the point to add a little more mustard for tang, a little more mayo for richness, or extra salt if it’s tasting flat. For an ultra-smooth, pipeable texture, you can push the mixture through a fine sieve or give it a quick spin in a food processor, though a fork works fine for a slightly more rustic result.
Fill the Egg Whites
Spoon the filling into the egg white halves, or for a more polished look, transfer it to a piping bag (or a zip-top bag with the corner snipped off) and pipe it in swirls. Either approach works — a spoon gives a more rustic, homemade look, while piping looks closer to what you’d see on a party platter.
Top and Chill
Sprinkle the filled eggs with smoked paprika and a few snipped chives. Refrigerate for at least 30 minutes before serving — the flavors settle and the filling firms up slightly, which makes a real difference in both taste and texture.

The Secret to an Extra-Creamy Filling
Most deviled egg recipes rely entirely on mayonnaise for richness, which works fine but can sometimes taste slightly one-note — creamy, but in a flat, uniform way. Butter changes that. Because it’s a solid fat that melts at body temperature, it adds a kind of richness that coats the palate differently than mayonnaise alone, the same reason butter makes mashed potatoes taste different from potatoes mixed with just milk.
The order matters here too. Mashing the butter into the yolks first, before the mayo goes in, means the butter has direct contact with the warm yolk and melts in evenly. Add it last, into an already-mixed filling, and you’re more likely to end up with small streaks of unmelted butter running through the mixture — not a disaster, but not the smooth, uniform texture you’re after for piping.
This one small addition is also why this version holds up a little better at room temperature than an all-mayo filling, which can start to look slightly oily if a potluck table sits out for a while. The butter firms back up as the filling cools, giving it a bit more structure.
The nutmeg works alongside the butter for a similar reason — it’s a flavor more associated with rich, buttery dishes (béchamel, custards, mashed potatoes) than with mayonnaise-based ones, and a small pinch nudges the whole filling toward that richer territory without anyone necessarily identifying nutmeg as the reason. It’s the kind of addition that gets noticed by absence more than presence — leave it out, and the filling tastes fine, but slightly flatter, in a way that’s hard to put a finger on.
Tips for Potluck-Ready Deviled Eggs
Use eggs that aren’t fresh from the carton. Eggs that are a week to ten days old peel far more cleanly than just-bought eggs — the air pocket inside grows slightly as eggs age, which helps separate the shell from the white.
Make the filling ahead, but fill the whites closer to serving time. The filling keeps well in the fridge for up to two days in a separate container. Filling the whites the morning of (rather than the night before) keeps them from looking watery by the time they’re served.
Don’t skip the chill time. Thirty minutes in the fridge after filling makes a noticeable difference — the filling firms up just enough to hold its shape and the flavors have time to meld.
Transport them flat. If you’re bringing these to a potluck, an egg carton with the lid propped open (or a dedicated deviled egg carrier, if you have one) keeps them from sliding around and losing their tops.
Taste as you go. The exact balance of mustard, vinegar, and salt is really a matter of preference, and it’s much easier to adjust the filling before it’s piped than after.
Keep a couple of yolks back if you want extra-stuffed eggs. If your whites end up looking small relative to the amount of filling, a couple of extra hard-boiled yolks mashed in (without adding more whites) makes the filling go further and gives each egg a more generous swirl on top.

Frequently Asked Questions
Can I make deviled eggs ahead of time? Yes — the filling and the cooked egg whites can both be made up to two days ahead and stored separately in the fridge. Fill the whites the day you plan to serve them for the best texture.
Why are my hard-boiled eggs hard to peel? This is almost always about the age of the eggs and how quickly they’re cooled. Very fresh eggs are notoriously difficult to peel cleanly; a week-old carton, combined with a proper ice bath right after boiling, makes a big difference.
Can I use regular paprika instead of smoked? Absolutely — smoked paprika adds a deeper flavor, but regular paprika gives you the same classic color and a milder taste, which is closer to what most people grew up with.
How long do deviled eggs last in the fridge? Filled deviled eggs keep well, covered, in the fridge for up to 3 days. They’re best served cold and shouldn’t sit out at room temperature for more than about 2 hours.
Save This One for the Next Potluck
Once you’ve made these a couple of times, the technique stops feeling like a project — boiling and peeling the eggs is genuinely the only part that takes any real time, and even that becomes routine after the first batch. The filling itself comes together in a few minutes with a fork and a bowl.
If you’re putting together a full spread for a gathering, these pair easily with something like a simple Italian pasta salad or a tray from the trending hamburger meat round-up — between the three, there’s something for every part of the table. But on their own, these are the kind of thing worth making just because it’s a Tuesday and you want something good in the fridge. Save the recipe — it’s short enough to remember, but worth having written down for the nutmeg and butter trick alone.