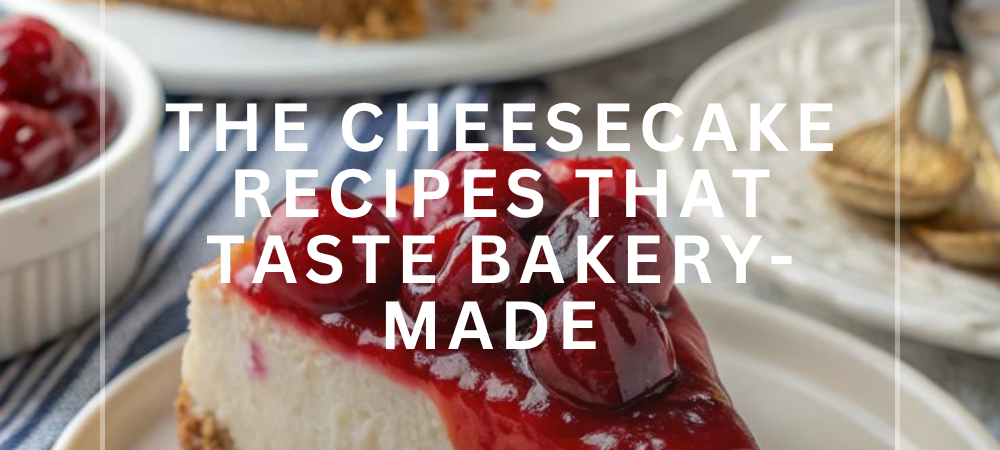
There are a hundred versions of cheesecake out there — no-bake, Basque, Japanese-style, swirled with every flavor imaginable — and all of them are good for different reasons. But this is the one. A classic baked cheesecake recipe with a buttery graham cracker crust, dense and creamy filling, and a tangy edge from sour cream that keeps it from tasting like sweetened cream cheese on a cookie base. No water bath, no foil wrapping, no anxiety about leaks.
If you’ve been putting off making cheesecake from scratch because it felt like a project, this is the version that proves it doesn’t have to be. It’s also the kind of recipe worth having memorized — once you’ve made it a couple of times, it becomes the dessert you reach for whenever an occasion calls for something that looks special but doesn’t require a special trip to the store.
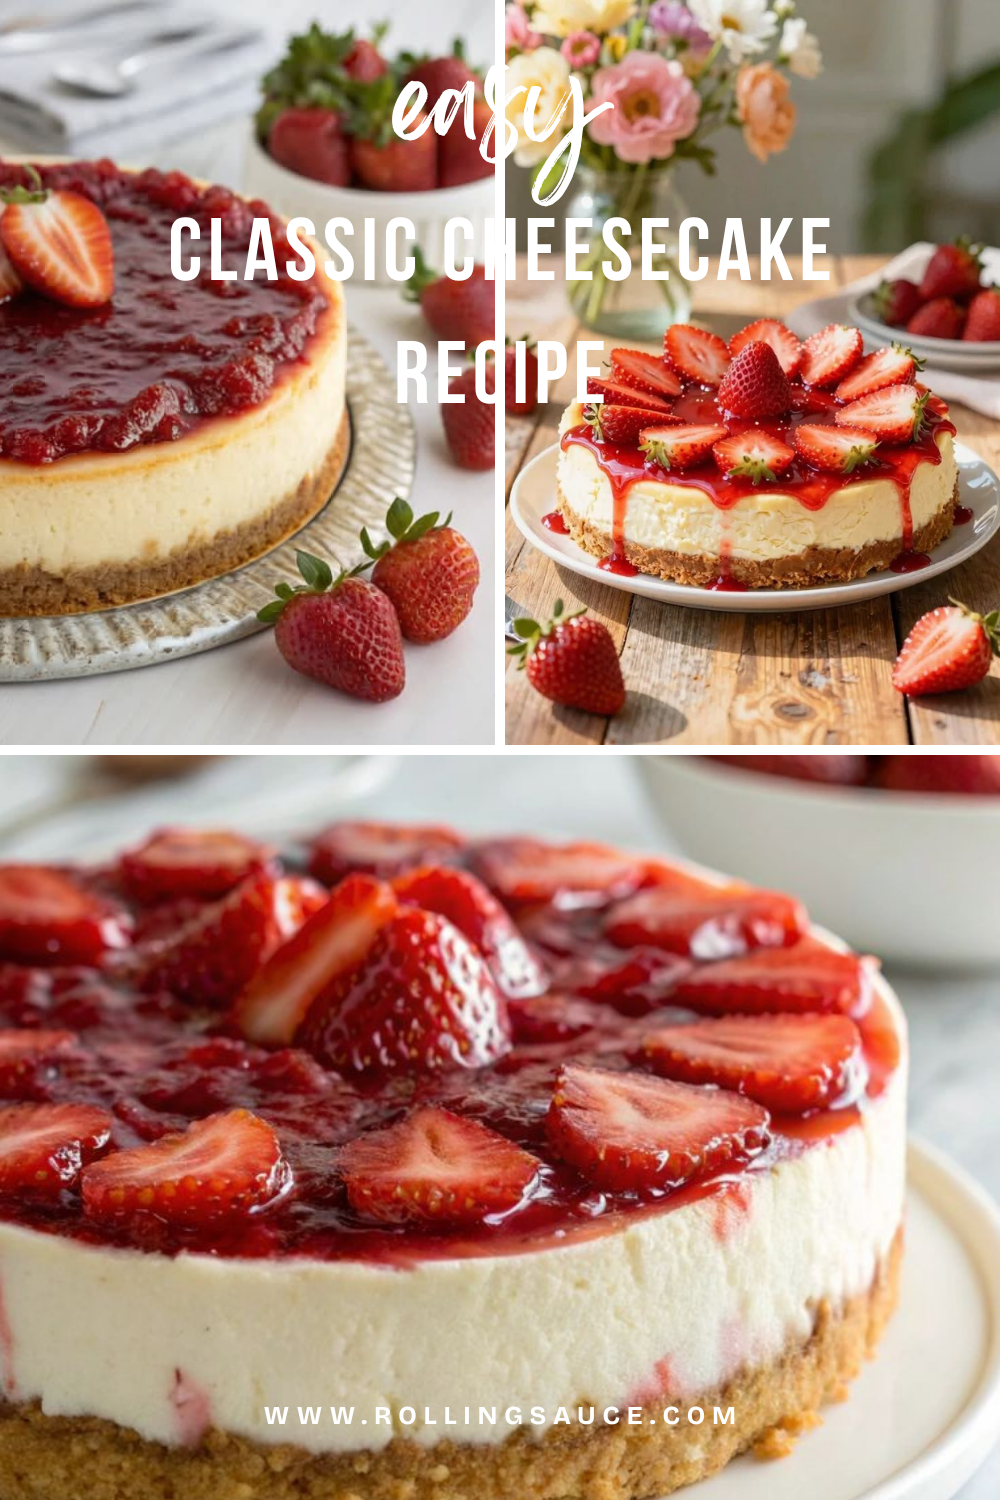
Why You Don’t Need a Water Bath for This Cheesecake
Water baths exist for one reason: to slow down and even out the heat reaching the cheesecake, so the edges don’t cook much faster than the center. That gentler heat is what prevents the dramatic doming, sinking, and cracking that can happen when a cheesecake bakes too hot or too fast.
The thing is, a water bath isn’t the only way to get gentle, even heat — it’s just the most talked-about one. Baking at a lower temperature for a longer time accomplishes almost the same thing, without the risk of a leaky springform pan turning your crust to mush. This recipe bakes low and slow, which means the center has time to set gently instead of puffing up and then collapsing as it cools.
The other half of the equation is what happens after the oven turns off. A cheesecake that goes straight from a hot oven to room temperature, or straight into the fridge, experiences exactly the kind of rapid temperature swing that causes cracks. Letting it cool gradually — first in the turned-off oven, then on the counter, then in the fridge — does almost as much work as the water bath ever did.
The Ingredients You Need
This is a short, classic ingredient list — the kind where every item has a clear job and nothing is there for show.
For the crust:
- Graham cracker crumbs — the base of the crust. About 1.5 cups, or roughly 12 full crackers crushed.
- Melted butter — binds the crumbs together. The mixture should look and feel like damp sand before it goes into the pan.
- Sugar and a pinch of salt — a little sugar helps the crust set up firm once baked, and salt balances the sweetness of the filling above it.
For the filling:
- Full-fat cream cheese — the star of the show. Use the block style, not the spreadable kind in a tub, and make sure it’s fully softened to room temperature before you start.
- Granulated sugar — sweetens the filling without overpowering the tang of the cream cheese.
- Sour cream — adds richness and that slightly tangy edge that separates a classic cheesecake from a sweeter, blander one.
- Eggs — provide structure. Room temperature eggs incorporate more smoothly and are less likely to overmix the batter.
- Vanilla extract — rounds out the flavor.
- A small squeeze of lemon juice (optional) — brightens the filling slightly without making it taste like lemon cheesecake.
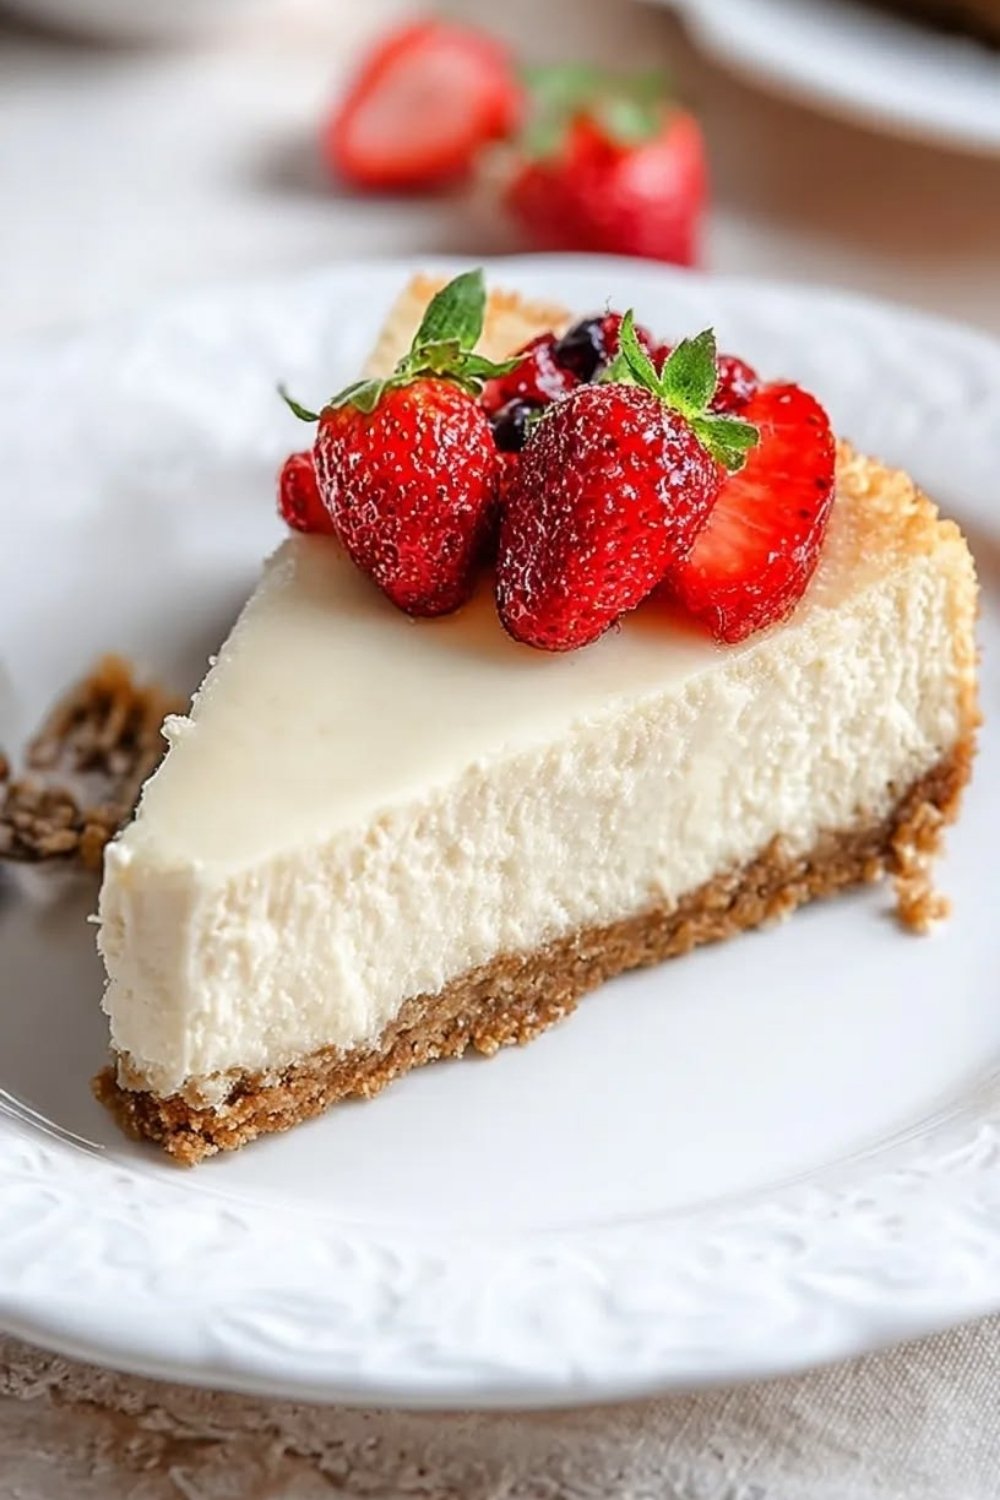

Simple Classic Cheesecake With a Buttery Graham Cracker Crust
Ingredients
Method
- Preheat the oven to 350°F. Mix the graham cracker crumbs, melted butter, sugar, and salt until the mixture looks like wet sand.
- Press the mixture firmly into the bottom of a 9-inch springform pan. Bake for 8-10 minutes, then set aside to cool. Reduce oven temperature to 325°F.
- Beat the softened cream cheese on medium speed until completely smooth, 1-2 minutes. Add the sugar and beat until combined.
- Reduce to low speed. Mix in the sour cream, vanilla, and lemon juice (if using) until just combined.
- Add the eggs one at a time on low speed, mixing just until each is incorporated before adding the next.
- Pour the filling over the cooled crust and smooth the top. Bake at 325°F for 55-65 minutes, until the edges are set and matte but the center still jiggles slightly.
- Turn off the oven, prop the door open slightly, and let the cheesecake cool inside for about 1 hour.
- Move to the counter to finish cooling to room temperature, then refrigerate uncovered for at least 4 hours or overnight.
- Add toppings just before serving, if using.
Notes
- Storage: Keeps covered in the fridge for up to 5 days.
- Make ahead: Best made a day ahead — the texture and flavor improve overnight.
- Freezing: Wrap tightly in plastic wrap and foil; freeze whole or in slices for up to 2 months. Thaw overnight in the fridge.
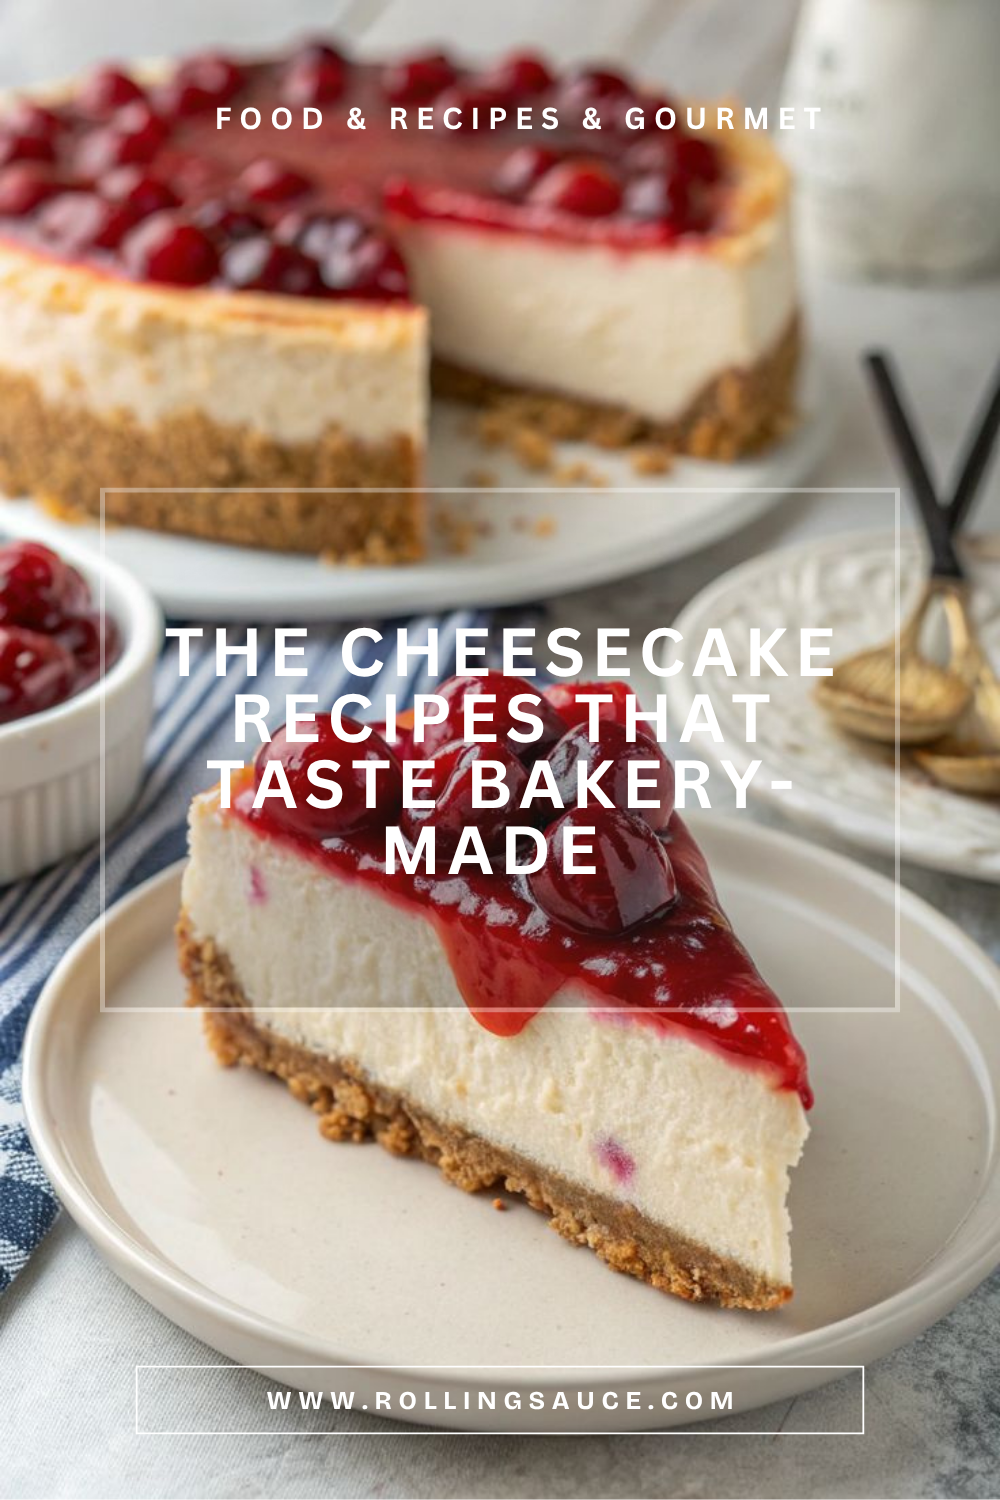
This recipe is intentionally plain on top, which is part of what makes it so versatile. A spoonful of cherry or strawberry topping turns it into the diner-style classic; fresh berries and a dusting of powdered sugar keep it simple and bright; or skip toppings entirely and let the tangy filling and buttery crust speak for themselves. Whatever you choose, add it just before serving rather than before the cheesecake goes into the fridge.
How to Make Classic Cheesecake
Build and Pre-Bake the Crust
Stir the graham cracker crumbs, melted butter, sugar, and salt together until the mixture looks like wet sand and holds together when pressed. Press it firmly into the bottom of a 9-inch springform pan, and slightly up the sides if you’d like a more defined crust edge. Bake the crust on its own for about 8 to 10 minutes at 350°F, then set it aside to cool while you make the filling. This short pre-bake is what keeps the crust from turning soft once the wet filling goes on top of it.
Beat the Cream Cheese Until Smooth — and Stop There
In a large bowl, beat the softened cream cheese on medium speed until completely smooth, with no lumps, about 1 to 2 minutes. Add the sugar and beat again until combined. This is the step where most people overmix without realizing it — once the cream cheese is smooth, there’s nothing left to gain from beating it longer, and every extra minute is whipping more air into the batter that will need to escape later.
Add the Rest on Low Speed
Reduce the mixer to low speed and mix in the sour cream, vanilla, and lemon juice (if using) until just combined. Add the eggs one at a time, mixing on low just until each one disappears into the batter before adding the next. Low speed here isn’t optional — it’s the difference between a dense, smooth filling and one that’s full of tiny air bubbles waiting to expand and crack the surface in the oven.
Bake Low and Slow
Pour the filling over the cooled crust and smooth the top. Bake at a lower temperature — around 300 to 325°F — for about 55 to 65 minutes. The cheesecake is done when the edges look set and matte, but the center few inches still jiggle slightly when you gently shake the pan. It will firm up completely as it cools, so resist the urge to bake until it looks fully set in the oven.
Cool It Gradually
Turn off the oven and prop the door open slightly, leaving the cheesecake inside for about an hour. Then move it to the counter to finish cooling to room temperature before transferring it to the fridge, uncovered, for at least 4 hours — overnight is better. This slow, staged cooling is doing as much work against cracking as anything else in the recipe.
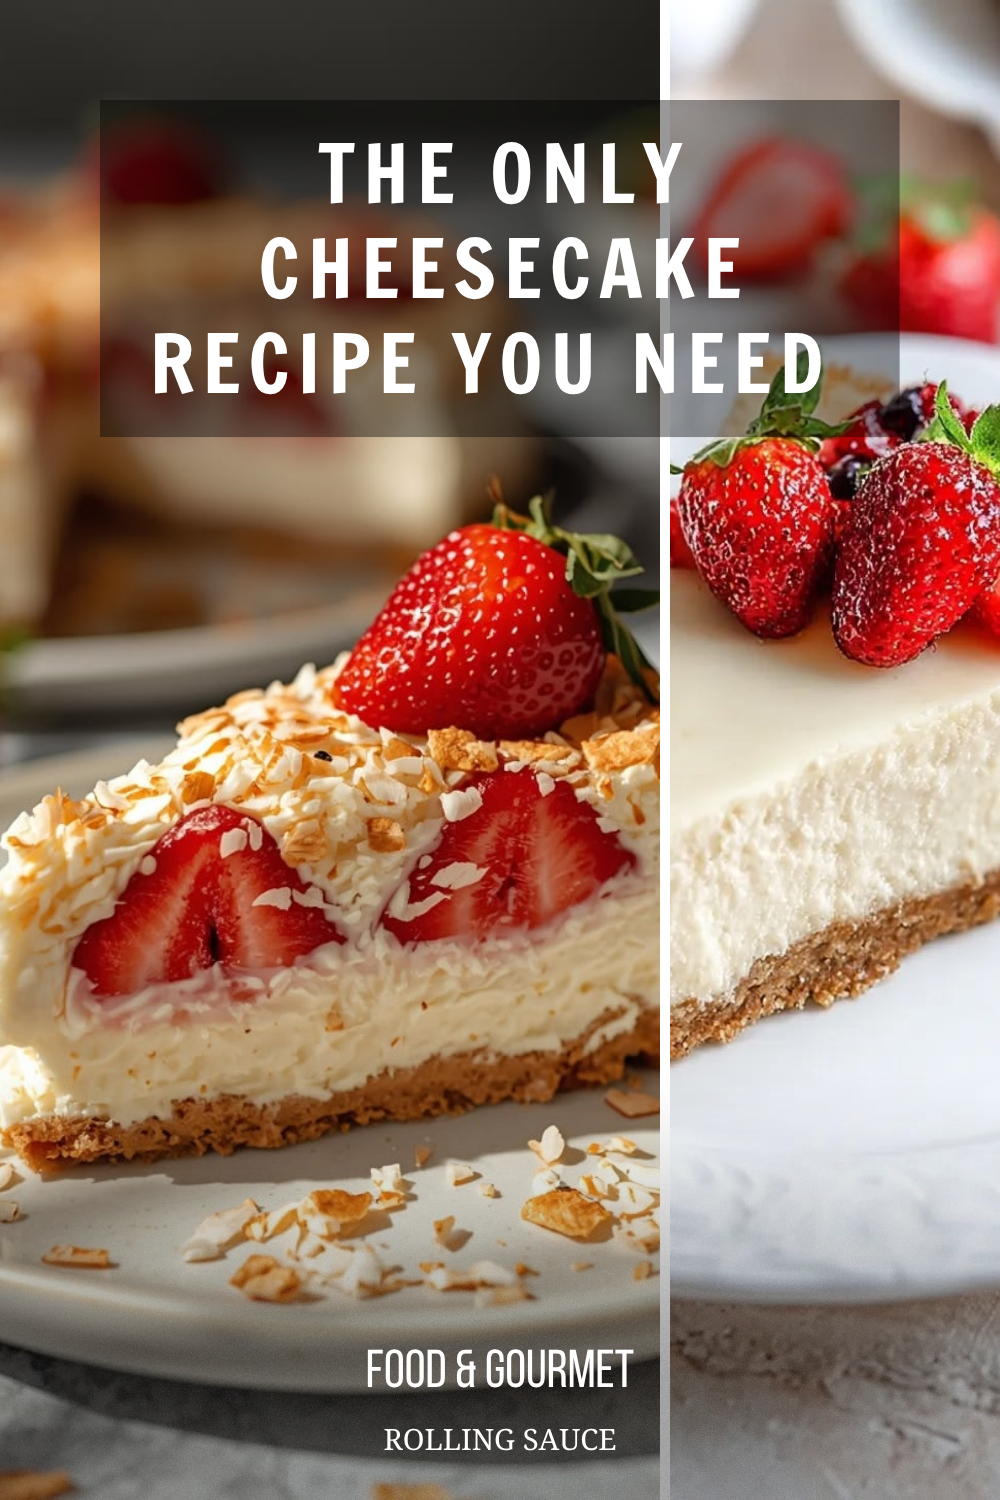
How to Prevent Cracks (And Fix Them If They Happen)
Cracks come down to two things, almost always: too much air in the batter, or too fast a temperature change. Everything in this recipe is designed around avoiding both, but a few specific habits make the biggest difference.
Room temperature ingredients aren’t a suggestion. Cold cream cheese doesn’t blend smoothly — it leaves small lumps that either stay in the finished cheesecake or require extra mixing to break down, and that extra mixing is exactly the overmixing that introduces air. Set your cream cheese, sour cream, and eggs out at least an hour before you start, the same way you would for peanut butter cookies or any other baked good where smooth, even mixing matters.
Don’t open the oven door early. A blast of cooler air hitting a partially-set cheesecake is one of the most common causes of sinking and cracking. Resist checking on it until it’s close to the end of the bake time.
If it cracks anyway, don’t panic — cover it. A crack doesn’t affect how the cheesecake tastes, and it’s one of the easiest things to disguise. A layer of fruit topping, a dusting of powdered sugar, or even just a thick spread of whipped cream covers it completely. According to bakers who’ve spent years troubleshooting cheesecakes, most cracking comes down to overbaking or sudden temperature changes rather than anything wrong with the recipe itself — which means a cracked cheesecake is still a perfectly good cheesecake.
A slightly underbaked center is better than an overbaked one. An overbaked cheesecake is the one that cracks badly and turns dry and crumbly instead of creamy. A center that still jiggles slightly when the pan is gently shaken will firm up perfectly as it cools — trust the jiggle.
Tips for the Best Cheesecake Every Time
- Use a 9-inch springform pan. The recipe is built around this size; a different pan size will change both the bake time and the final texture.
- Run a knife around the edge right after baking. While the cheesecake is still warm, gently loosen the edges from the pan with a thin knife. This gives the cheesecake room to contract slightly as it cools without pulling and cracking against the sides of the pan.
- Slice with a hot, clean knife. Run a knife under hot water and wipe it dry between each cut for clean slices instead of a dragged, smeared edge — especially important if you’re serving it for a special occasion.
- Make it a day ahead. Cheesecake actually improves overnight in the fridge, as the filling firms up and the flavors settle. This isn’t just convenient — it’s genuinely the better way to serve it.
- Add toppings just before serving, not before chilling. Fresh fruit, sauces, or whipped cream are best added right before you serve, so they don’t sit and soften against the surface of the cheesecake overnight.
Frequently Asked Questions
Can I make this ahead of time? Yes — in fact, it’s better made a day ahead. Bake it, cool it, and refrigerate it overnight, then add any toppings right before serving.
Why did my cheesecake sink in the middle? A sunken center usually means the cheesecake was slightly overbaked, or the oven door was opened too early during baking, causing a temperature drop that the structure couldn’t recover from.
Can I freeze cheesecake? Yes. Cool it completely, then wrap the whole cheesecake (or individual slices) tightly in plastic wrap and foil, and freeze for up to 2 months. Thaw overnight in the fridge before serving.
What can I use instead of graham crackers for the crust? Digestive biscuits, vanilla wafers, or even crushed shortbread cookies all work in the same ratio — about 1.5 cups of crumbs to a few tablespoons of melted butter and sugar.
How do I know when the cheesecake is done baking? Look at the outer two inches of the cheesecake — they should look set and slightly matte rather than wet or glossy. The center few inches should still wobble gently like firm gelatin when you nudge the pan. It will continue to set as it cools, so a slightly underdone-looking center at this stage is exactly right.
Worth the Wait
This is the kind of dessert that looks like it took far more effort than it did, which makes it a good one to keep in the regular rotation for birthdays, holidays, or just a weekend where you want something a little more impressive than usual on the table. Once you’ve made it once and seen how forgiving the no-water-bath method really is, it stops feeling like a special-occasion-only recipe.
Make the full 9-inch version even if it’s just for a couple of people — cheesecake keeps beautifully in the fridge for up to five days, and a slice of this with morning coffee is its own kind of reason to get out of bed. If you’re planning a bigger spread, it pairs well with anything from blueberry muffins to a simple fruit salad — and it’s the kind of thing worth doubling, because it disappears fast once people know it’s in the fridge.