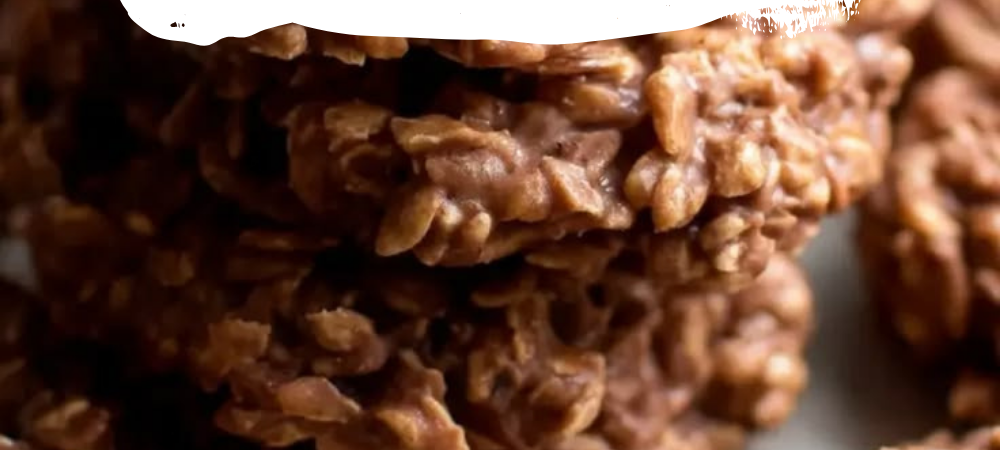
These cookies are for those moments — when you want something sweet, you want it in about 15 minutes, and you’d like to keep the kitchen from turning into an additional weather event.
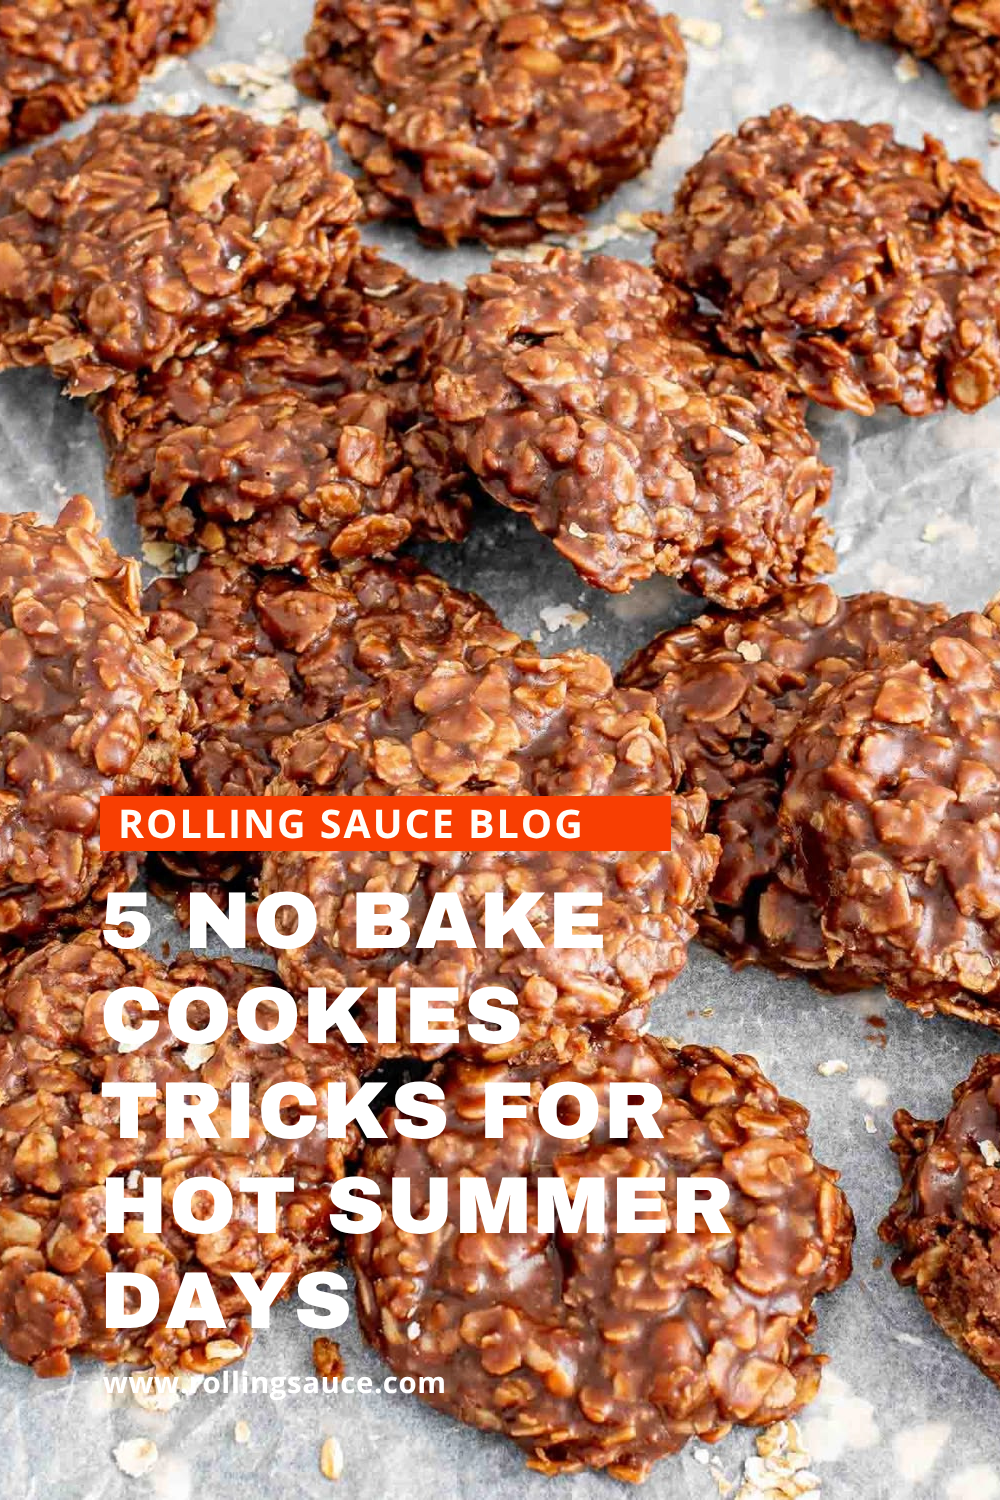
The no-bake cookie is one of the most underrated things in home cooking. It’s made on the stovetop in one saucepan, dropped onto parchment paper, and set at room temperature. The ingredients are already in your pantry: butter, sugar, milk, cocoa powder, peanut butter, vanilla, and oats. The technique requires a timer, some attention, and nothing else. In 15 minutes of active work plus 20–30 minutes of resting time, you have a batch of 24 fudgy, chocolate-peanut butter cookies that taste like the ones that used to appear at school bake sales and church potlucks without explanation.
The one technique rule that makes the difference between cookies that set properly and cookies that stay soft and sticky forever is the boil. Specifically, the 1-minute rolling boil. This post explains why, exactly how it works, and how to get it right every time.
Why No-Bake Cookies Work When Nothing Else Will
No-bake cookies are the dessert that exists specifically for impossible situations: no oven, no time, extreme heat, an empty pantry, a craving that needs to be addressed within the hour.
They require no special equipment, no measuring scale, no stand mixer. A medium saucepan, a spoon, and a baking sheet lined with parchment paper. The whole recipe is done on a single burner in a single pot and the cleanup is one pan.
They also keep well. Once set, no-bake cookies store at room temperature for three days or in the fridge for up to a week — which makes them as useful for meal-prep-style batch cooking as they are for last-minute dessert situations. They’re legitimately better the second day, after the oats have fully absorbed the chocolate mixture and the texture settles into something dense and fudgy rather than soft and loose.
And they’re genuinely good. Not “good for something made without an oven” — actually good in the way that makes you reach for a second one and wonder how a 15-minute stovetop recipe tastes this rich and satisfying.
The Science Behind the 1-Minute Boil
This is the step that separates no-bake cookies that set from no-bake cookies that stay sticky forever, and understanding why it works makes it easier to execute correctly.
The chocolate base is essentially a simple candy syrup: sugar cooked with butter, milk, and cocoa. When sugar is heated in liquid, it dissolves and the water evaporates, concentrating the sugar solution. The longer and hotter it cooks, the more water evaporates and the higher the concentration rises. Different sugar concentrations produce different textures when cooled — from thread stage (thin syrup) to hard crack (brittle candy).
No-bake cookies are targeting what candy-makers call the soft ball stage — roughly 235–240°F (112–115°C) — which produces a texture that firms up when cooled but stays slightly soft and fudgy. As King Arthur Baking explains in their candy-making guides, this temperature range is what gives fudge and pralines their characteristic texture — neither liquid nor hard, but something in between.
The 1-minute rolling boil is the home cook’s proxy for this temperature. Most stovetop burners at medium heat bring the mixture to the soft ball stage after about one minute of active boiling. Too short: the sugar solution isn’t concentrated enough, so the cookies remain soft and won’t hold their shape. Too long: the sugar concentrates past the soft ball stage and the cookies come out dry, grainy, and crumbly. One minute at a full rolling boil — the kind where the entire surface is covered in active bubbles — is the target.
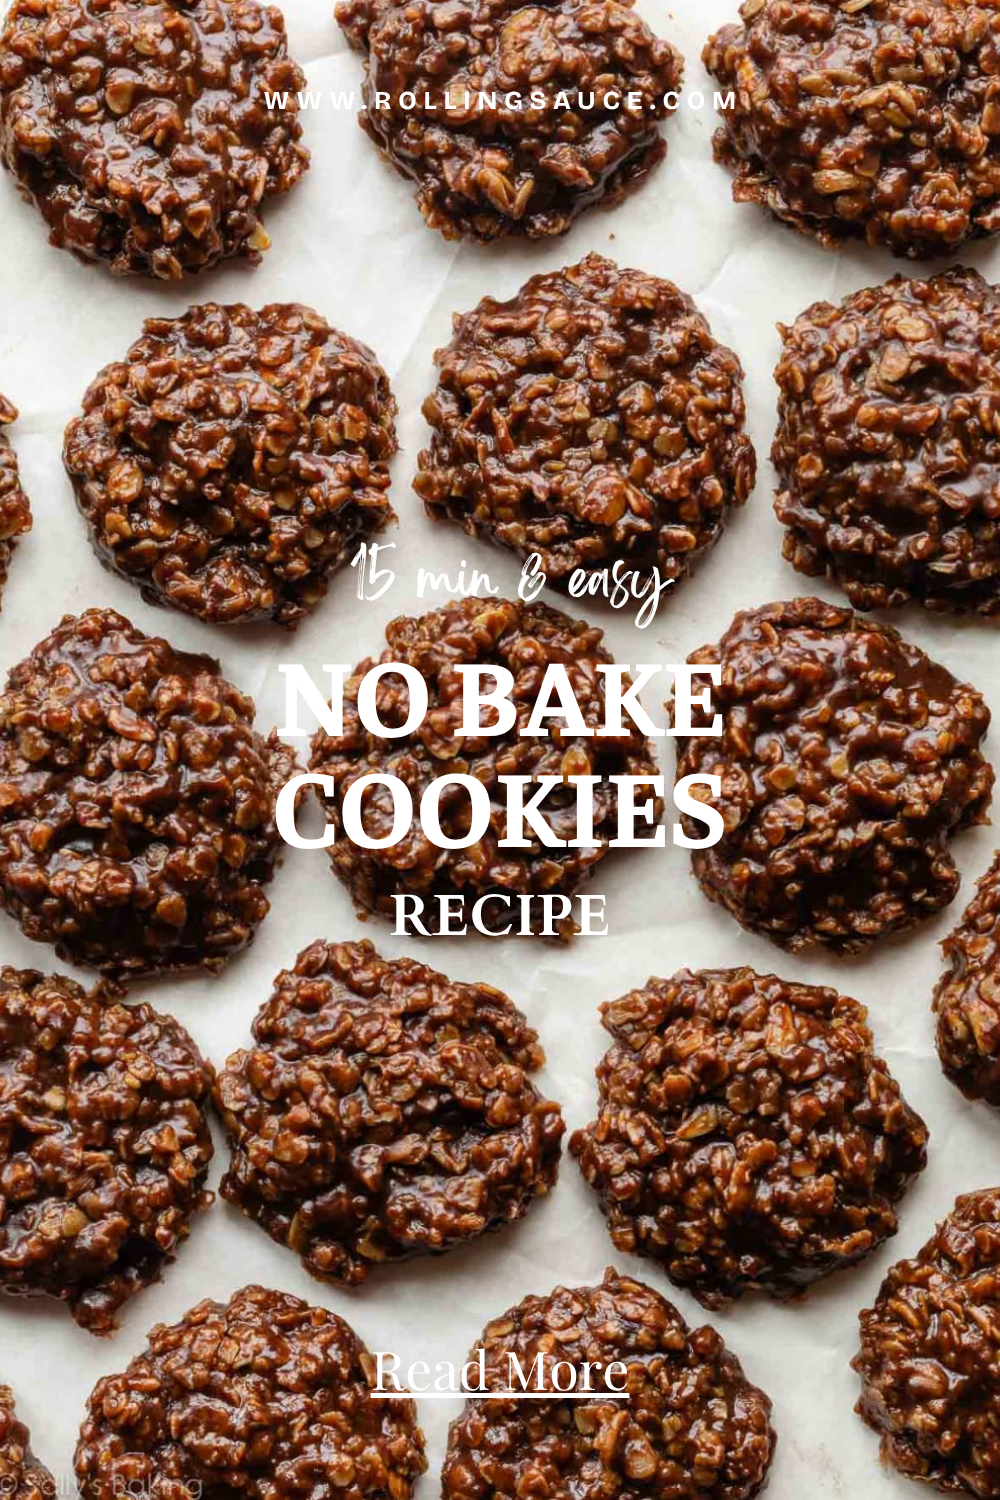
What You’ll Need
Here’s everything for about 24 cookies.
- 2 cups (400g) granulated sugar
- ½ cup (113g) unsalted butter, cut into pieces
- ½ cup (120ml) whole milk
- ¼ cup (25g) unsweetened cocoa powder
- ½ cup (125g) creamy peanut butter (conventional style — Jif or Skippy — holds better than natural)
- 1 teaspoon pure vanilla extract
- 3 cups (270g) quick-cooking oats (see note for old-fashioned oats)
- ¼ teaspoon kosher salt
- Flaky sea salt for finishing, optional but excellent
Line two large baking sheets with parchment paper or wax paper and have them ready before you start cooking — the mixture thickens quickly once it comes off the heat and you need to work fast.
Have the peanut butter, vanilla, oats, and salt measured and staged before the saucepan goes on the stove. Thirty seconds of searching for the vanilla while the mixture cools on the counter is the difference between cookies that hold together and cookies that don’t.
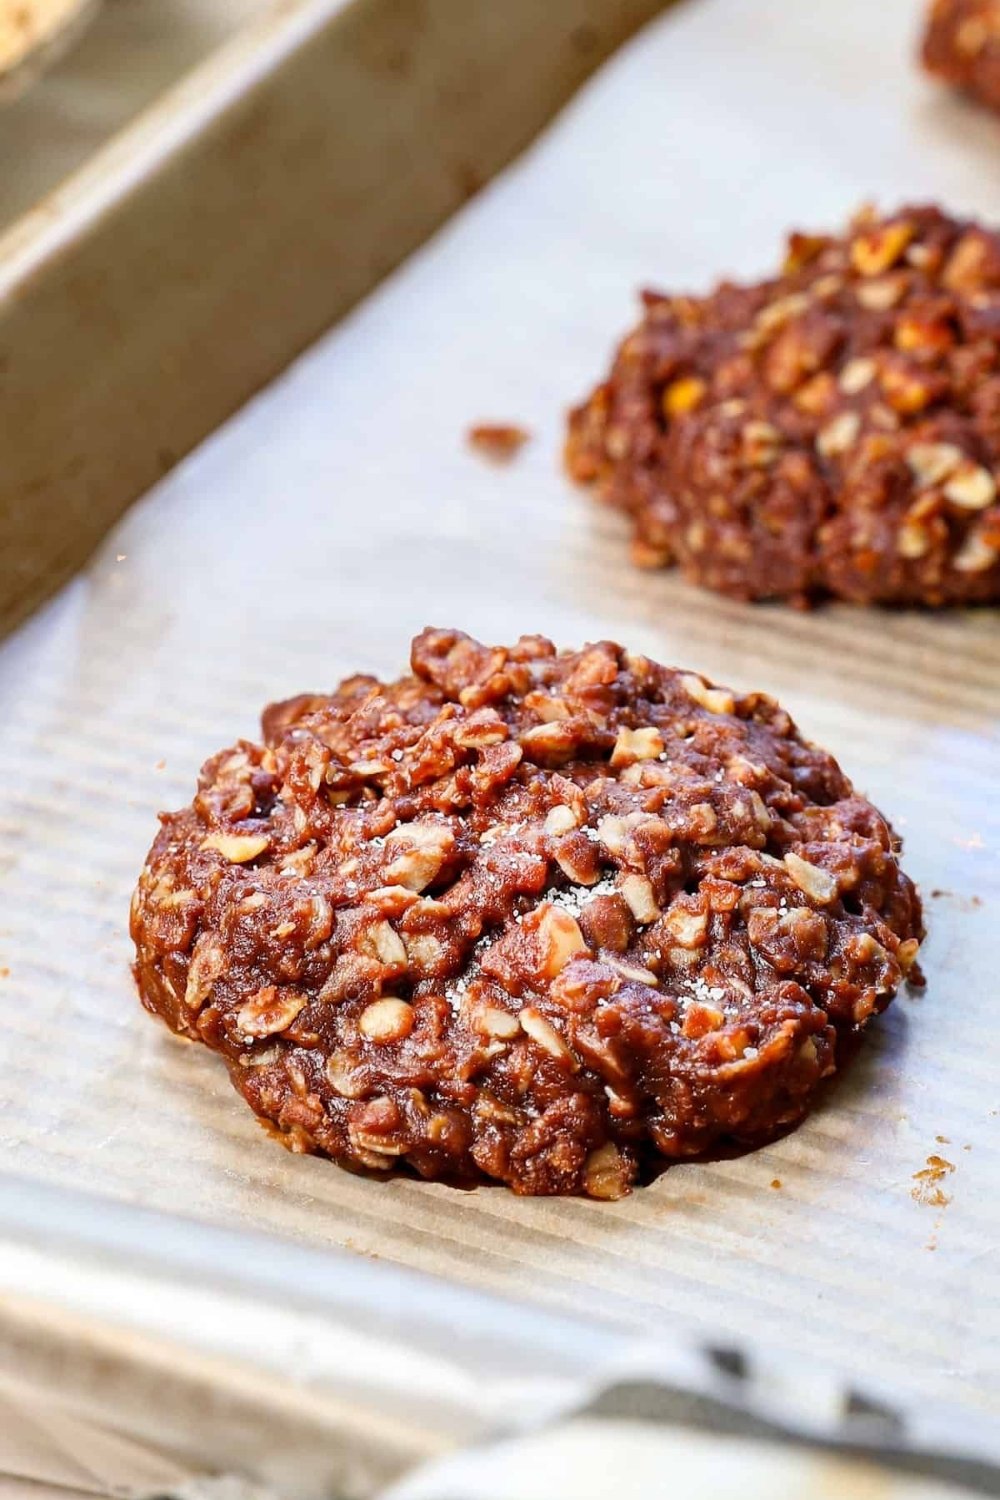

Classic Chocolate Peanut Butter No-Bake Cookies
Ingredients
Method
- Line two large baking sheets with parchment or wax paper. Measure and stage the peanut butter, vanilla, oats, and salt before starting.
- Combine sugar, butter, milk, and cocoa powder in a medium saucepan over medium heat. Stir continuously until butter melts and mixture is smooth. Bring to a full rolling boil — the entire surface covered in active bubbles. Set a timer for exactly 1 minute and boil, stirring occasionally.
- Remove from heat immediately. Stir in peanut butter and vanilla until completely smooth and glossy.
- Add oats and salt. Stir quickly until all oats are coated.
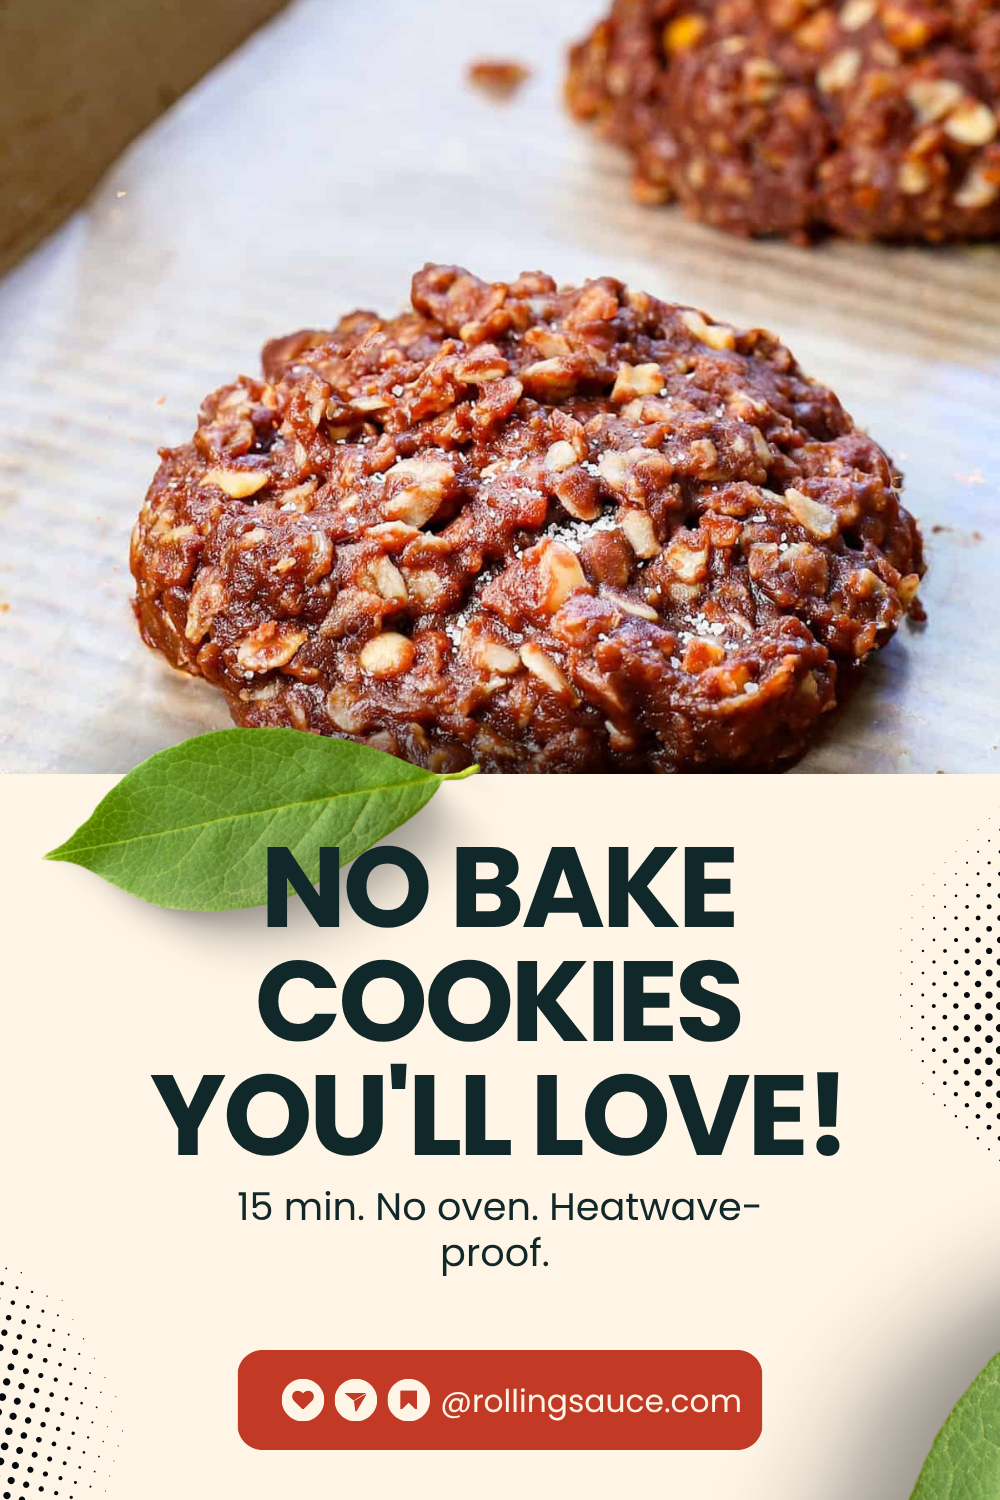
- Drop heaping tablespoons onto parchment paper. Flatten each mound slightly with the back of a spoon. Sprinkle with flaky salt if using.
- Let cool at room temperature for 20–30 minutes until completely firm. Do NOT refrigerate while still warm.
Notes
- If cookies don’t set: Boil time was too short. Refrigerate to firm up; they’ll still taste good.
- If cookies are crumbly: Boil time was too long. No fix — reduce time next batch.
- Oat swap: Old-fashioned rolled oats work; cookies will be chewier with more visible oat texture.
- Peanut butter: Conventional (Jif/Skippy) gives the most consistent results. Natural PB works but produces softer cookies.
- Storage: Room temperature, airtight, 3 days; refrigerator up to 1 week; freezer up to 2 months.
How to Make Them
Step 1: Set Up
Line two large baking sheets with parchment or wax paper. Measure and stage all your add-ins: peanut butter, vanilla, oats, and salt set out and ready to go. This part takes two minutes and matters a lot.
Step 2: Make the Chocolate Base
Combine the sugar, butter, milk, and cocoa powder in a medium saucepan (3 quarts or larger). Cook over medium heat, stirring continuously, until the butter is melted and the mixture is smooth. Increase the heat slightly and bring to a full rolling boil — the entire surface should be covered in large, active bubbles. Set a timer for exactly 1 minute the moment you see a full rolling boil. Let it boil for the full minute, stirring occasionally.
Step 3: Add Peanut Butter and Vanilla
Remove the pan from heat immediately when the timer goes off. Add the peanut butter and vanilla. Stir quickly until the peanut butter is completely melted and incorporated into the chocolate mixture. It should look glossy and uniform.
Step 4: Fold in the Oats
Add the oats and salt and stir vigorously until every oat is coated in the chocolate mixture. Work quickly — the mixture thickens significantly as it cools and becomes harder to scoop cleanly.
Step 5: Drop and Set
Drop heaping tablespoons of the mixture onto the prepared parchment paper. Use the back of the spoon or a cookie scoop to press each mound into a flat, round shape. They don’t spread on their own. Let cool at room temperature for 20–30 minutes until completely firm. Do not refrigerate while still warm — placing warm cookies in a cold fridge causes condensation on the surface and makes them gooey.
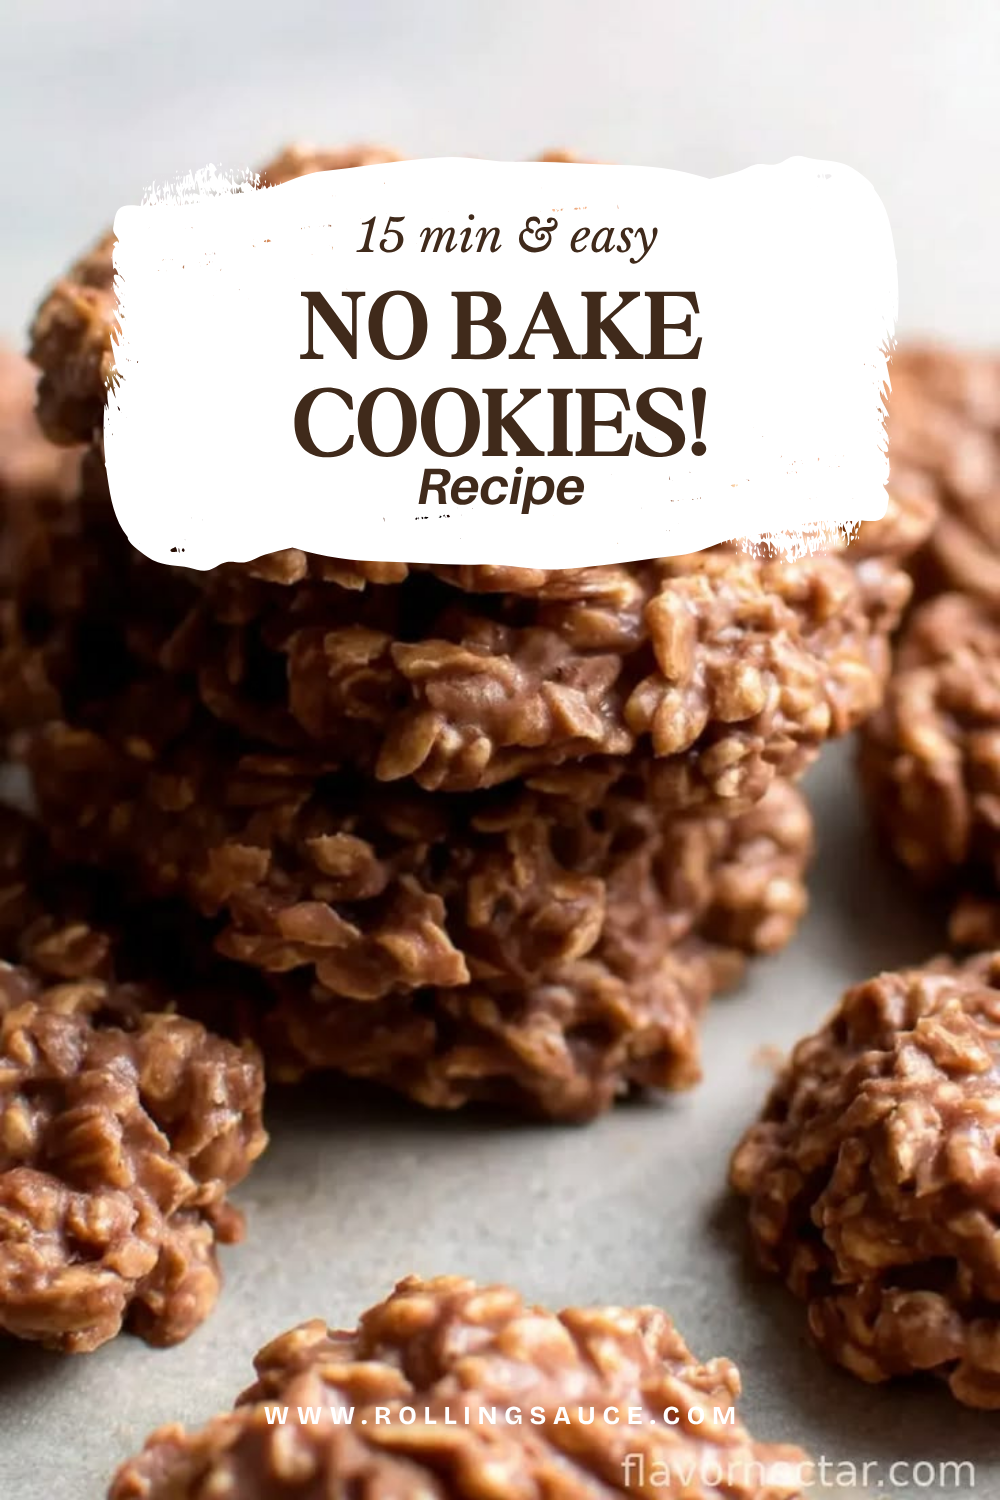
Why Your No-Bake Cookies Aren’t Setting
Two failure modes. Both common. Both preventable.
Cookies are too soft and sticky: The mixture didn’t boil long enough. The sugar solution didn’t reach the soft ball stage, so it doesn’t have enough structure to firm up at room temperature. If your cookies are still soft after 30 minutes, refrigerate them — cold temperatures will help them firm up even if the sugar wasn’t fully cooked. They’ll still taste good, just slightly softer in texture. Next batch: make sure you’re timing from a full rolling boil, not the first bubbles appearing around the edge of the pan.
Cookies are dry and crumbly: The mixture boiled too long. The sugar concentrated past the target temperature, and when the oats were added, there wasn’t enough remaining moisture to create the fudgy matrix. The cookies hold together but break apart when you pick them up. There’s no fixing a crumbly batch, but the solution for next time is simple: pull the pan off the heat the moment the 1-minute timer sounds, regardless of what the mixture looks like.
The mixture seized when the oats were added: The mixture cooled too much before the oats went in. Once the peanut butter is stirred in and the heat is off, you have about 60–90 seconds before the mixture starts to thicken too much to scoop cleanly. Speed matters from step three onward.
Tips for Perfect Cookies Every Time
- Use a timer. The 1-minute boil is not guesswork. Set an actual timer — on your phone, a kitchen timer, your watch. Start it the moment you see a full rolling boil across the entire surface.
- Use conventional creamy peanut butter. Natural peanut butter has a higher oil content and different emulsification behavior. It works, but the cookies are softer and take longer to set. Jif or Skippy give the most consistent results.
- Don’t walk away from the stove. The window between too short and too long is about 30 seconds. Attend to it completely for the 60 seconds it’s boiling.
- Move fast after the oats go in. The mixture thickens quickly. Have your cookie scoop ready and work continuously from folding to dropping.
- Flaky salt on top. A pinch of flaky sea salt pressed onto each warm cookie as it sets makes the chocolate flavor significantly better. It’s optional but genuinely changes the character of the finished cookie.
Variations Worth Making
The base recipe is flexible:
- Crunchy peanut butter. Swap creamy for crunchy. You get small peanut bits throughout the cookie that add textural contrast and a nuttier flavor.
- Almond or cashew butter. A 1:1 swap for the peanut butter. Different flavor profile, same technique. Almond butter gives a milder, slightly more floral result.
- Add coconut. Fold in ½ cup of sweetened shredded coconut with the oats. It adds chew and a different kind of sweetness that pairs well with the chocolate.
- Add chocolate chips. Press 2–3 chocolate chips into the top of each cookie while still warm. They melt slightly and add a more intense chocolate hit on the surface.
- No cocoa powder version. Skip the cocoa and increase the peanut butter to ¾ cup. The result is a peanut butter-oat cookie with a lighter color and a more peanut-forward flavor.
- Add sea salt flakes. The single best optional addition. A pinch of flaky salt pressed into each cookie as it sets elevates the whole batch.
If no-bake treats are your preferred approach when the oven is off the table, quick homemade granola bars are the other recipe worth keeping in the same category — same pantry ingredients, same no-oven method.
Frequently Asked Questions
Why do no-bake cookies need to set at room temperature, not in the fridge? Cooling too quickly causes moisture condensation on the surface, which makes the cookies wet and prevents them from setting in the right texture. Let them sit at room temperature until completely firm and dry to the touch — then refrigerate for longer storage.
Can I use old-fashioned rolled oats instead of quick oats? Yes. Old-fashioned oats produce a chewier, more textured cookie with visible oat pieces — some people prefer this. Quick-cooking oats produce a denser, smoother cookie where the oats are less distinct. Either works; it’s a texture preference.
Can I freeze no-bake cookies? Yes. Once completely set and cooled, freeze in a single layer on a baking sheet, then transfer to a freezer bag. They keep for up to 2 months. Thaw at room temperature for 30 minutes before eating, or eat them slightly frozen — the texture when slightly cold is excellent.
Can I halve the recipe? Absolutely — halve all ingredients and use a smaller saucepan. The boil time stays the same: exactly 1 minute at a full rolling boil.
Why does the recipe use conventional peanut butter instead of natural? Conventional peanut butter is more homogeneous — the oils don’t separate — which makes it easier to incorporate smoothly and produces a more consistent cookie texture. Natural peanut butter works, but the cookies are softer and more variable in texture.
Storing and Making Ahead
Store completely set no-bake cookies in an airtight container at room temperature for up to 3 days, or in the refrigerator for up to 1 week. They’re actually best on day two, after the oats have fully absorbed the chocolate mixture and the texture settles.
For summer months when you want dessert without heat, this recipe and quick summer dinner recipes make a complete hot-weather cooking strategy. And when the temperature eventually drops and the oven sounds appealing again, one-bowl banana bread is the first baked thing worth making.