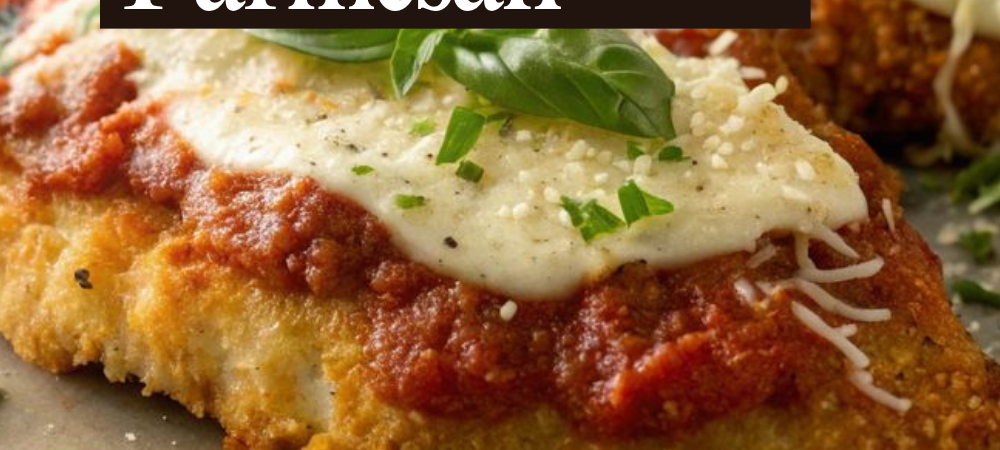
Restaurant chicken parmesan has a consistency problem. The chicken is either dry because it spent too long in a steam table, or the breading is soft and pale because nobody fried it hot enough, or there’s so much sauce piled on top that the crust underneath dissolved into a wet layer of breadcrumb paste. None of those outcomes are what chicken parm is supposed to be.
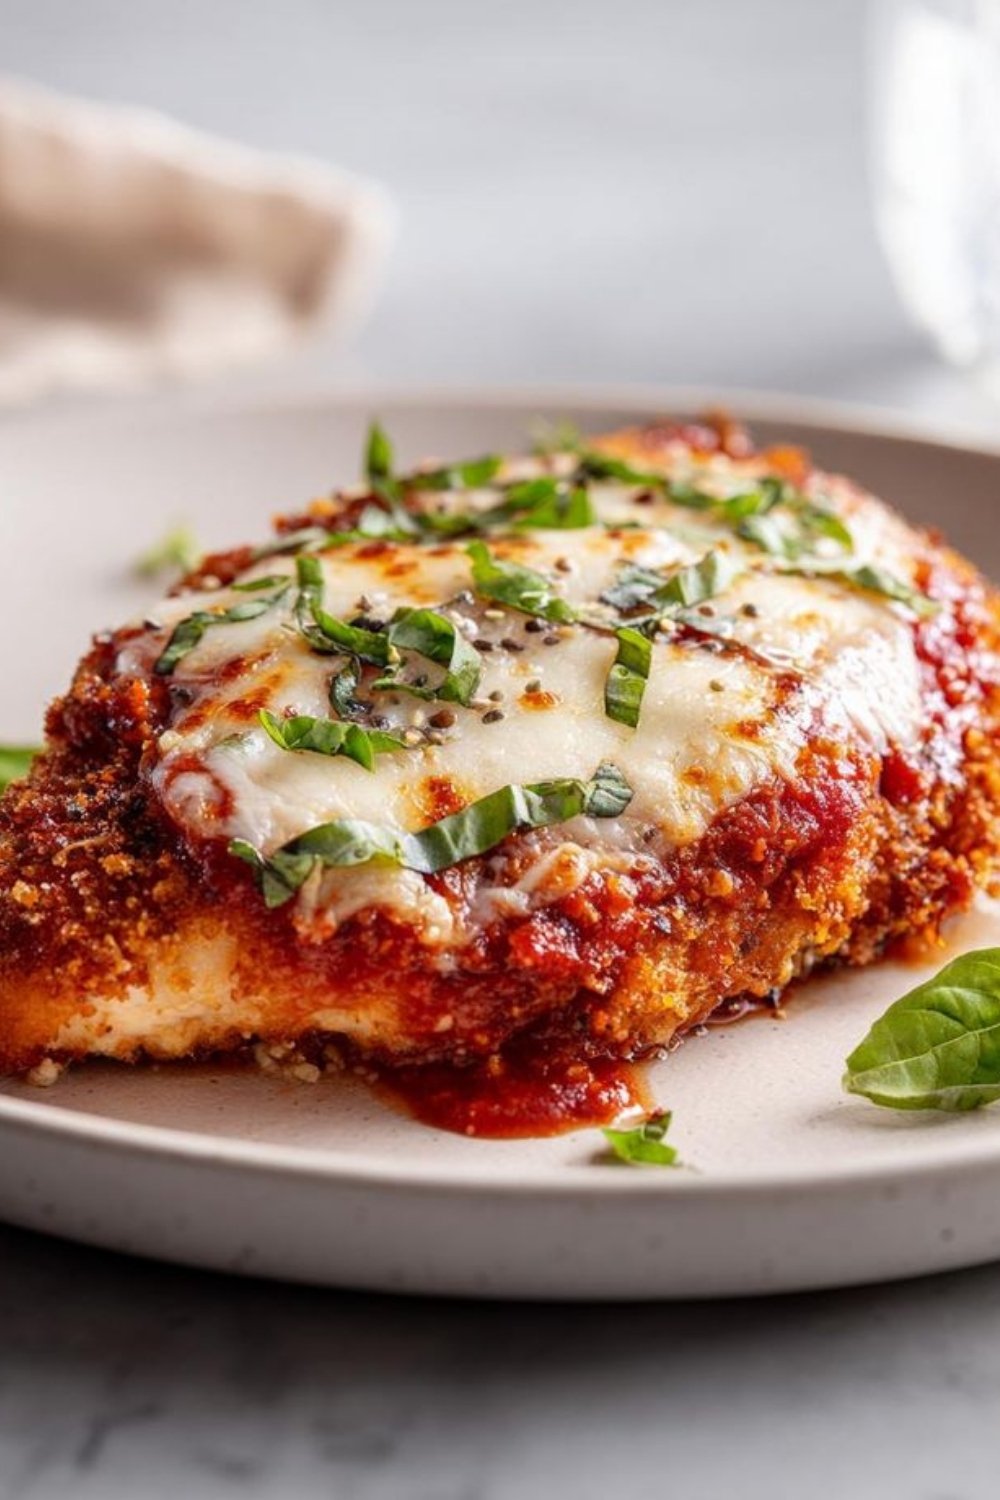
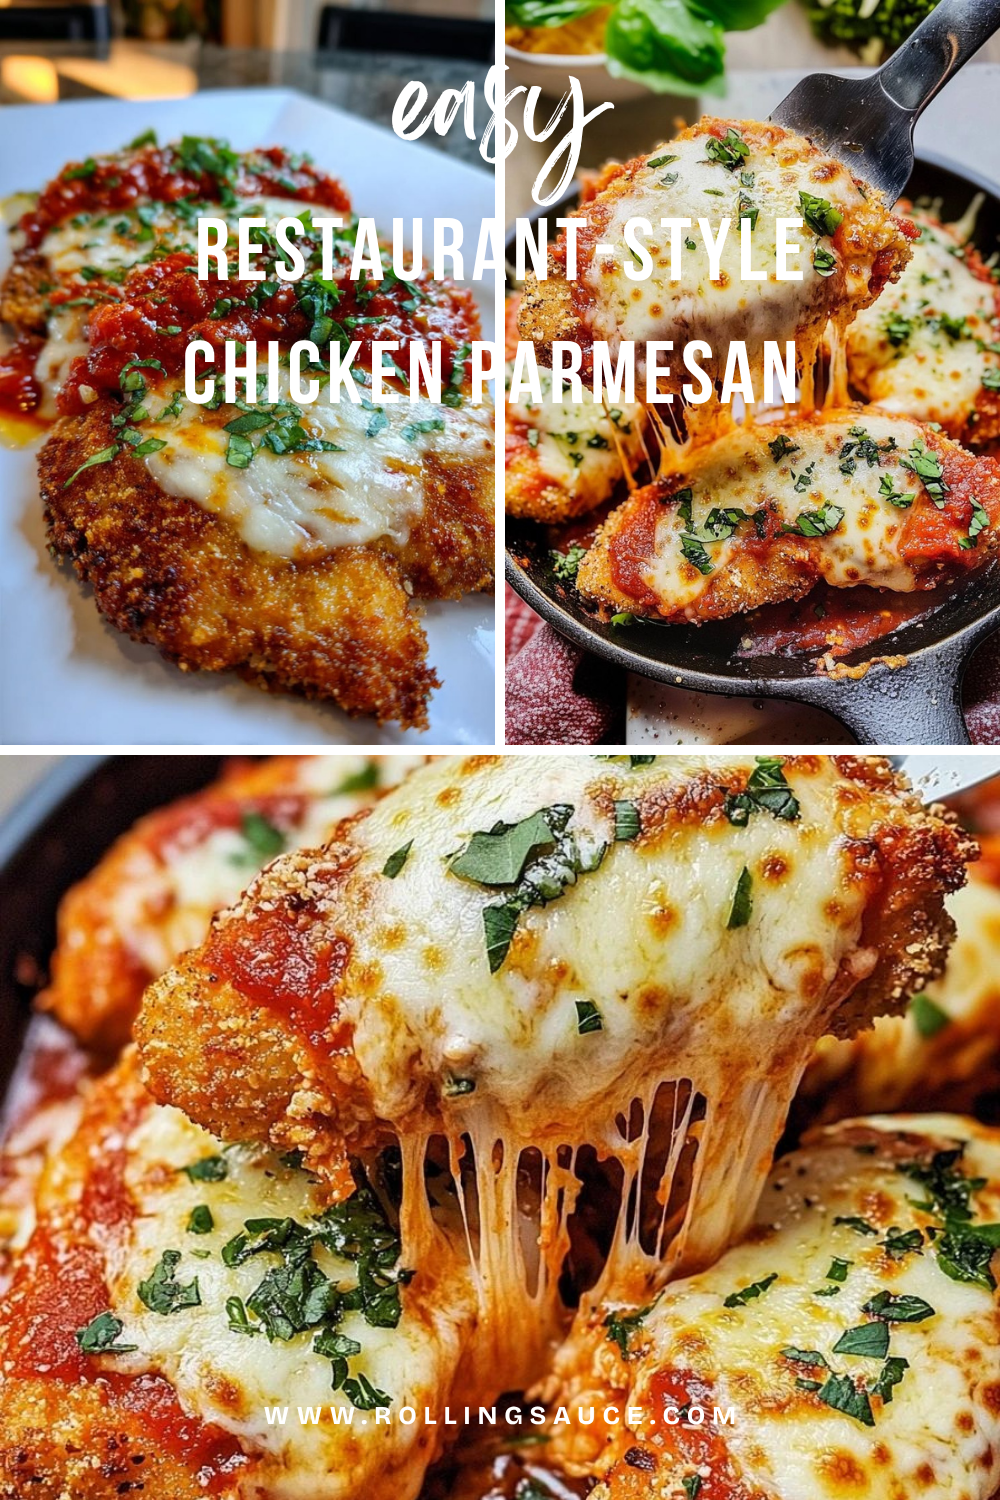
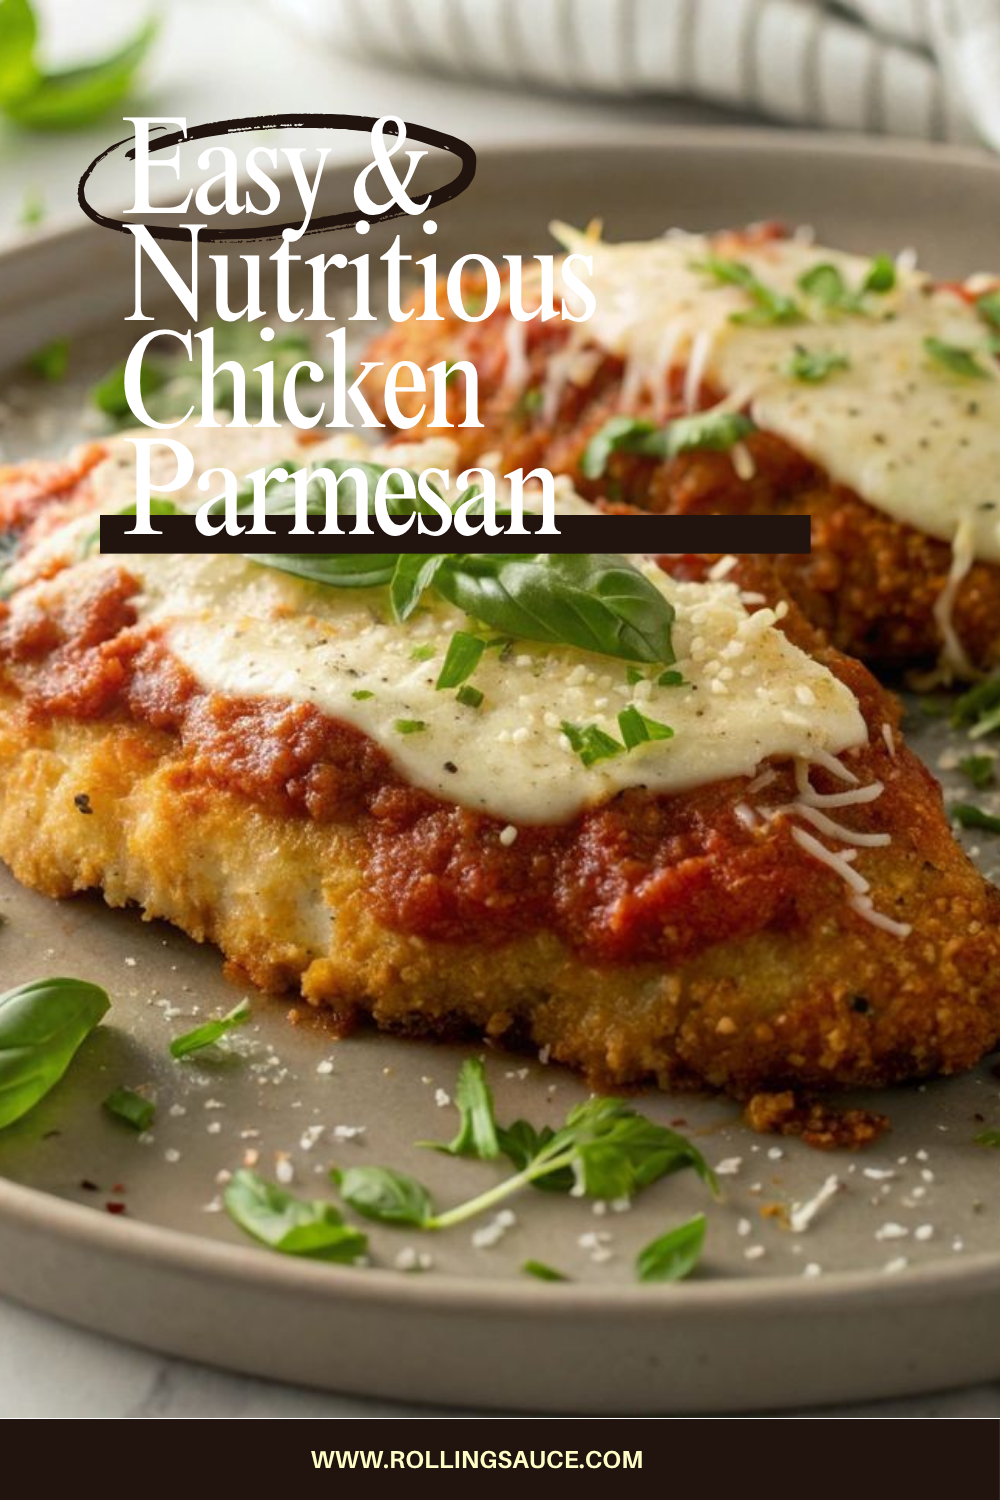
What it’s supposed to be: a thin cutlet pounded even, breaded in a panko-Parmesan mixture that fried to a crackly, deeply golden crust, topped with just enough marinara and fresh mozzarella that it’s saucy and cheesy without destroying the crust beneath it. Baked briefly until the cheese bubbles and pulls. Served immediately, still crackling at the edges.
This recipe gets all of that right. The technique is not complicated — it’s a few specific decisions made in the right sequence. Hot oil, thin cutlets, restrained sauce application, a short bake. The difference between this and a disappointing restaurant version is almost entirely in those details. Once you make it this way, ordering it out loses some of its appeal.
Why Most Chicken Parm Falls Short
It comes down to the sauce-to-crust ratio and cooking order.
The crust on a chicken parm starts losing its crispness the moment it gets wet. Sauce on top of breading, cheese trapping moisture against the breading — both work against what makes the dish good. Most restaurant versions solve this by frying the cutlet, immediately drowning it in sauce, blanketing it with cheese, and finishing in the oven. The result is a soft, saucy slab where the breading is no longer an independent component — it’s just filler between the chicken and the sauce.
The fix is two things. First, leave the edges of the cutlet unsauced — only sauce the center, leaving a ring of exposed breading around the perimeter. That border stays crisp throughout the bake and gives you contrasting texture in every bite. Second, don’t overbake. The chicken is already cooked through before the oven step. The oven is only there to melt and lightly brown the cheese — 5 to 7 minutes, not 20.
The Breading System That Makes the Difference
Panko and Italian breadcrumbs together. Not one or the other — both.
Panko breadcrumbs are light and coarse, which is what gives the crust its dramatic crunch and open texture. Italian breadcrumbs are finer, more densely seasoned, and help the coating adhere in a uniform layer. Use only panko and the crust can be crumbly and dramatic-looking but lacking in flavor and adherence. Use only Italian breadcrumbs and it bakes up dense and bread-like without that shattering crunch. Together they balance each other.
Freshly grated Parmesan in the breadcrumb mix is not optional. Pre-grated powder doesn’t melt into the crust the same way — it just sits there. Freshly grated Parmesan, pressed into the cutlet alongside the breadcrumbs, fuses into the coating and adds a salty, nutty richness that changes the character of the crust entirely.
The standard three-step breading process applies: flour first (creates a dry surface for the egg to cling to), egg second (the binder), breadcrumb mixture third (pressed firmly into the meat on both sides). Skip any of these steps and the coating won’t adhere or won’t stay together in the oil.
The Sauce Rule Every Good Version Follows
Don’t sauce the whole cutlet.
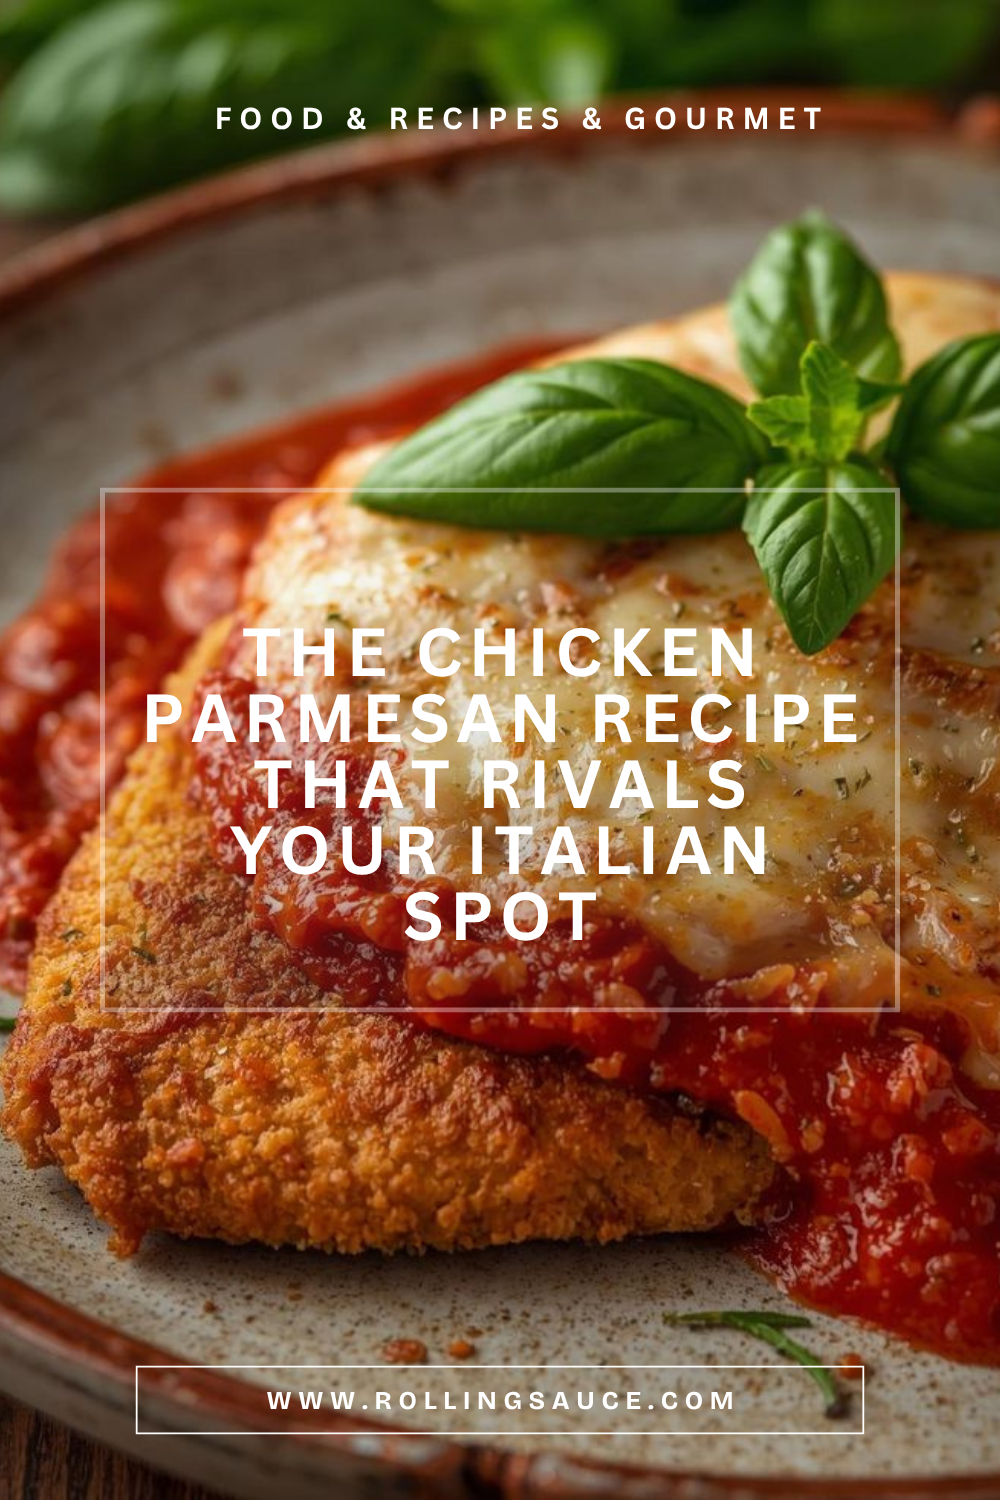
This is the detail that most home recipes get wrong, and it’s the reason restaurant-quality chicken parm is hard to replicate. When you spoon sauce across the entire surface of a breaded cutlet and then melt cheese over all of it, the breading under the sauce steams and softens. By the time it reaches the table, the whole thing is uniform in texture — soft and saucy from edge to edge, no crunch anywhere.
Spoon 2 to 3 tablespoons of marinara into the center of each cutlet, leaving at least a half-inch border of bare breading all the way around. Then lay the cheese over the sauced area only. What bakes in the oven: the exposed breading crisps further in the dry heat, the mozzarella melts and bubbles over the sauce, and the edges of the cutlet stay crackling and distinct.
The marinara itself matters too. Use a good-quality sauce — either a simple homemade marinara or a jarred version with few ingredients and no added sugar. The sauce should taste bright and tomatoey, not sweet. A spoonful of garlic and a pinch of red pepper flakes stirred into a jarred marinara makes a meaningful difference.
What You’ll Need
Four restaurant-quality servings.
For the chicken:
- 2 large boneless, skinless chicken breasts, halved lengthwise to make 4 cutlets
- 1 teaspoon kosher salt
- ½ teaspoon black pepper
- ½ teaspoon garlic powder
For the breading:
- ½ cup all-purpose flour
- 2 large eggs, beaten
- 1 cup panko breadcrumbs
- ½ cup Italian seasoned breadcrumbs
- ½ cup freshly grated Parmesan cheese
- 1 teaspoon dried Italian seasoning
- ½ teaspoon garlic powder
- ½ teaspoon onion powder
For frying and finishing:
- ⅓ to ½ cup olive oil or neutral oil, for pan-frying
- 1½ cups good-quality marinara sauce
- 8 oz fresh mozzarella, sliced (or 1½ cups shredded low-moisture mozzarella)
- ¼ cup freshly grated Parmesan cheese
- Fresh basil leaves, for serving
A note on the cheese: fresh mozzarella melts into creamy, loose pools that look like a restaurant plate. Low-moisture mozzarella melts into a tighter, more uniform layer that’s easier to work with and slightly less dramatic. Both are correct choices. The fresh version is what I’d reach for if this is for a dinner party.

Crispy Chicken Parmesan
Ingredients
Method
- Pound each cutlet between plastic wrap to ¼-inch even thickness. Season both sides with salt, pepper, and garlic powder.
- Set up three shallow dishes: flour, beaten eggs, and combined panko + Italian breadcrumbs + Parmesan + Italian seasoning + garlic and onion powder. Let seasoned cutlets rest 5 minutes.
- Dredge each cutlet in flour (shake off excess), dip in egg, then press firmly into the breadcrumb mixture on both sides. Rest on a wire rack.
- Preheat oven to 400°F. Heat oil in a large oven-safe skillet over medium-high until shimmering. Fry cutlets in batches, 3–4 minutes per side, until deep golden brown and cooked to 165°F internal temp. Transfer to a rack or leave in the skillet.
- Spoon 2–3 tablespoons of marinara onto the center of each cutlet, leaving a ½-inch border of exposed breading all around. Layer mozzarella over the sauce and sprinkle Parmesan on top.
- Bake 5–7 minutes until cheese is melted and lightly browned. Broil 1–2 minutes for a more golden top. Serve immediately with fresh basil.
Notes
- Storage: Refrigerate for up to 3–4 days. Reheat on a rack at 350°F, covered 10 min then uncovered 3–4 min.
- Make ahead: Fry cutlets up to 24 hours ahead; refrigerate without sauce/cheese. Add topping and bake just before serving.
- Freeze: Freeze fried, unsauced cutlets for up to 2 months. Bake from frozen at 375°F until heated through, then add sauce and cheese to finish.
- Swap: Chicken thighs (boneless, skinless) or tenderloins work in place of breast. Vodka sauce in place of marinara is an excellent upgrade.
How to Make It
Step 1: Pound and Season the Chicken
Place each chicken cutlet between two sheets of plastic wrap and pound to an even ¼-inch thickness using a meat mallet or the bottom of a heavy skillet. Even thickness means even cooking — a thick edge next to a thin center means the thin center overcooks before the thick edge is done. Season both sides with salt, pepper, and garlic powder.
Step 2: Set Up the Breading Station
Line up three shallow dishes: flour in the first, beaten eggs in the second, and the panko, Italian breadcrumbs, Parmesan, Italian seasoning, garlic powder, and onion powder combined and mixed in the third. Season each dish with a pinch of salt. Let the seasoned, pounded cutlets rest on a rack for 5 minutes — this helps the coating stick better during frying.
Step 3: Bread the Cutlets
Dredge each cutlet in flour, shaking off any excess. Dip into the beaten egg, letting the excess drip off. Press firmly into the breadcrumb mixture, coating both sides completely and pressing the breading into the chicken so it adheres. Set breaded cutlets on a clean rack.
Step 4: Fry Until Golden
Preheat your oven to 400°F. Heat the oil in a large oven-safe skillet over medium-high heat until shimmering — a pinch of breadcrumbs dropped into the oil should sizzle immediately. Fry the cutlets in batches (don’t crowd) for 3–4 minutes per side until deeply golden brown. The internal temperature should reach 165°F. Transfer to a wire rack or leave them in the skillet.
Step 5: Sauce, Top, and Bake
Spoon 2–3 tablespoons of marinara onto the center of each cutlet, leaving a ½-inch border of exposed breading all the way around. Layer mozzarella over the sauced area and sprinkle with the remaining Parmesan. Transfer to the oven (or use the skillet if oven-safe) and bake for 5–7 minutes until the cheese is melted and lightly browned in spots. For a more dramatic browned top, switch to broil for the last 1–2 minutes. Serve immediately with fresh basil.
How to Keep the Crust Crispy Under the Sauce
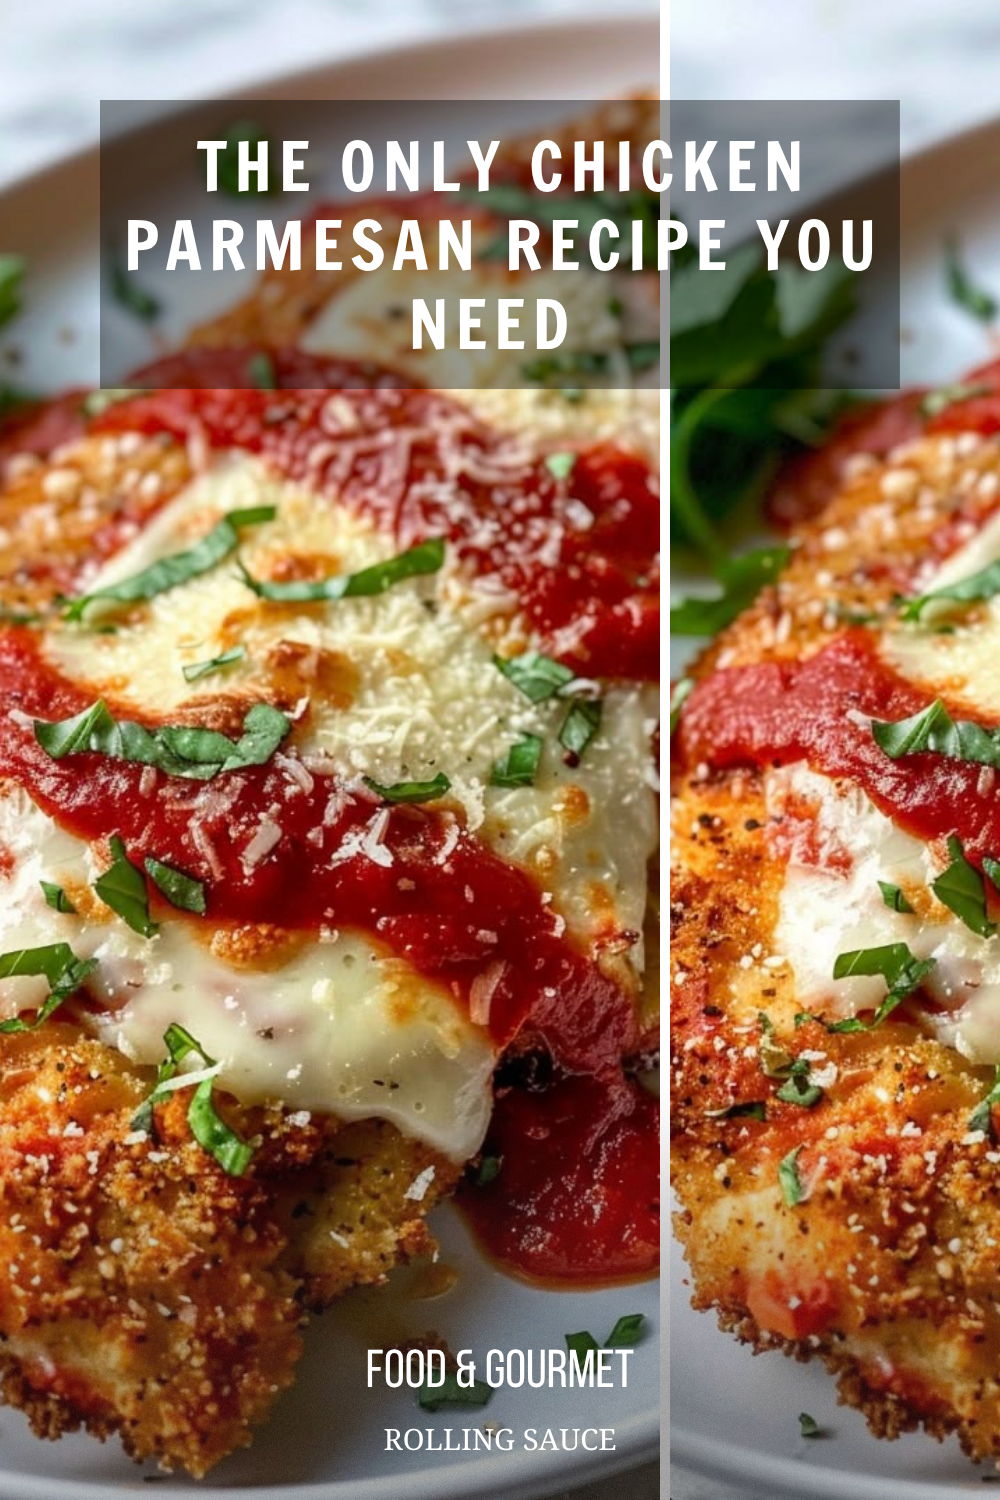
This is the question chicken parm always raises, and the answer has a few parts.
Hot oil matters more than everything else. If the oil isn’t shimmering before the chicken goes in, the breading absorbs the fat rather than sealing immediately. The result is greasy, soft coating instead of a crackly crust. Wait for the oil to shimmer — and if it starts to smoke, back off the heat slightly and let it settle.
Pat the chicken completely dry before breading. Any moisture on the surface of the chicken prevents the flour from adhering, which means the egg doesn’t adhere, which means the breadcrumbs don’t adhere. Paper towels, thorough pat-down, then season.
Don’t sauce all the way to the edges. As Serious Eats covers in their writing on breaded chicken dishes, the exposed perimeter of the breading is what maintains crunch through the oven finish. A fully sauced cutlet becomes uniformly soft. A strategically sauced cutlet stays crisp where it counts.
Bake briefly, serve immediately. The oven step is for cheese, not for cooking. Five to seven minutes at 400°F is all it takes. Leaving it longer softens everything and makes the crust lose what you worked to build.
Tips for a Restaurant-Quality Result
- Thin and even beats thick and uneven every time. A properly pounded ¼-inch cutlet cooks faster, stays juicier, and has a better breading-to-meat ratio. Thick, uneven cutlets overcook on the outside before the center is done.
- Press the breading in firmly. Don’t just dip and set down. Press the cutlet into the breadcrumb mixture and use your hands to push the coating into the surface. A well-adhered coating doesn’t fall off in the oil.
- Let the breaded cutlets rest before frying. Five minutes on a rack after breading lets the coating set and adhere better. Frying immediately after breading means the coating can slip off in the hot oil.
- Freshly grate everything. Pre-shredded mozzarella contains anti-caking agents that prevent proper melting. Pre-grated Parmesan is dry and doesn’t fuse into the crust. Grate both fresh.
- Use a wide skillet and work in batches. Crowding the pan drops the oil temperature and steams the breading instead of frying it. One or two cutlets at a time keeps the heat high and the crust golden.
Variations and Swaps
Baked instead of fried. Brush both sides of the breaded cutlets with olive oil and bake on a wire rack over a sheet pan at 425°F for 18–20 minutes until golden and cooked through. Less crispy than pan-fried, but significantly less oil and still very good.
Air fryer. Spray the breaded cutlets generously with cooking oil spray and air-fry at 400°F for 8–10 minutes, flipping once, until golden. The crust comes out impressively crispy with almost no oil.
Vodka sauce instead of marinara. Swapping marinara for a good vodka sauce is one of the simplest upgrades to the classic. The cream in the vodka sauce carries the tomato differently and pairs with the mozzarella in a richer way.
Chicken thighs. Boneless, skinless chicken thighs can be pounded and used in place of breast meat. The thigh is naturally more forgiving with moisture and harder to overcook — a good choice for those who find chicken breast tends to go dry.
For more Italian-American chicken dinners in the same rotation, Marry Me Chicken Pasta is the other one worth having on the regular list.
Frequently Asked Questions
Can I use chicken tenderloins instead of breasts? Yes. Tenderloins are already thin and don’t require pounding — they’re actually a faster option. The crust-to-meat ratio is higher, which many people prefer. Cook time in the skillet reduces to 2–3 minutes per side.
Can I make chicken parmesan ahead of time? The breaded, fried cutlets can be made ahead and stored in the fridge for up to 24 hours without sauce or cheese. Add the sauce and cheese just before baking to finish. A fully assembled chicken parm doesn’t hold well — the crust softens significantly overnight.
How do I reheat leftovers? On a wire rack in a 350°F oven for 12–15 minutes, covered loosely with foil for the first 10 minutes and uncovered for the last few to re-crisp. The microwave works in a pinch but the crust goes soft.
Can I freeze chicken parmesan? Freeze the breaded, fried cutlets without sauce or cheese. Freeze individually on a sheet pan, then transfer to a freezer bag. They keep for up to 2 months. Reheat from frozen at 375°F until warmed through, then add sauce and cheese and broil to finish.
What to Serve Alongside
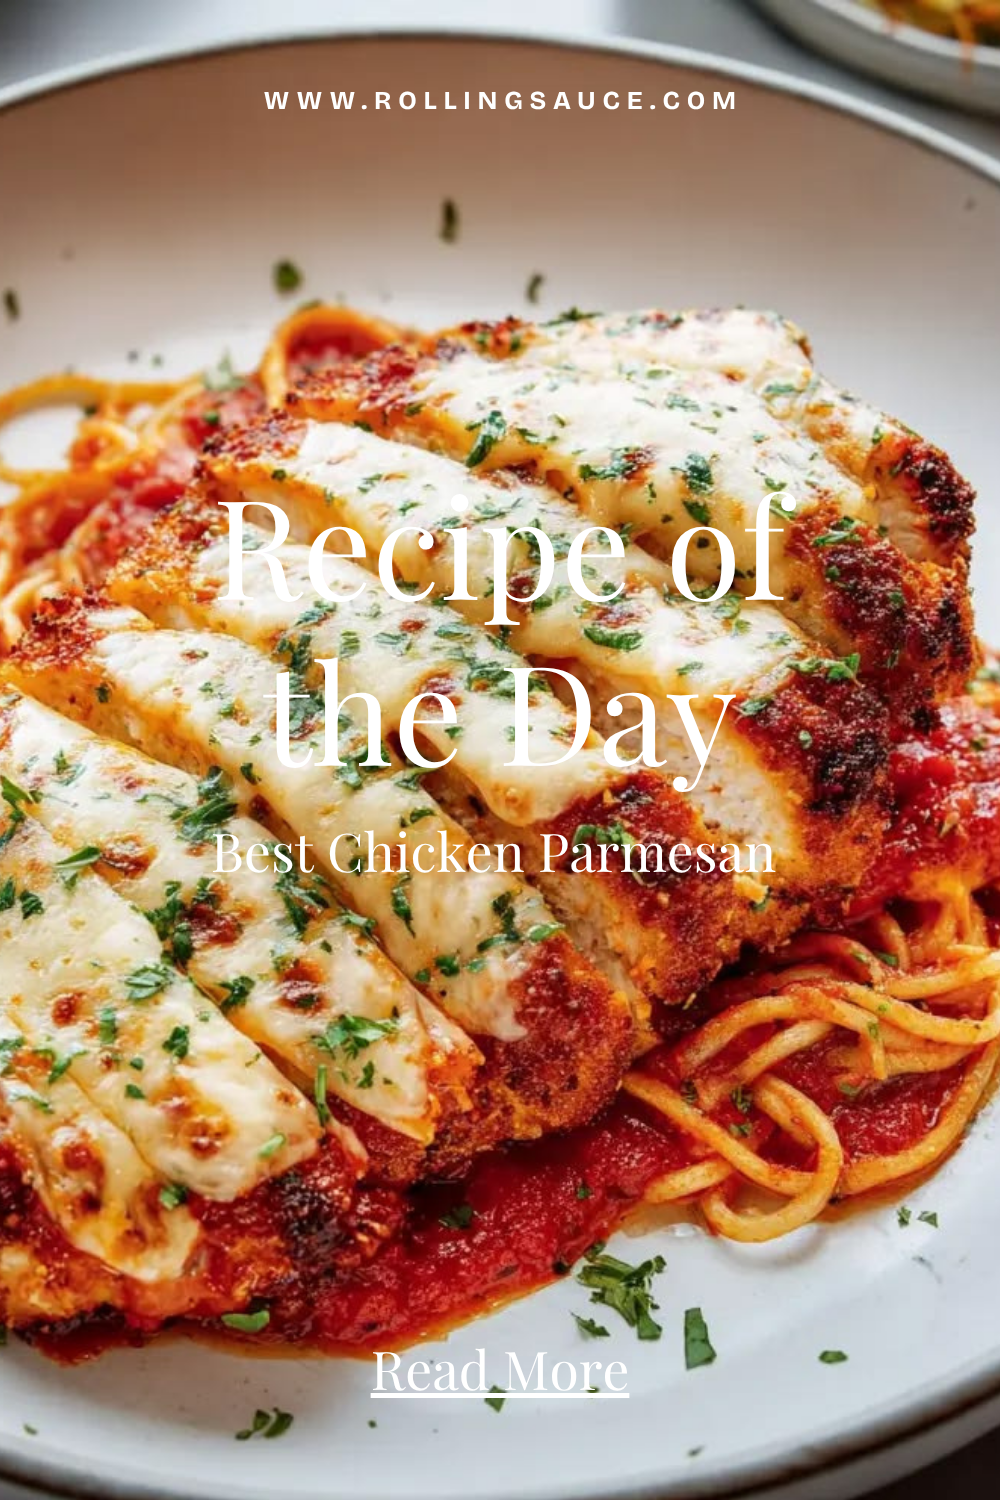
Chicken parm over spaghetti with extra marinara is the classic American presentation. The sauce from the chicken runs down into the pasta and everything melds together in the best possible way.
A simple Italian pasta salad works well as a cold side that doesn’t require oven space. Caesar salad is the lighter option that cuts through the richness. Garlic bread for soaking up the extra marinara.
For a full Italian-American dinner table, chicken parm as the main alongside a quick weeknight lasagna is how you make a Saturday night feel like a restaurant opened in your kitchen.